Naturopathic By Nature

Healthy Eating & Healthy Living

Navigation
  • Recipes
  • Articles
    • Naturopathic
    • Pregnancy & Postnatal
    • Healthy Foods
    • Grocery Lists
  • About Us
  • Contact Us

Four essential ways to use Turmeric

February 20, 2017 by Dr. Nicholas Anhorn, ND and Dr. Lyndsay Wareham, ND Leave a Comment

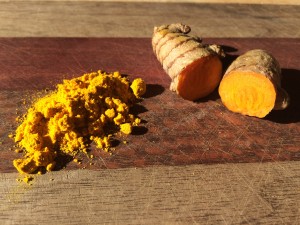
07:56:30Turmeric is a fascinating remedy that is nourishing, healing, and anti-inflammatory.

There are no real contraindications for taking turmeric at culinary doses (such as the Golden Tea recipe below and Cooking with Turmeric suggestions) but when you are taking isolated curcumin or potent turmeric supplements (or even when taking Turmeric Bombs or Turmeric Paste), then you will want to consult your healthcare physician, especially if you are on antiplatelet or blood thinning medication, have gallstones, bile duct obstruction, stomach ulcers or hyperchlorydria (high stomach acid).

It is also important to note that culinary turmeric will stain nearly everything in its path. So, if you don’t want yellow finger tips or yellow-stained hands, wear non-latex gloves when working with turmeric, use a cutting board you don’t mind having yellow marks, wipe your counter with cold water right away if it turmeric spills on it, and also your grater may turn yellow/orange & look like rust, but its most likely just turmeric.

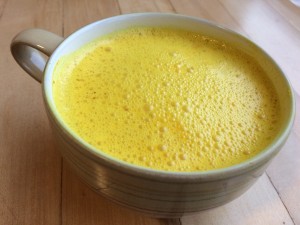
~ Golden Tea – Turmeric Milk ~

IMG_2613

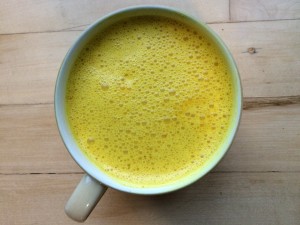
There are many recipes out there for Golden Tea, otherwise known as Golden Milk, Turmeric Tea, Anti-Inflammatory Golden Milk. All of the recipe names point to the fact that turmeric works as a natural anti-inflammatory, and it is gold in color, thanks to the active ingredient curcumin (*not to be confused with cumin*).

There are a few ingredients that you can add to the tea to help enhance the flavour, such as ginger, cinnamon, nutmeg, and ground cardamum. But more importantly, there are ingredients you can add to improve the healing properties turmeric by way of increasing the absorption of curcumin: fat & black pepper.

Here is our recipe. Give it a try and tweak it to make it your own!

Golden Milk Turmeric Tea
 
Print
Prep time
10 mins
Cook time
5 mins
Total time
15 mins
 
If you want a real decadent treat, replace your choice of milk with coconut cream (the thick part of canned coconut milk).
Author: Lyndsay and Nicholas
Cuisine: anti-inflammatory, gluten-free
Serves: 2 cups
Ingredients
  • 2 cups milk alternative (coconut, almond milk)
  • 1 Tbsp (packed) fresh turmeric, grated (or 1 tsp turmeric powder)
  • ¾ - 1 Tbsp fresh ginger, grated (or ½-3/4 tsp tsp ginger powder)
  • 1 Tbsp honey, or more to taste
  • 1 Tbsp coconut oil
  • 5-6 black peppercorns
  • a few dashes of cinnamon (optional)
Instructions
  1. Place all ingredients in a saucepan, heat on high until it's just about to boil, then lower the heat to simmer for about 5 mins.
  2. Pour into a high powered blender and blend on high for about 10 seconds.
  3. We don't mind a few ginger strands so we just pour into a mug & enjoy, but if you do mind the texture, strain into a mug and enjoy!
3.4.3177

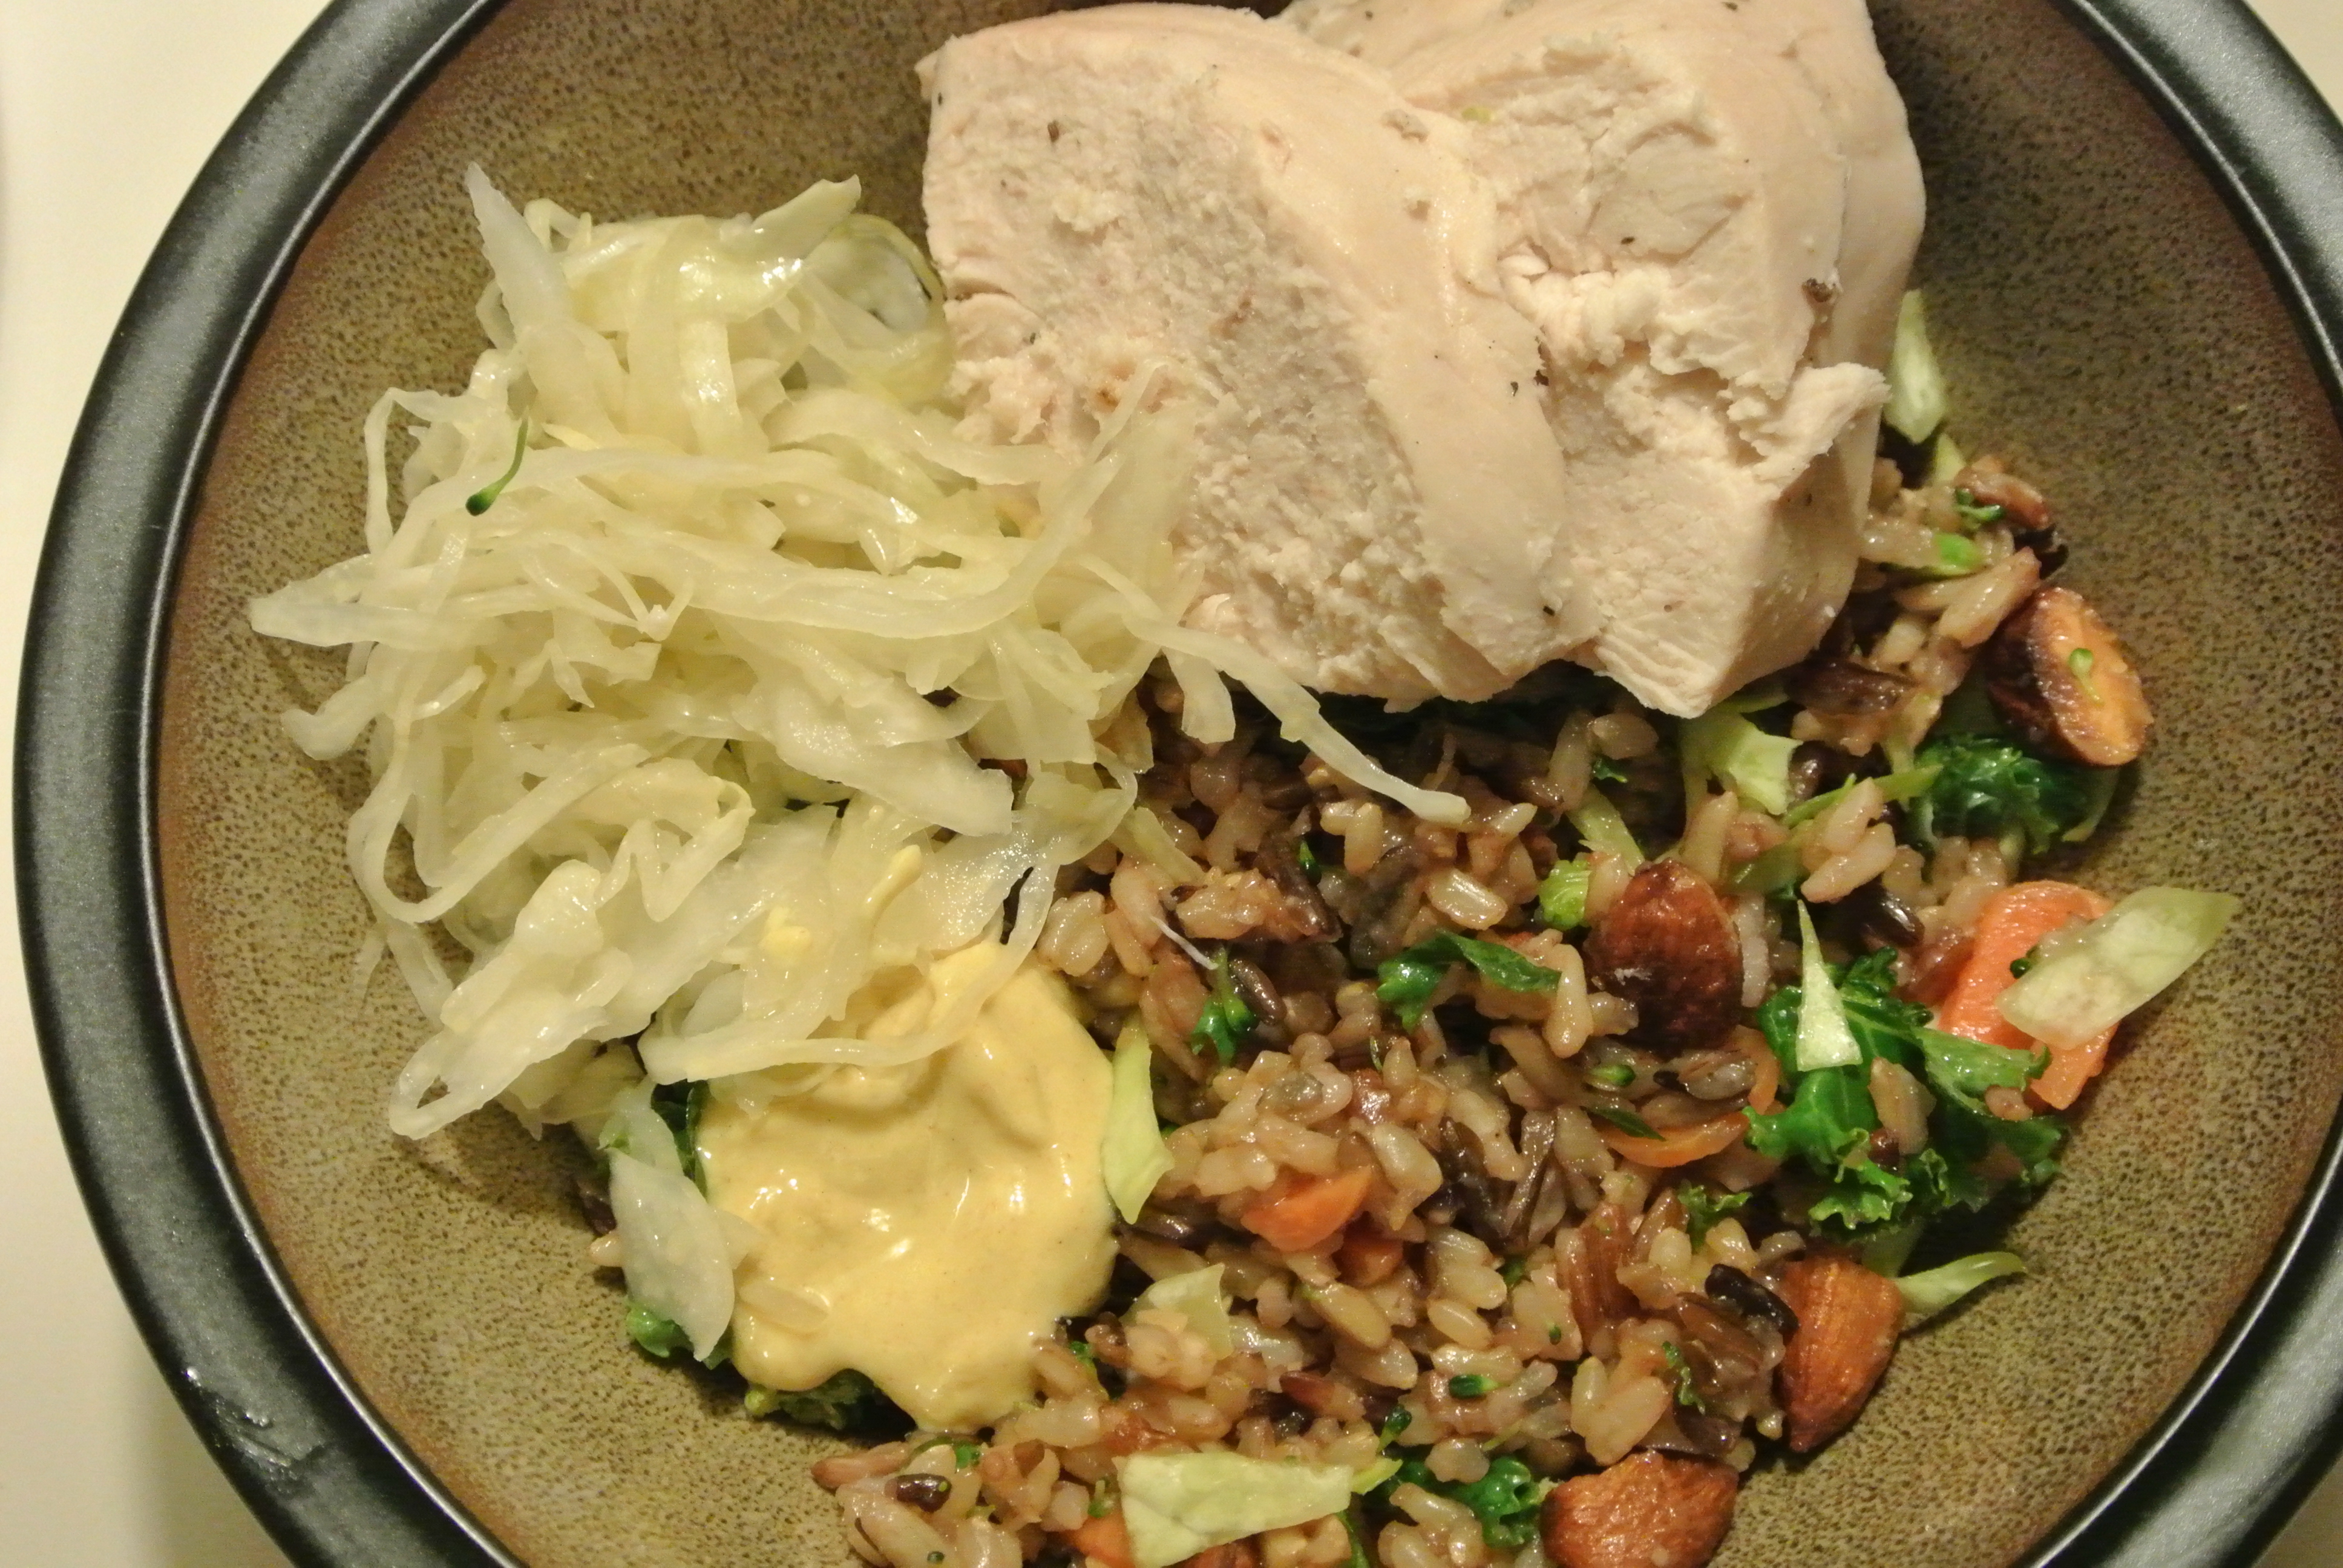
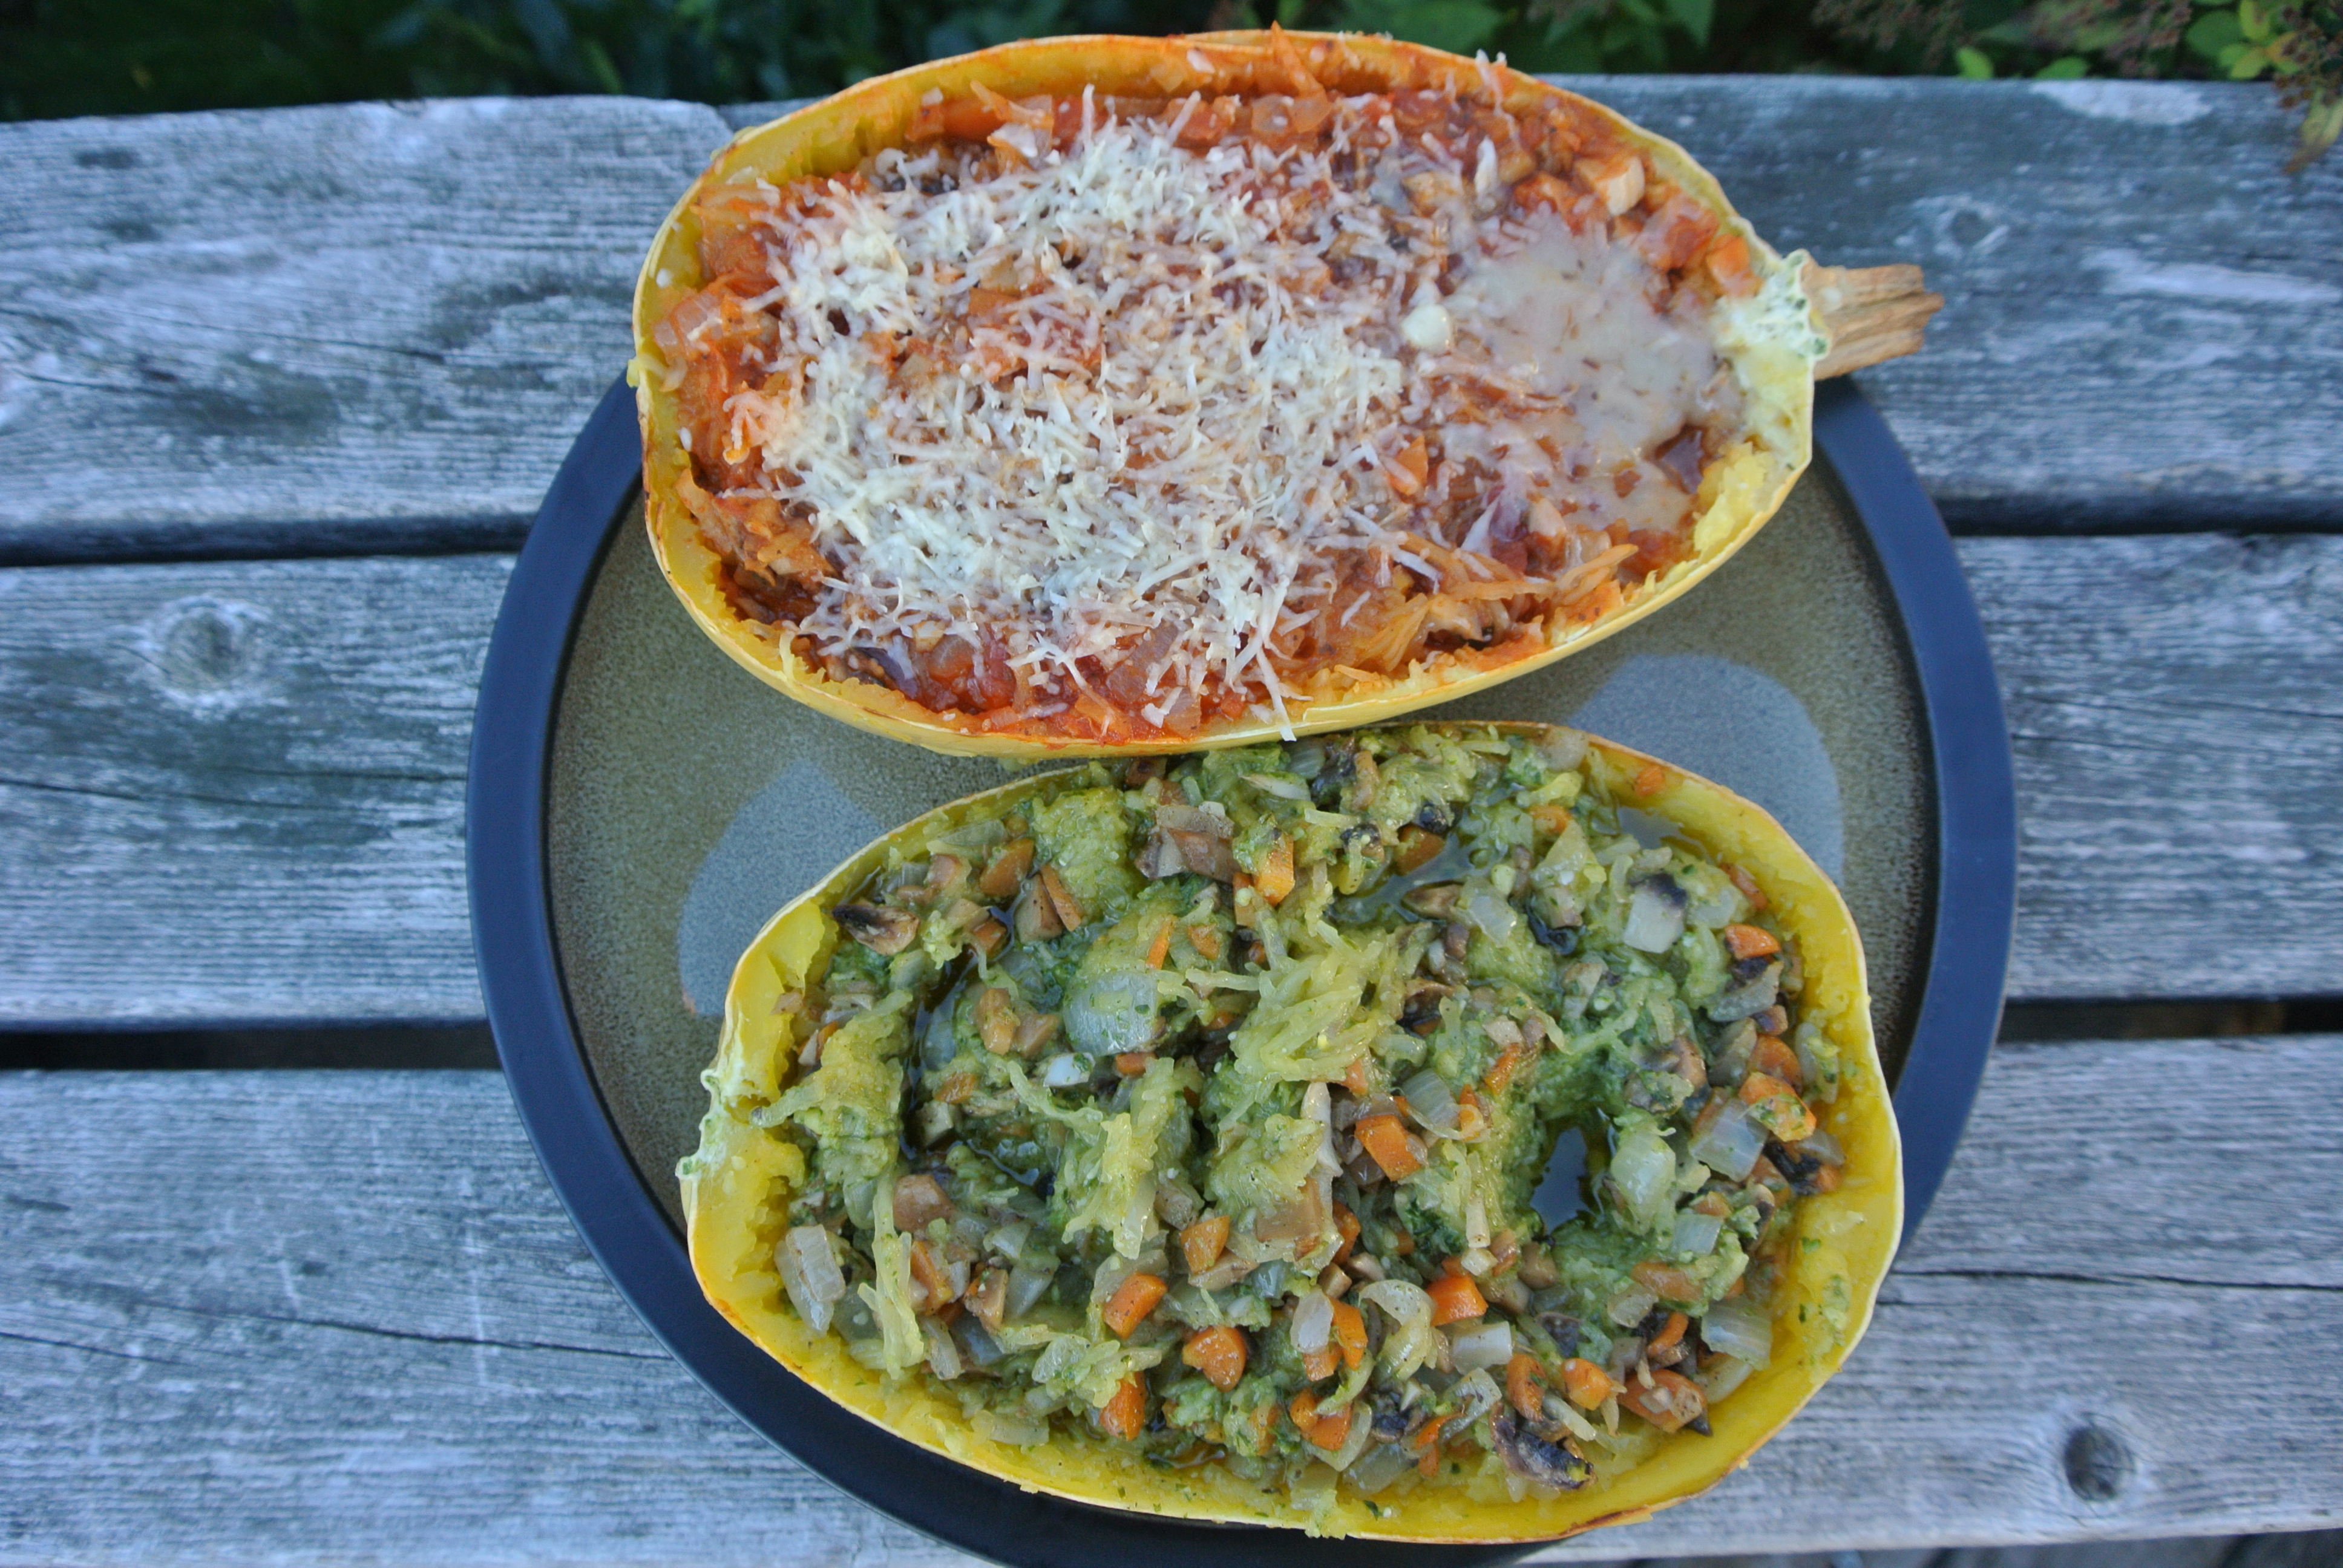
~ Cooking with Turmeric ~

IMG_3118

Turmeric is a wonderful root to cook with – it has a mild, pleasant flavour and gives dishes a beautiful yellow colour. If you add more turmeric than a recipe calls for, it doesn’t really change the taste of your dish too much, but does increase the health benefits. Turmeric powder and fresh, grated turmeric substitute nicely for each other, and so, you can add both to any dish if you have them both on hand. Here are a few of our favourite turmeric-containing recipes:

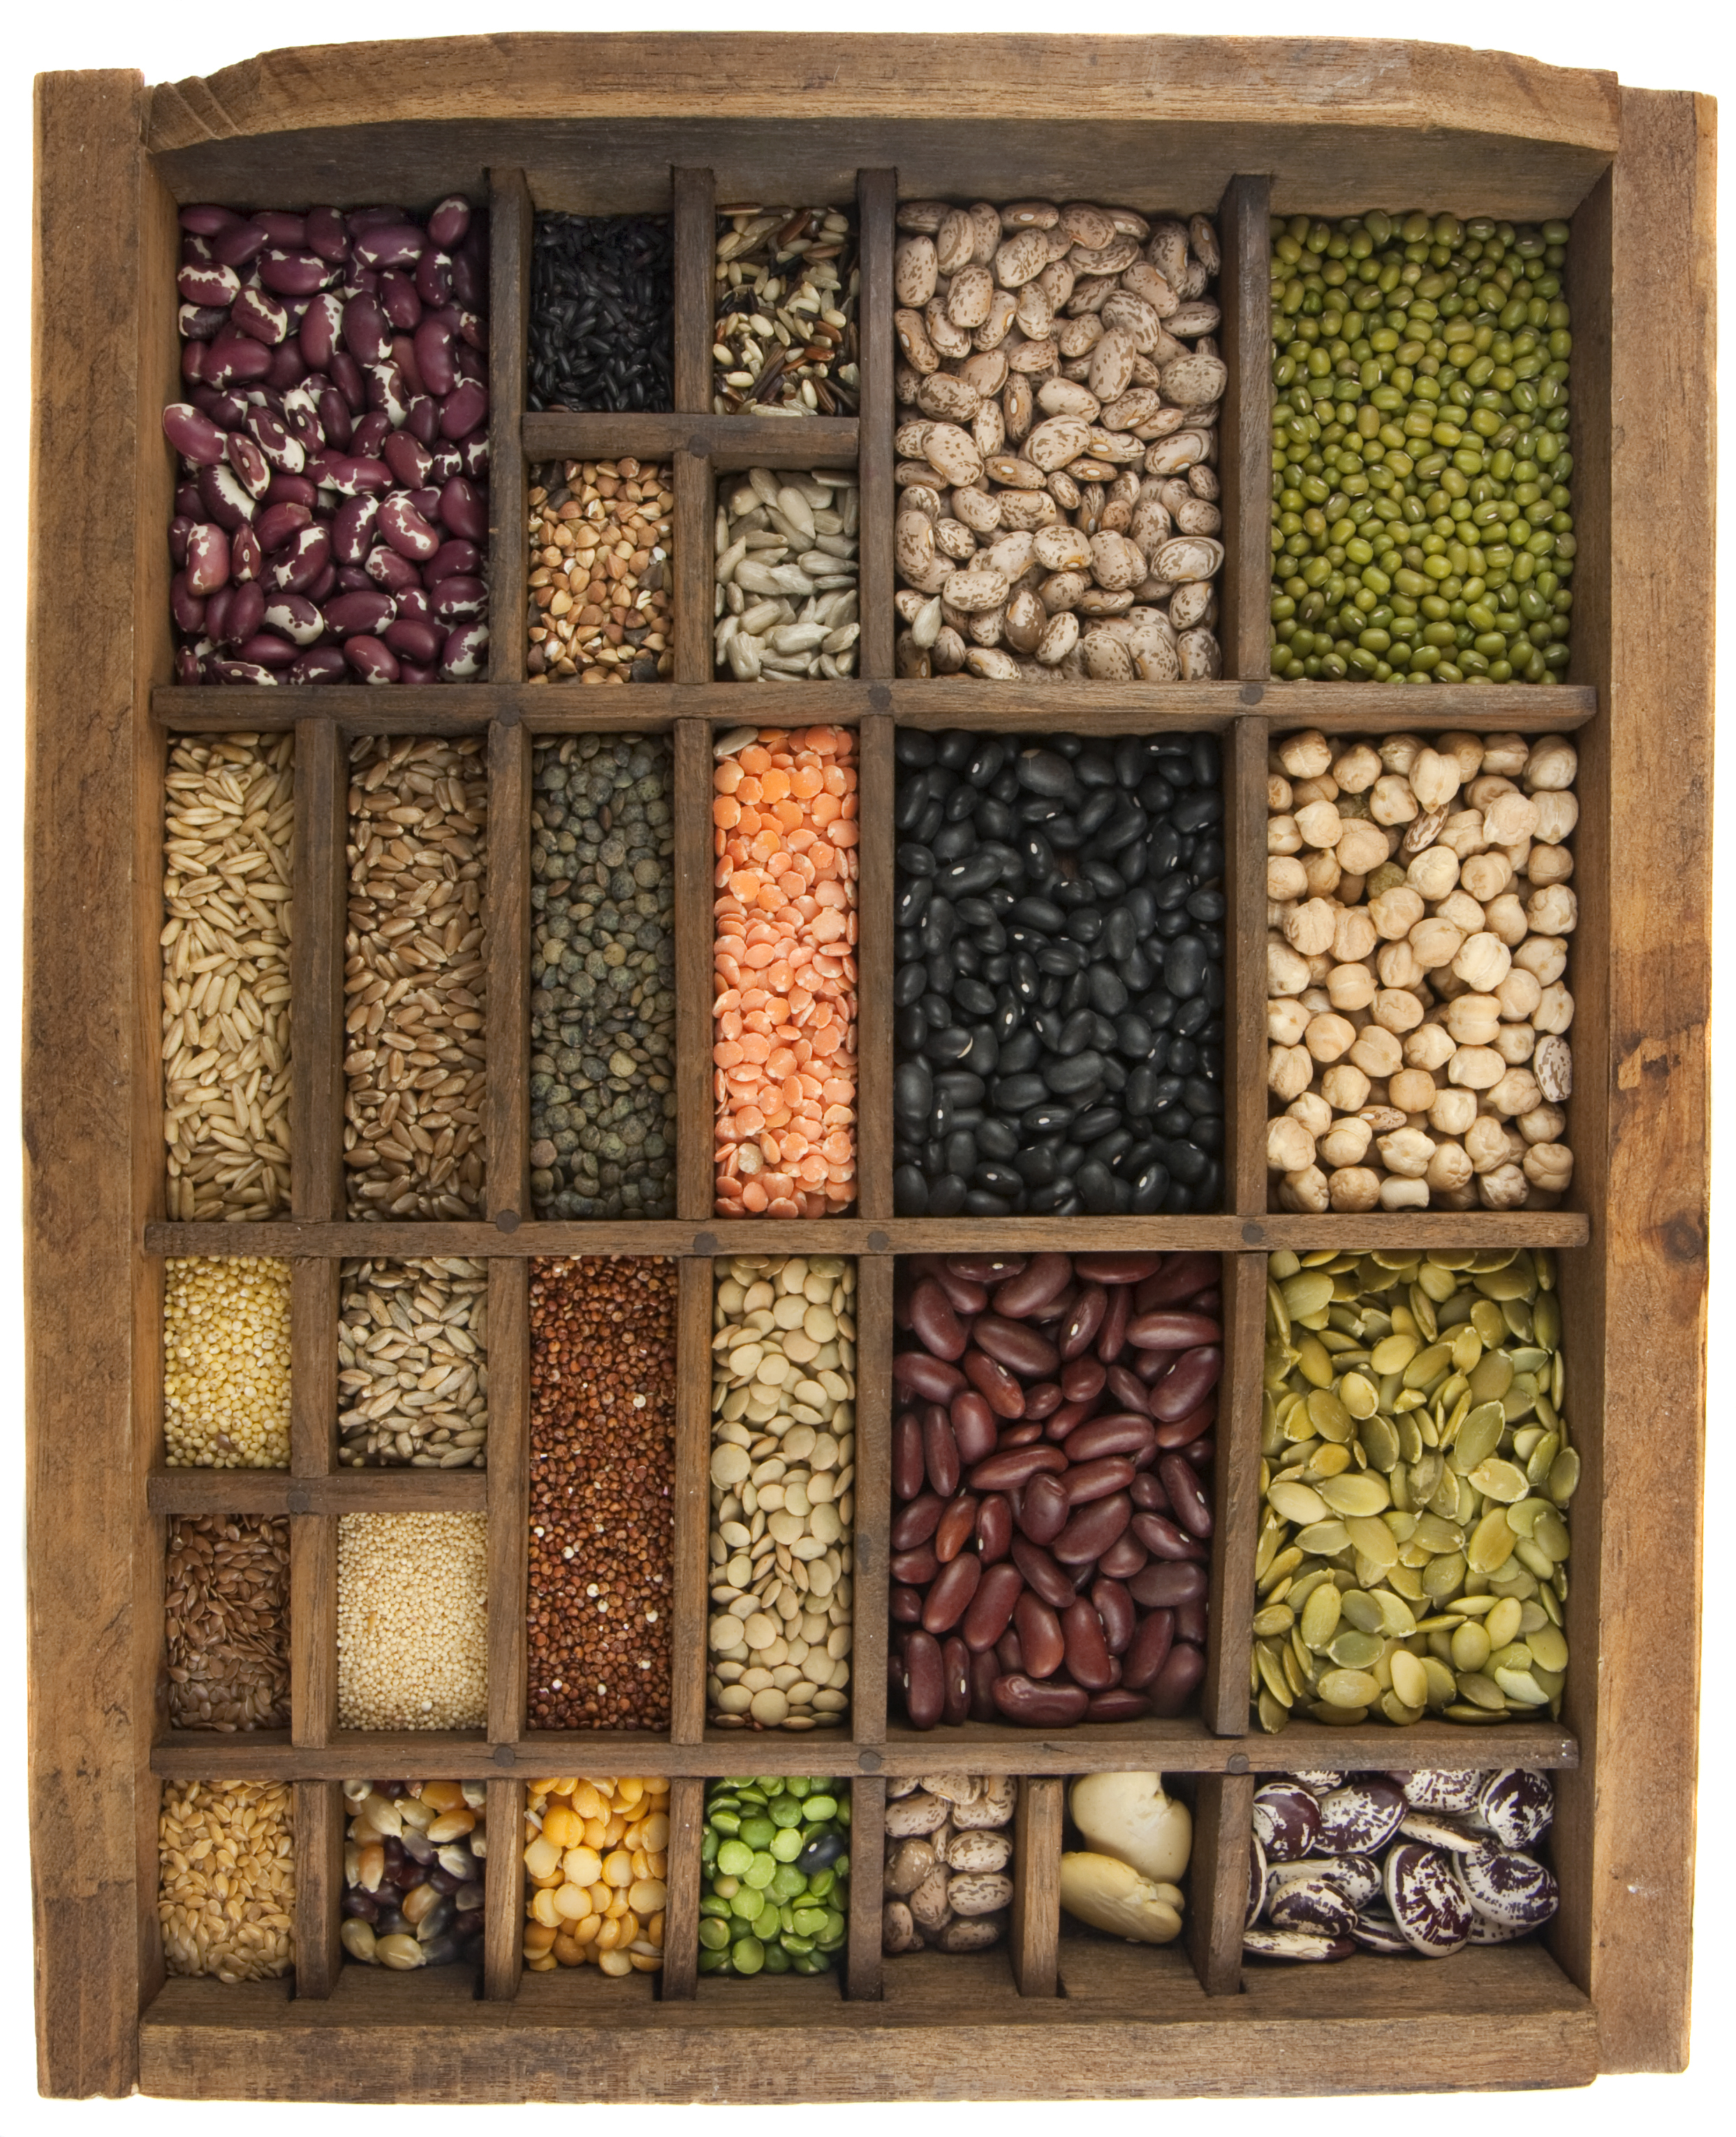
Dahl is a highly nutritious, delicious & underrated dish! It’s so easy to make and is sure to satisfy appetites big and small! There are alot of recipes out there, but here’s our version: Delicious Red Lentil Dahl

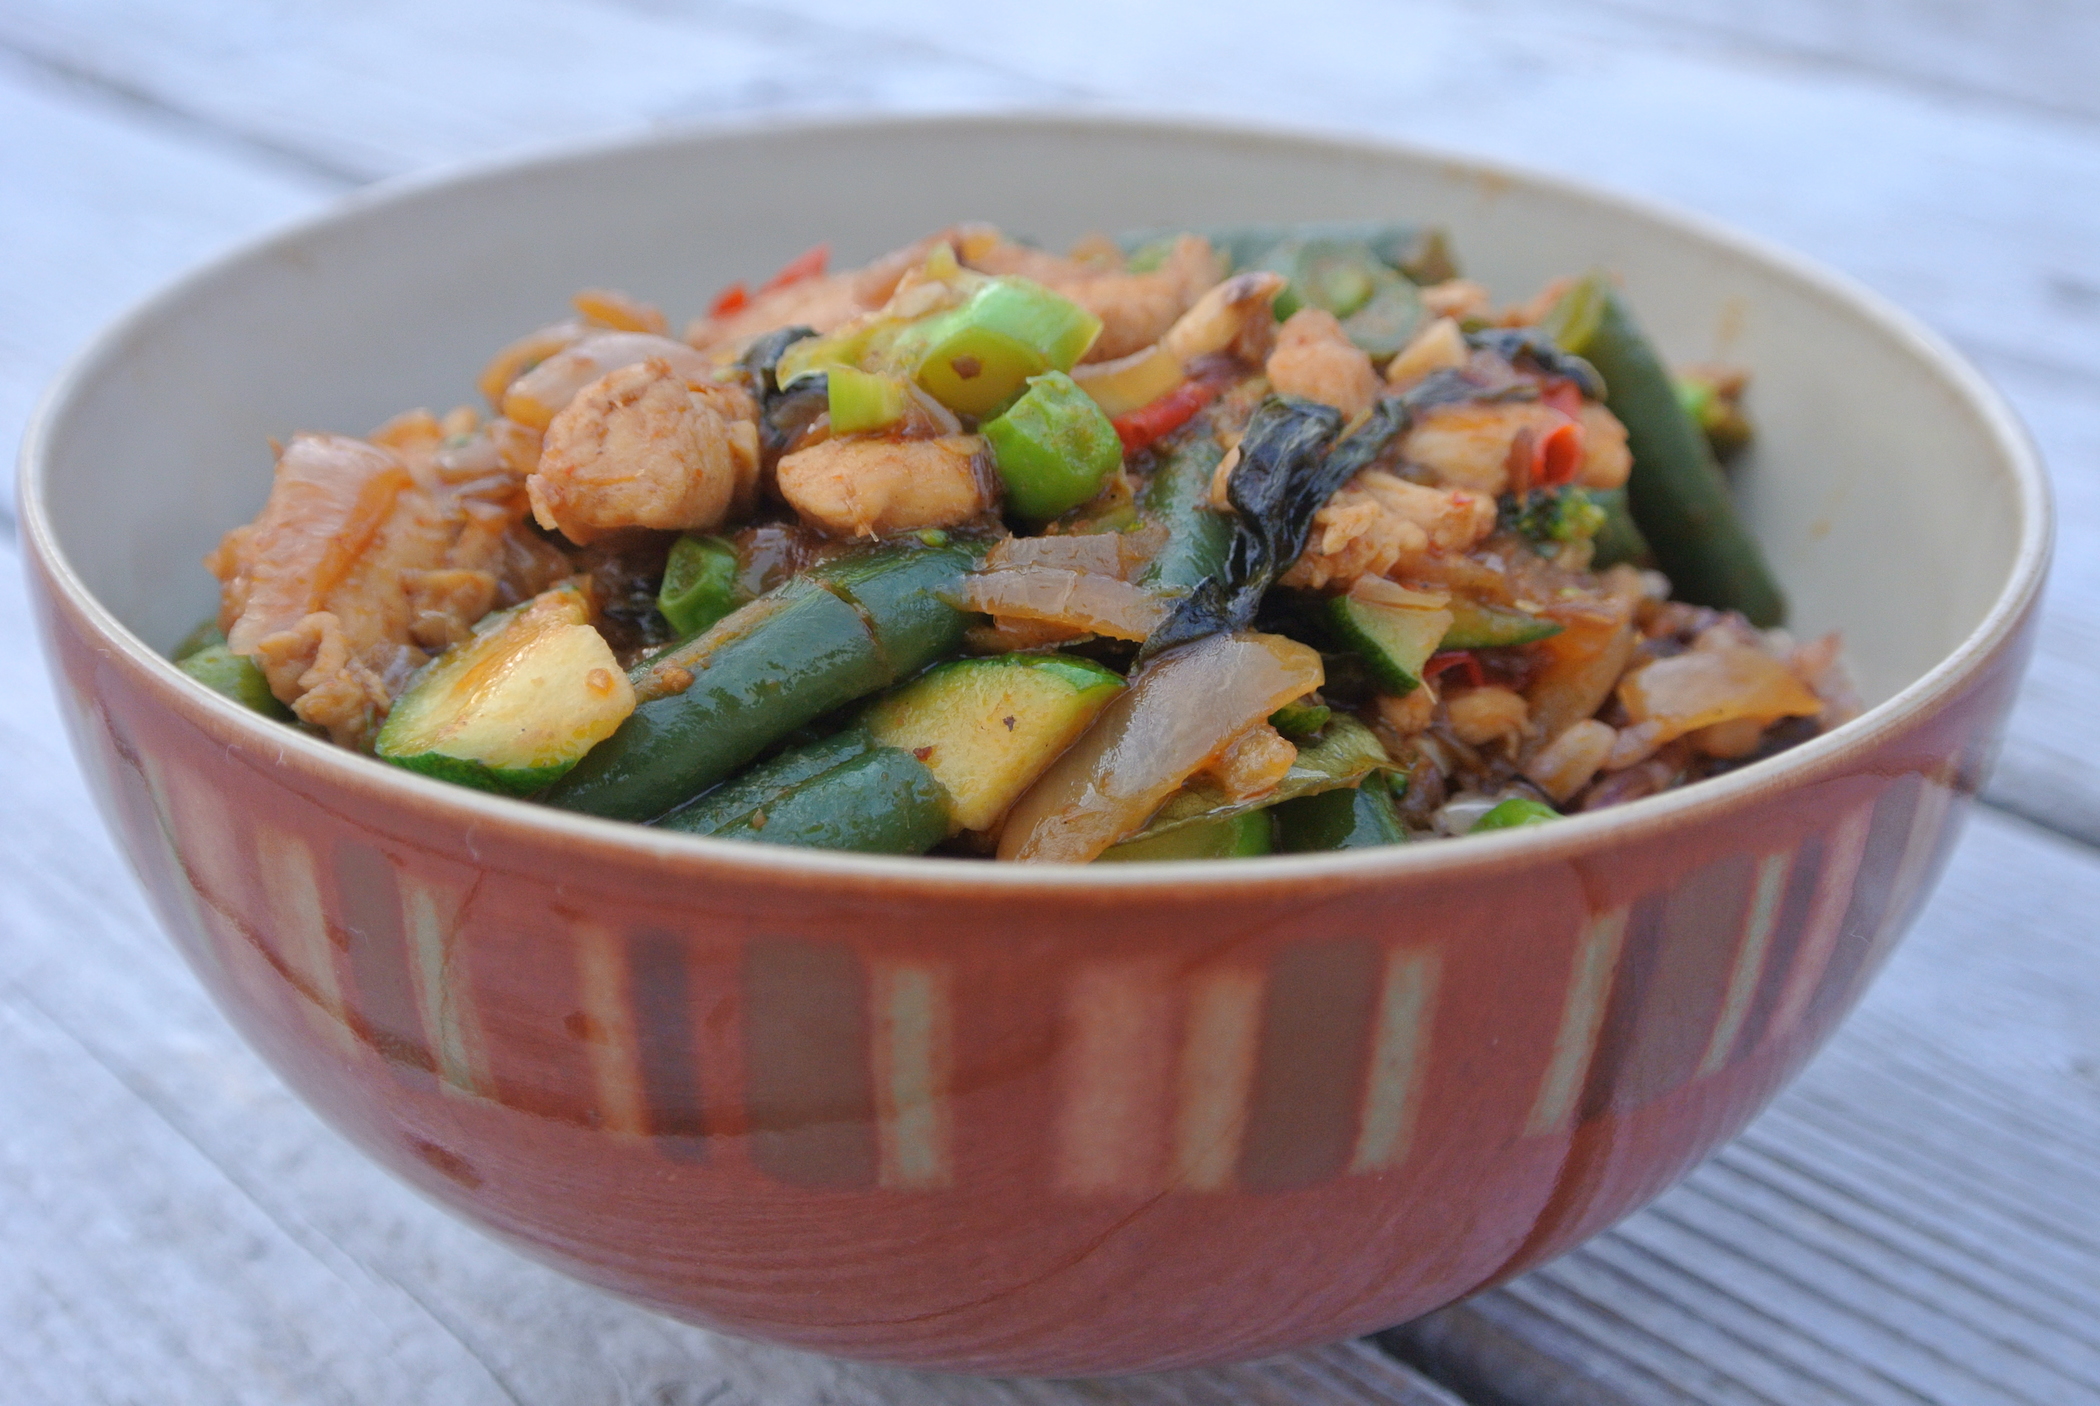
Butter chicken is a crowd pleaser in our house. In this Butter Chicken recipe, we replace heavy cream with coconut cream, and add in 1 Tbsp turmeric powder.

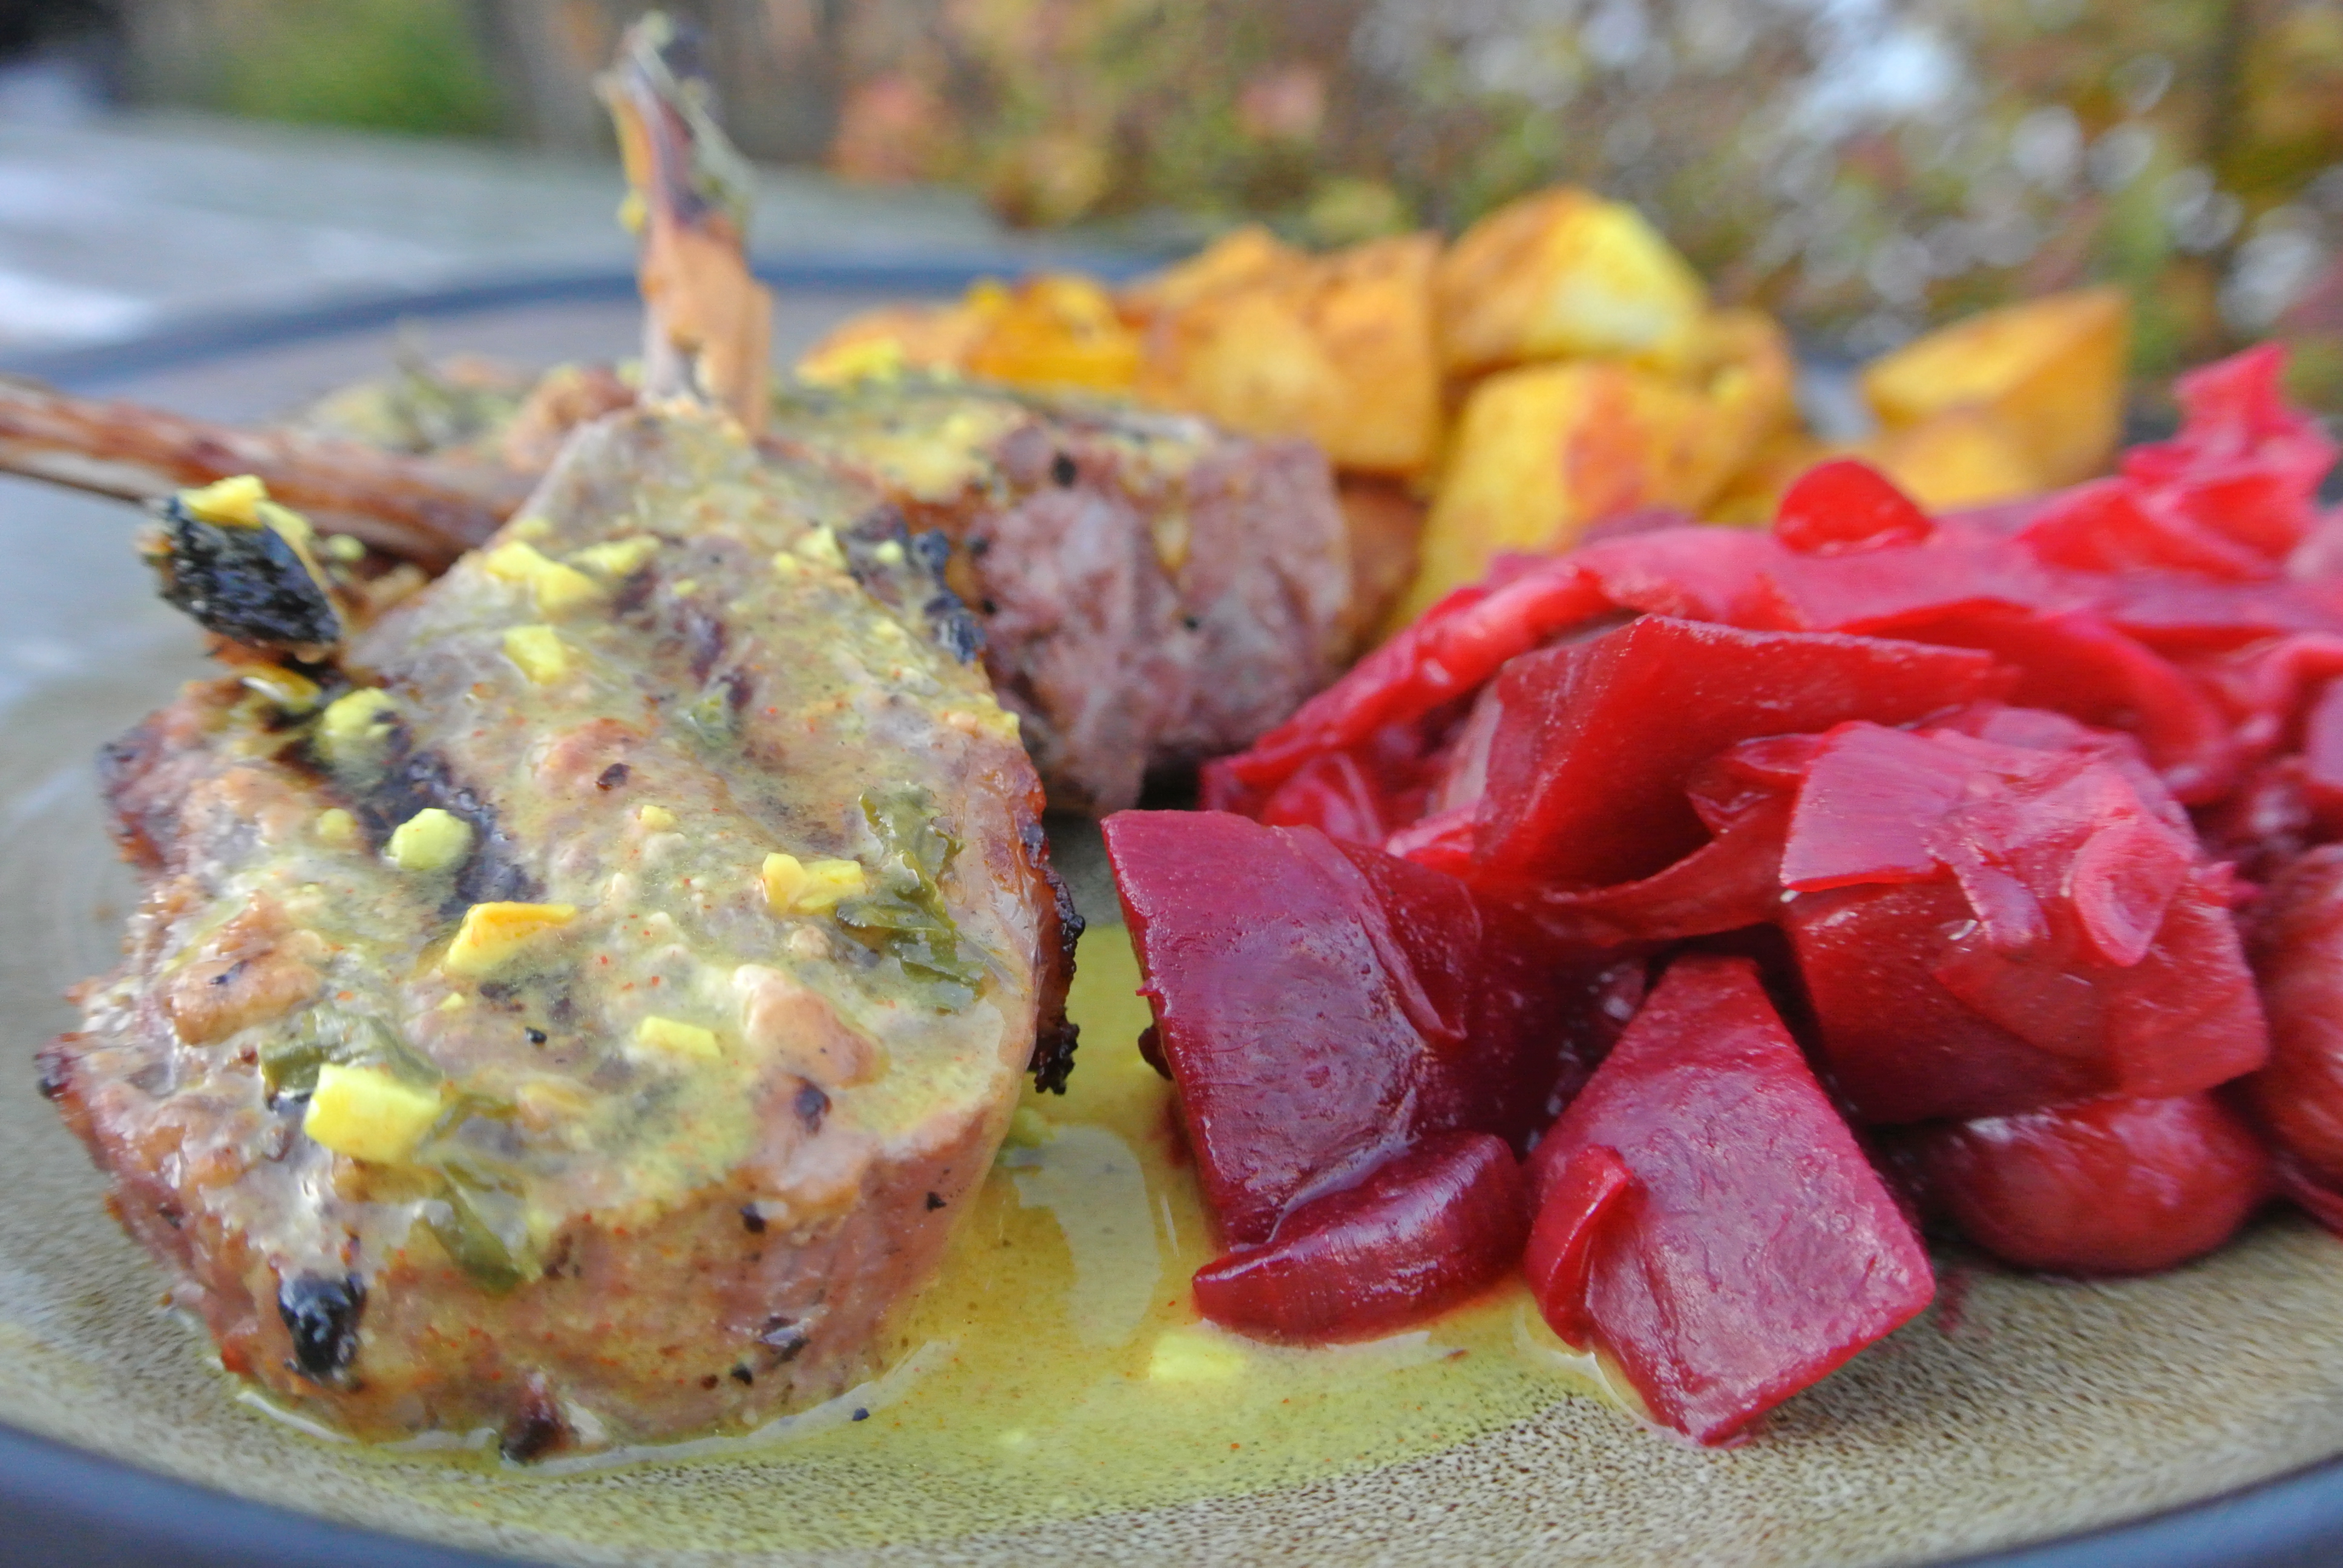
When it comes to Indian cooking, we first think of Vij (a well-known Indian chef who has a Vij’s Restaurant in Vancouver). He uses heavy cream in most of his dishes, but we replace it with equal amounts of coconut cream with good results. If you want to be the talk of the town, here are a two crowd pleaser recipes that go really well together to make a delicious & satisfying meal. And they are surprisingly simple o make! – Vij’s Marinated Lamb Popsicles & Turmeric New Potatoes

Lastly, you can also add turmeric to your Smoothies for added healing effect. It may stain your blender container a bit, but it is worth it! Here’s a recipe that we tried & liked very much (we swapped the frozen banana for frozen mango, and juiced the ginger along with the carrots) –> Creamy Vegan Golden Milk Smoothie

~ Turmeric Bombs ~

IMG_3181

This is an inexpensive DIY supplement which contains fat & black pepper to help increase absorption. Honey can be added to improve the flavour and give it a desirable sweetness. You can chew these little bombs, let it dissolve in your mouth, or swallow it whole with water. There are recipes out there that also add quercetin, which may also increase absorption but we’ve created a simple recipe that uses ingredients that you likely already have on hand.

IMG_3166

It is best to start by keeping your coconut oil at room temperature. If you store it in the fridge, take it out about an hour before you make these so it can soften a bit. If it is summer and your coconut oil is liquid, then you will end up with turmeric blobs instead of bombs – You will lose the aesthetics of having a bomb, but you won’t loose the medicinal aspect of the bomb.

We are in the midst of ‘fancifying’ a recipe for these, but here is the bare bones recipe for Turmeric Bombs.

In a medium sized bowl, add:

  • 8 Tbsp turmeric powder
  • a few dashes of cracked pepper
  • 3 Tbsp coconut oil (at room temperature)
  • 3 Tbsp raw honey (if you don’t want to use honey, just add another 3 Tbsp coconut oil)

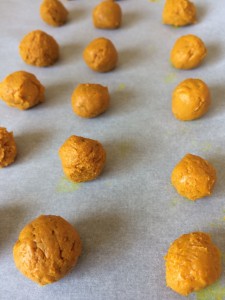
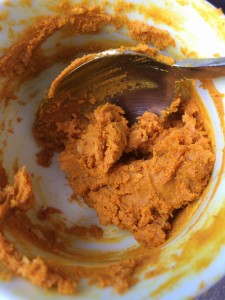
Mix all of the ingredients together well with a spoon. This may take a few minutes, as you work on mixing the coconut oil chunks with the other ingredients. When everything is well mixed together, get a small bowl with water in it to dip your fingers in while you make the small bombs. Line a baking sheet with parchment paper, and clear some room in your freezer for the baking sheet.

Spoon out a small marble-sized ball, dip your fingers in the water, and roll the ball into a smooth ball and place it on the prepared baking sheet. Continue to do this until you have no mixture left. It will make 40-50 balls. Place the balls/baking sheet in the freezer for about 1 hour to let them set. Then, remove the bombs from the baking sheet and store them in a glass jar, in the freezer so they maintain a creamy texture.

Take 1-2 bombs/day for maintenance, and up to 4 to treat aches and pains. You may be surprised that you may start to actually crave these little golden nuggets!

~ Turmeric Paste ~

IMG_2944-300x225 2

This method of preparing turmeric is very similar to turmeric bombs but you cook the turmeric powder with water to give you a potent turmeric supplement. If you experience gas & bloating when taking the paste, cut back on the dose until you no longer experience digestive upset.

Ingredients:

  • 1/2 cup turmeric powder
  • 1-2 cups water ( start with 1 cup and add more, up to 2 cups, if needed)
  • 1/3 cup coconut, olive or flax oil
  • 3 tsp freshly ground black pepper

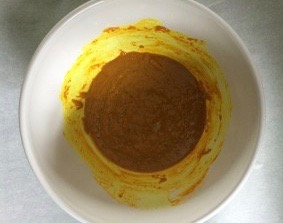
Directions: Combine turmeric powder and water in a small saucepan, and bring to a boil. Reduce the heat simmer for 7-10 minutes. Stir often to prevent sticking, and add more water as need to keep it to a paste consistency (this can be adjusted to suit your preference).

Remove mixture from the heat and allow it to cool until the pot is warm to the touch. Add oil & pepper, and stir thoroughly until they are completely mixed in.

Store in a clean, sterilized jar in the refrigerator for up to 10-14 days. If you see any signs of mold, or notice an ‘off’ flavour, discard immediately. If you know that you won’t use all of the mixture within two weeks, you can freeze some for later use.

Take 1/4 tsp 1-2 times daily, with food.

Filed Under: Articles, Healthy Foods, Naturopathic Articles Tagged With: best root ever, best turmeric recipes, easy ways to use turmeric, fresh turmeric, golden milk, golden milk recipes, golden milk smoothie, golden tea, how to cook with turmeric, how to use turmeric, turmeric, turmeric balls, turmeric bombs, turmeric curry recipes, turmeric milk, turmeric paste, turmeric recipes, turmeric tea

Easy, Every Day Spa Treatments to Enjoy at Home

January 9, 2017 by Dr. Nicholas Anhorn, ND and Dr. Lyndsay Wareham, ND Leave a Comment

fullsizerender-3

These days, it seems as though if you ask anyone ‘How are things going? How was your day? Or weekend?’, more than likely, they respond with “Busy”. And when I say anyone, I mean anyone… like you’re retired grandmother, elementary-aged niece, or enlightened friend. ‘Busy’ has become the new normal way of living in modern society.

Thus, there is no shortage of articles, books, blogs, magazines, and courses highlighting the fact that many of us would benefit greatly from slowing down, saying no more often, and carving out daily quality ‘me time’.

And, I agree. Personally, we have very busy (sometimes jam packed..) days, and it is essential to commit to making time to slow down & relax during the day, every day. This can be difficult. Society (and our mind) tells us that it is not productive, meaningful, or dutiful to make time for ourselves. But even if you can manage taking 5 minutes to relax, in whichever way works for you, can benefit your physical, mental emotional & spiritual self. You may even find that it feels so good to get into this relaxed state that you want to take an extra few minutes to enjoy feeling your body and mind reset.

Doing this can actually make you more productive, clear-minded, and energized.

It’s kind of like if you perform sustained exercise for a long time (such as running, swimming, or cycling), you may find yourself getting tired at some point in your journey, and you could just trudge through it, without stopping, to get it done, or you could stop to catch your breath. When you get started again, you may find that you feel refreshed & recharged to finish your exercise.

We wanted to share a few ways to invite relaxation into your day or night by taking a ‘spa’ bath. This can be done by taking a few key ingredients used in spa treatments and bringing them into your bathroom. You may even find that you have all of these ingredients in your home already!

fullsizerender-2

Three main ingredients: Epsom salts, sea salt, & baking soda. Lavender essential oil is optional.

1. Hot Detoxing Bath

Draw a deep hot bath & while the water is running, add:

  • 4 cups epsom salt
  • 1 cup sea salt
  • 1/2 cup baking soda
  • 30 drops of lavender oil (optional)

Light a candle or two, hop in the bath, lay back, and enjoy!

You may notice that you feel a little boyant from all of the salt. The epsom salts help relax your muscles, and the sea salt and baking soda make your skin feel soft and smooth. And if you’re using lavender oil, that is helpful, of course, for relaxation. 

For a thoughtful gift idea, add all of these ingredients (minus the water) into a large bowl, mix together well and scoop into two 1 Litre glass jars. Decorate the bottle with some colourful twine and a homemade gift tag, and mix in dried lavender flower ‘petals’ if you have them  – and you have a gift that will be greatly appreciated by whomever you gift it to. (This is #24 on our article 50 Ways to Use Lavender)

2. At-Home Sauna Treatment

Sweating is one of the ways that we detox estrogens, pesticides and other persistent organic pollutants (POPs) from our bodies. The key is to make sure that you rinse off after a good sweat in order to prevent reabsorption of these toxins through the skin. Taking a shower, bath, and rinsing with a wet cloth are effective ways to do so.

One way to create sauna-like sweating at home is by drinking a hot cup of tea while soaking in a hot bath. Combining these two therapies warms the internal temperature to induce sweating and detoxification.

3. Contrast Hydrotherapy in the Shower

Contrast hydrotherapy is also one of the few ways to move the lymphatic fluids, along with exercise (ie. jumping, walking), massage, and dry brushing. Admittedly, contrast hydrotherapy is not the most relaxing therapy but it sure is rejuvenating! Have you ever done a Polar Bear Dip (traditionally done on New Year’s Day)? That is the ultimate contrast hydrotherapy! It is believed to stimulate the immune system, metabolism, and overall vital force.

And, although you may need to build up courage to actually do contrast hydro, you won’t regret it when you do!

But you don’t need a hole cut into a frozen lake to get the benefits of hydrotherapy. A few ways to do this at home are: to take your regular warm-hot shower and then turn the water to full on cold for 10 seconds (don’t forget to breathe!) before you shut off the shower. You can build up to 1 minute of cold, over time. 

The key is to let the body’s vital force warm you up after being exposed to the cold. You’ll experience this as you ‘pink up‘, and you’ll be surprised by how warm you feel a few seconds after you’ve been doused in cold.

Alternatively, if you have a removeable shower head, you can place the shower head over an area of the body (thyroid, adrenals, intestines, or an injured muscle) and alternate between a blast of warm-hot water for 10 seconds to a blast of cold water for 10 seconds for 2-3 rounds of each. Be sure to always end on cold.

fullsizerender-1

Enjoy relaxing at your personal at-home spa!

Filed Under: Articles, Naturopathic Articles Tagged With: at home spa, bath, detox, detoxification, epsom salts, feel good, refresh, rejuvinate, relax, spa

Ken-Tucky Fried Chicken

January 27, 2016 by Dr. Nicholas Anhorn, ND and Dr. Lyndsay Wareham, ND 2 Comments

Ken's version of the famous 11 herbs & spices recipe

Ken’s version of the famous 11 herbs & spices KFC recipe

I have to give my Dad full credit for this recipe. It’s his delicious rendition of the famous 11 herbs & spices combination you’ll find in KFC recipes. The more basic herbs are brought to a whole new level with the addition of kosher salt, white pepper, curry & chili powders. (My Dad’s name is Ken, hence the ‘Ken-Tucky’ recipe name).

You can fry the chicken, as suggested below, but we’ve also baked the chicken at 350F for 35-40mins (omitting the oil), which gives you a less crispy chicken but it’s lower in fat as well. You can also start off with frying for about 15 mins to brown the chicken, and then throwing it in the oven to bake for another 20-30mins. There are alot of variations to cooking this recipe, as you can see. 

My Dad’s motto (courtesy of Chef Michael Smith) is “never make the same dish twice”.

Ken-Tucky Fried Chicken (gluten-free, dairy-free)
 
Print
Prep time
5 mins
Cook time
50 mins
Total time
55 mins
 
Add a little more of this & a little less of that with equally delicious results. Serve it alongside roasted potatoes, carrots, and kale chips - and you've got yourself one tasty meal!
Author: Lyndsay & Nick
Recipe type: gluten-free, dairy-free, dinner
Serves: 10 thighs
Ingredients
  • 10 bone in chicken thighs, skin on
  • 1 tsp (heaping) oregano, dried
  • 1 tsp (heaping) basil, dried
  • 1 tsp curry powder
  • 1 tsp chili powder
  • 1 tsp kosher salt
  • ¼-1/2tsp white pepper (depending on how spicy you want it)
  • 3-4 Tbsp brown rice flour
  • 2-3 Tbsp oil
Instructions
  1. Rinse chicken thighs in under cold water. Pat each thigh dry, individually. Place them on a cutting board or mat.
  2. Pre-heat 2 Tbsp oil on medium high heat in a large (at least 12 inch) sautee pan.
  3. Add all herbs, spices, salt, brown rice flour into a large mixing bowl. Mix together well.
  4. One by one, coat chicken thighs with spice mix by mixing it around in the bowl.
  5. Add coated chicken thigh to sautee pan, skin side up. Continue until all pieces are coated.
  6. You can sprinkle the remaining spice mixture onto each piece, or discard it.
  7. Fry chicken for 20 minutes, add 1 Tbsp oil more, if needed (if the bottom of the pan looks dry).
  8. After 20 mins, turn each piece with a fork or spatula (watch yourself!) and let cook for another 15-20 mins, or until done. You may have to let them cook for another 10-15 mins depending on the size of the thighs.
3.4.3177


Filed Under: Lunch & Supper, Recipes Tagged With: fried chicken recipe, healthy fried chicken, healthy KFC recipe, homemade KFC recipe

Dairy-free Seafood Chowder

January 16, 2016 by Dr. Nicholas Anhorn, ND and Dr. Lyndsay Wareham, ND 14 Comments

DSC_8877

Thick, creamy & dairy-free!

If we had a secret weapon – this would be it! This recipe ‘wows’ people every single time. It’s thick, rich, and decadent. We’ve made it a few times now with a few minor variations, and it’s worked out great every time – we hope you like it!

Dairy-free Seafood Chowder
 
Print
Prep time
15 mins
Cook time
40 mins
Total time
55 mins
 
This one-pot wonder satisfies any creamy chowder cravings you may be having this winter... and its dairy-free - bonus!
Author: Lyndsay & Nick
Recipe type: dairy-free, gluten-free
Serves: 6-8
Ingredients
  • 4 Tbsp ghee, earth balance, or your favorite butter-like oil (... or butter if you can tolerate some dairy)
  • 1 onion, chopped
  • ½ tsp celery seed
  • 1-2 bay leaf
  • 2 tsp dill, dried (4tsp if using fresh)
  • 1 tsp sea salt or 1½-2 tsp Herbamare
  • ¼ tsp pepper, fresh ground (or more to taste)
  • 4 medium potatoes, peeled & cut into 1in cubes
  • 1 cup water, no salt chicken or seafood broth
  • 2 cans coconut milk, but just mostly the cream (reserve the water for a smoothie)
  • 2-3 cups fresh or frozen seafood combination (skinless haddock fillet pieces, wild salmon fillet pieces, shrimp, lobster claws with liquid, scallops, crab)
  • 1½ cup frozen corn
  • lemon wedges or parsley, as garnish (optional)
Instructions
  1. In a large pot, melt ghee or oil over medium heat.
  2. Add in onions, herbs, salt & pepper. Sautee for 5 mins, until onions are browning.
  3. Add potatoes & sautee for 5 mins more. (feel free to add a bit of the water to prevent potatoes from sticking to the pot)
  4. Increase heat to high, add 1 cup water/broth & bring to a boil.
  5. Turn heat down slightly & boil potatoes, stirring often, until they reached desired tenderness (about 10 mins)
  6. Turn heat to low, add frozen corn & coconut cream and stir well. Add some coconut water or more water/broth if you prefer a slightly thinner chowder.
  7. Add in seafood & fish, and cook for another 5 mins, or until the fish is flaky, stirring often.
  8. Add salt & pepper to taste, and remove bay leaf.
  9. Serve with lemon wedges, fresh chopped parsley, and fresh ground pepper, as garnish if you'd like.
3.4.3177


Filed Under: Lunch & Supper, Recipes, Soups & Salads Tagged With: dairy-free chowder, dairy-free seafood chowder, maritime chowder, maritime dairy-free seafood chowder, maritime seafood chowder, one-pot wonder

3 Ingredient Mango Creamsicle (dairy-free, gluten-free)

May 27, 2015 by Dr. Nicholas Anhorn, ND and Dr. Lyndsay Wareham, ND Leave a Comment

DSC_7576

*Creamy Mango Popsicle*

Yes, our last post was also a popsicle recipe, but with summer on it’s way it is just so gratifying to eat (at least) one popsicle per day. 

The already sweet mango is elevated by adding a touch of honey, which also balances the sometimes strong flavour of the coconut cream. You could use other sweeteners to make it vegan (agave syrup, coconut or cane sugar, etc), but the mango & honey do “marry” well together.

3 Ingredient Mango Creamsicle (dairy-free, gluten-free)
 
Print
Prep time
5 mins
Total time
5 mins
 
Fresh mangos give a nice buttery creamy texture to the unfrozen popsicle, whereas you can get nice little fruit chunks in your popsicle when using frozen mango chunks. We like blending it until everything is smooth & creamy.
Author: Lyndsay and Nicholas
Serves: 6-10
Ingredients
  • 4-5 cups ripe mango chunks, fresh or frozen (or both!)
  • 1 can coconut milk (unshaken! As we'll use mostly just the cream)
  • 1-2 Tbsp honey
Instructions
  1. Place mango chunks & honey in a high powered blender.
  2. Scoop in coconut cream (the thick top layer in the can of coconut milk). If its summer time, you may have to refrigerate your can of coconut milk for a day to separate the cream from the water.
  3. Add in coconut water in small amounts - just enough to allow your blender to blend everything into a smooth creamy mixture (if using frozen chunks you may need to add all of the water, but if using fresh then you won't need much). Blend until you've reached your desired consistency.
  4. The key to a creamy popsicle is adding as little water as possible.
  5. Scoop into popsicle molds. Freeze for at least 8 hours.
  6. Enjoy as a snack or dessert!
3.4.3177

Filed Under: Desserts, Recipes Tagged With: dairy-free dessert, dairy-free popsicle, homemade popsicle recipe

Strawberry-Blueberry Ice Cream-Popsicles (dairy-free, gluten-free, vegan)

April 29, 2015 by Dr. Nicholas Anhorn, ND and Dr. Lyndsay Wareham, ND Leave a Comment

DSC_7165

Dairy-free Blueberry Popsicles

Confusing title, right? But, I wanted to pay homage to the two beautiful berries that could potentially make up this versatile dessert. There are many other frozen berry & fruit options that you could use to create a refreshing ice cream (served now) or creamy popsicle (served later) — the possibilities are endless & also delicious! We have had the best success using strawberries & blueberries, because they are both naturally sweet fruit, but I imagine that frozen mango & peaches would also be delicious! We’ve also tried berry mixes with mainly raspberries and blackberries, but we found that you need to add more sweetener to make up for the tartness of the berries, which takes away from the fresh berry flavour.

Our daughter affectionately calls the strawberry version “Pink possicle” or “Pink ice cream” (depending on what form it’s in), and asks for it no matter what season it is. It makes for a nice ice cream-like dessert to enjoy after a meal, or as an afternoon snack (or before bed…or as part of breakfast….). It is best served immediately if you want to enjoy it as ice cream, or pour into popsicle molds to be enjoyed later. 

You’ll need a high powered blender such as a Vitamix in order to get the frozen ingredients blended into a creamy mixture. I haven’t tried making it in a food processor, but if you try it, let us know how it works out!

Strawberry/Blueberry Ice Cream Popsicles
 
Print
Prep time
5 mins
Total time
5 mins
 
Enjoy this delicious berry ice cream immediately after making, or pour into popsicle molds to enjoy later.
Author: Lyndsay & Nicholas
Recipe type: dairy-free, dessert
Serves: 4-6
Ingredients
  • 2 generous cups frozen strawberries or blueberries
  • 1 medium banana, frozen
  • 1 can high fat coconut milk (*do not shake as we want to keep the cream & water separated)
  • 6-8 ice cubes
  • ¼ tsp vanilla (optional)
  • sweetener: 1-2 Tbsp cane or coconut sugar, 2-3 medjool dates, or 3-4 pitted baking dates (soaked in warm water for 5-10mins)
Instructions
  1. Place berries, frozen banana, sweetener, vanilla (if using) and ice cubes in a high powered blender such as the Vitamix.
  2. Scoop the thick coconut cream layer in with the other ingredients. Add a few Tbsp coconut water and start blending - slowly turning the blender speed to high.
  3. If the mixture needs more liquid, stop the blender & add a few more Tbsp of coconut water. (Sometimes you'll use all of the coconut water & other times you'll just need a little bit)
  4. Blend just until mixture turns creamy.
  5. *Too much blending will heat up the ice cream and make it more runny. Too little blending will give you a creamy texture, but with tiny ice crystals... which all still tastes delicious. But, to get an ice-creamy consistency, I gradually increase the blender to high and when the mixture just starts to easily turn in on itself, then I know it's done.
3.2.2265

Caught in the act

Caught in the act


Filed Under: Desserts Tagged With: coconut milk dessert, coconut milk ice cream, dairy-free dessert, dairy-free ice cream, dairy-free popsicle, easy ice cream recipe

Chicken Noodle Miso Soup (gluten-free, dairy-free)

June 10, 2014 by Dr. Nicholas Anhorn, ND and Dr. Lyndsay Wareham, ND 1 Comment

DSC_5279

A nourishing soup to satisfy your salty and comfort food cravings.

This is an easy, light supper to make the night after a roasted chicken dinner. You can make a really tasty chicken stock by simmering the chicken carcass in about 8-10 cups water for 2-3 hours. Add a splash of vinegar to help draw the calcium out of the bones to give you a mineral rich stock, and any other herbs or spices to intensify the flavour. Usually I just add the cooked spices that were rubbed on the chicken before it was roasted. When the stock is done simmering, let cool completely and remove the chicken pieces from the bone – keep the chicken pieces in the stock and discard the bone.

And as always, feel free to add whatever veggies you like to this soup. We like to throw the shorter-cooking veggies like cabbage or other leafy greens at the end of cooking to retain their crisp texture and freshness.

Chicken Noodle Miso Soup (gluten-free, dairy-free)
 
Print
Prep time
10 mins
Cook time
15 mins
Total time
25 mins
 
If you added salt when making your homemade chicken stock, you'll likely need a little less tamari & miso. If you didn't add salt, just leave it out completely because it cancels out the saltiness from the tamari when you add them both in the soup.
Author: Lyndsay & Nicholas
Recipe type: Soup
Cuisine: gluten-free, dairy-free
Serves: 4
Ingredients
  • 7-8 cups chicken stock
  • 1 large onion, sliced into half moons
  • 2 large carrots, thinly sliced into rounds
  • 3 cloves garlic, minced
  • 1 cup savoy cabbage (or purple), thinly sliced
  • 1 cup fresh or frozen broccoli florets
  • 1 red thai chili pepper, chopped, or 1 tsp red chili pepper flakes (optional)
  • 4-5 baby bella or white mushrooms, sliced (optional)
  • 5-6 Tbsp Genmai miso
  • 4-5 Tbsp tamari
  • 1 Tbsp rice wine vinegar
  • 2 "patties" of brown rice vermicelli noodles
Instructions
  1. Bring stock to a near-boil & add onion, garlic, carrots. Also add chili pepper & mushrooms, if using. Turn heat down ti simmer, cover & let cook 8-10mins.
  2. Add noodles, broccoli & cabbage and cook for 3-4 more minutes. While the noodles & veggies are cooking, add miso paste, tamari, vinegar & pepper.
  3. Taste and adjust seasoning to your liking. (We tend to be lighter on the vinegar and heavier on the miso & tamari for a flavourful soup).
  4. Serve with a soup spoon & chopsticks.
  5. Enjoy!
3.2.2265

Filed Under: Recipes, Soups & Salads Tagged With: asian chicken noodle soup, asian miso soup recipe, chicken noodle soup, gluten-free chicken noodle soup, miso soup recipe

Thai Panang Curry with Chicken (gluten-free, dairy-free)

March 30, 2014 by Dr. Nicholas Anhorn, ND and Dr. Lyndsay Wareham, ND Leave a Comment

DSC_5254

A fragrant and delicious red curry dish.

You know how most people have a certain style of cooking? Well, not Nick – he’s the most versatile, well-rounded, and talented cook I know. He takes his time when cooking – it takes him most of the day to cook a meal… as it should when using traditional cooking methods 🙂 But the end result is a dish that is complex, sophisticated, and so full of flavour! So, at first, this recipe may look a little intimidating, but please know that you will not be disappointed if you decide to take on this recipe.

One of Nick’s favorite cuisines to prepare is Thai food. His inspiration for this recipe comes from the time he spent at Yousabai farm in Northern Thailand, taking part in a weeklong Thai vegetarian cooking course. This dish contains a few special herbs that are essential to Thai cooking. Galangal, kaffir lime leaves, lemongrass, and Thai basil. You may not recognize galangal and kaffir lime leaves, but these two herbs are indispensable in authentic Thai cooking. They are optional in this recipe because of the difficulty in finding these Thai herbs, but if happen to have them in your kitchen – bonus!

You can easily make this dish vegetarian/vegan by substituting chicken for fried tofu, or cooked chickpeas.

Thai Panang Curry with Chicken
 
Print
Prep time
30 mins
Cook time
60 mins
Total time
1 hour 30 mins
 
The heat from the chilies is balanced by the coconut milk, and the addition of Thai herbs and spices give this dish an authentic Thai flavour in the comfort of your own kitchen.
Author: Nicholas
Recipe type: gluten-free, dairy-free
Cuisine: Thai cooking, dinner
Serves: 4-6
Ingredients
  • 5 thai red chilies, de-seeded, soaked in warm water for 30 mins
  • 2 chicken breasts, cut into strips
  • 1 ½ cups wild rice blend, or long grain brown rice
  • 2⅓ cup water
  • 2-3 Tbsp coconut oil
  • 2 medium onions, chopped
  • 4 cloves garlic, minced
  • 1 Tbsp cumin seeds, whole
  • ½ Tbsp coriander seeds, whole
  • 3 Tbsp Thai red curry paste
  • 1 can coconut milk
  • ¼ cup tamari soy sauce
  • 2 Tbsp coconut or cane sugar
  • 1 Tbsp galangal powder, or 2Tbsp fresh chopped (optional)
  • 5-10 keffir lime leaves (optional)
  • 2 lemongrass stalks, chopped (optional)
  • 1 cup green beans, fresh or frozen, cut into 1” pieces
  • ½ cup green peas, fresh or frozen
  • ½ cup zucchini, diced
  • ½ cup broccoli florets, chopped
  • 1 Tbsp dried thai basil, or 3 Tbsp if using fresh
  • cashews, roasted or dry roasted, for garnish
Instructions
Preparation:
  1. In a small bowl, place red thai chili peppers in warm water to soak for 30 mins.
  2. At the end of soaking time, remove chilies from water, chop off stems and cut lengthwise. Place chilies back in water and de-seed. When most of the seeds are removed (you can leave a few in for heat), take chilies out of water and chop well. Discard water & seeds. Transfer chopped chilies to a mortar. With a pestle and mortar, grind chilies into a paste. Set aside.
  3. Cut chicken breasts into strips. Set aside.
  4. Rinse rice, and add to a medium-sized pot with water. Bring to a boil. Reduce heat to simmer, cover and let sit for 45 mins. When done, fluff with a fork.
Cooking:
  1. In a large skillet, heat 1-2 Tbsp coconut oil over medium-high heat.
  2. Add chopped onions & cook for 2 mins, or until softened.
  3. Add minced garlic, and cook for 1 minute.
  4. Add 1 more Tbsp coconut oil with cumin and coriander seeds. Heat for 30 sec.
  5. Add 3 Tbsp Thai red curry paste, and homemade red thai chili pepper paste. Mix well, and heat for 30 sec.
  6. Empty skillet into a bowl, and set aside.
  7. In the same skillet, heat 1 Tbsp coconut oil. Add chicken strips & cook until done (when there’s no more pink), about 5 mins.
  8. Add chili/curry paste mixture back into skillet, and canned coconut milk. Mix well.
  9. Mix in tamari soy sauce, sugar, and thai basil. Add galangal, kefir lime leaves & chopped lemongrass if using.
  10. Add in green beans, green peas, zucchini, & broccoli florets.
  11. Reduce heat to low, and let simmer for 5-10 mins.
  12. Serve by scooping about ½ cup rice in a bowl, add a large scoop of veggies, and cashews for garnish.
3.2.2265

Filed Under: Lunch & Supper, Recipes Tagged With: homemade red curry dish, homemade thai curry recipe, panang thai curry, red curry, thai cooking

Grocery Shopping List

January 2, 2014 by Dr. Nicholas Anhorn, ND and Dr. Lyndsay Wareham, ND 1 Comment

When making significant dietary changes, such as eliminating gluten and dairy intake, often people fear that there are no foods that they can eat – but this is far from the truth! So, to help you find gluten-free and dairy-free food options here in Moncton, NB, we have made a grocery shopping list for selected stores and markets around the city.  And to give you a visual, we’ve added links to some of the products so you can easily recognize the foods that you’re looking for when you’re out grocery shopping.

So, try not to feel overwhelmed or discouraged when decreasing or completely phasing out two of the most common allergens – dairy and gluten. Because, as you can see, there’s lots of food options out there for you to choose from, and cooking in this way is actually very easy! With every change, it’s always good to start out small by incorporating a few new dishes and options at a time so you can discover what food items you and your family enjoy best. When people get started on this path, many find that they can easily make the change to gluten and dairy free foods, and their family either won’t notice or will enjoy the  flavours and textures that these new foods bring to the table.

Costco (*Please note that Costco’s inventory changes frequently so some items may be there seasonally or temporarily)

  • TruRoots Ancient Grains Penne Pasta (gluten-free)
  • Carrington Farms organic coconut oil
  • Manitoba Harvest hemp hearts
  • Almond Preference Unsweetened Vanilla Almond milk 
  • Ocean’s canned wild Alaskan sockeye salmon (4 cans)
  • Kirkland frozen wild caught Alaskan sockeye salmon fillet pack
  • Moov Frozen  pesticide free wild blueberries
  • Crunchmaster multi-grain gluten-free crackers
  • MaraNatha natural roasted almond butter
  • Kirklands Organic Salsa
  • Que Pasa & Kirkland organic tortilla chips
  • Kirkland Organic canned diced tomatoes, tomato sauce, & tomato paste
  • Skyvalley Organic Sriracha hot sauce
  • Kirkland organic chicken & vegetable broth
  • Home Goodness Organic beef broth
  • Simply Natural Organic Tomato & Basil pasta sauce
  • Bob’s Redmill gluten-free Steel Cut Oats
  • Fontaine Sante Traditional Hummus 
  • Grimm’s lean Turkey pepperoni
  • Nature’s Wild Grains – black chia seeds
  • Organic by Mariana organic, unsulphured Malatya Apricots
  • Kirkland’s roasted organic sunflower seeds 
  • Kirkland’s roasted organic pumpkin seeds
  • Kirkland’s walnut halves
  • Kirkland’s natural whole raw almonds
  • Bag of avocados

Dieppe Food Market

  • We buy most of our groceries here from the market, as they have a large variety of seasonal vegetables & fruits, berries, meats, bread, seafood, and maple syrup.
  • Broadfork Farm: amazing locally grown organic veggies (seasonal only)
  • Local by Atta: hydroponic salad & micro greens (order 10 week box to ensure your favorites are available to you weekly)
  • Nature’s Route Farm (Kent): carrots, kale, cabbage, potatoes, kohlrabi, onions, beets.
  • Spring Brook Farm: chicken; lamb; eggs – feed is free of additives.
  • La Ferme Terre Partagée: organic strawberries (u-pick available), organic produce (seasonal), kombucha, hot sauce, select meats
  • Wild Blueberry Meadows Farm (Murray & Diane Tweedie) : year round blueberries, juice, and jam.
  • Oliver’s German bakery – all products are sugar free, wheat free, yeast free, GMO free, & organic! such as pizza dough, bagels, buns, a large variety of bread loaves (nine grain, dark rye, bavarian rye…), a wonderful spread of baked goods baked goods, as well as pizza sauce, quiche & other treats
  • David & Murray Bunnett Family Farm: organic grass fed beef, chicken and turkey, organic sausage, organic flour, free-range eggs, organic pumpkin seeds and local organic flax seeds (join his email list to place orders and he will set up a drop off location).
  • Jamieson Beef – beautiful cuts of steak, ground beef, and other beef products
  • Lewis Mountain Fresh Farm (Craig): organic sauerkraut, organic fresh ginger, turmeric & dried spices
  • Armadale Farm (owned by Ian & Hetty): hormone/antibiotic/preservative/additive-free butter, quark, yogourts, and cheddar/gouda/feta cheeses
  • Joe Caissie Seafood: local brined shrimp.
  • La Fleur du Pommier: empire apples, preserved raspberry jam.

Corn crib

  • Bulk spices & herbs 
  • Bulk 70% dark organic chocolate chips
  • A wide variety of bulk nuts & seeds (our favorites are brazil nuts & raw pumpkin seeds)
  • Bulk tahini (seasame seed paste used to make hummus) & nut butters
  • Silver Hills – gluten free breads, frozen (omega flax & chia chia)
  • Variety of bulk gluten-free flours (teff, sorghum, brown rice flour, buckwheat flour, quinoa flour, coconut flour, etc).
  • Blue monkey organic canned coconut milk
  • Eden Organics canned chickpeas 
  • Daiya – vegan cheese shreds

Superstore

  • Organic Meadows Salted & Unsalted Butter (*Seasonally, they carry limited edition pasture fed butter)
  • Shitake & Maitake mushrooms, fresh
  • Bob’s Redmill gluten-free flours (coupon in ‘healthy shopper’)
  • Rizopia – wild rice pasta
  • Eden Organic canned chickpeas
  • A. Vogel Herbamare salt
  • Lundberg organic rice cakes
  • So Delicious Coconut cultured yogurt 
  • Olympic organic yogurt 
  • L’Ancetre organic medium white cheddar cheese

Sobeys

  • Organic baby kale and organic mixed baby lettuces
  • Our compliments organic brown rice spaghetti noodles
  • Silver Hills gluten free Omega flax & Chia Chia bread
  • So Delicious Organic Coconut milk
  • Bob’s Redmill gluten-free flours and grains (coupon in ‘healthy shopper’ coupon booklet)
  • Go Bio organic vegetable bouillon cube
  • A. Vogel Herbamare salt

Bulk Barn

Dried beans and lentils are surprisingly easy to prepare and cook with! check out our recipe section for some ideas

Dried beans and lentils are surprisingly easy to prepare and cook with! check out our recipe section for some ideas

  • Variety of bulk gluten-free flours (teff, sorghum, brown rice flour, buckwheat flour, quinoa flour, coconut flour, etc)
  • A variety of organic beans & lentils
  • Nature’s Path Millet Rice or Mesa Sunrise 
  • San-J gluten-free organic tamari soy sauce 

Amazon.ca – Subscribe & Save

  • 365 Everyday Value Organic Brown Basmati Rice
  • 365 Everyday Value Organic Vanilla Extract
  • Taj Mahal Organic White Basmati Rice
  • New World Organic Tahini
  • Thai Kitchen Green and Red Curry Paste
  • YuPik Organic Tapioca Starch
  • Everland Organic Prunes
  • Bob’s Redmill or Everland Teff Flour
  • Thai Kitchen or Native Forest Organic Coconut Milk cans

Moncton Naturopathic Medical Clinic

  • St. Francis organic extra virgin olive oil
  • St.Francis Organic Ghee
  • Thorne Vegalite protein powder (chocolate or vanilla)
  • Thorne Mediclear Plus protein powder
  • Thorne Mediclear SGS protein powder (chocolate or vanilla)


Filed Under: Articles, Grocery Lists, Healthy Foods Tagged With: dairy free grocery list, dairy free grocery shopping list, dairy free options, dairy free shopping list, gluten and dairy free foods, gluten and dairy free grocery list, gluten free grocery list, gluten free grocery shopping list, gluten free options

What’s for supper?

January 2, 2014 by Dr. Nicholas Anhorn, ND and Dr. Lyndsay Wareham, ND Leave a Comment

When we’re hungry, we look for meals that are healthy, easy to make, relatively quick, and most importantly – delicious! The meal that most people prepare at home is supper, so this is what we decided to feature – what’s cooking for supper!

We’ve been compiling our favourite recipes have started posting them in a a series of posts labeled ‘Quick & Easy Healthy Homemade Meals’, which you can find in our Recipes section (be sure to find the ‘next page’ icon towards the bottom of the page to find earlier posts). Recipes that you’ll recognize are Quinoa Salad with Balsamic Vinegar Dressing, Apple Cider Vinegar Dressing, and Glory Bowl Dressing. Also, be on the lookout for recipes for Sunflower seed burgers, Chickpea chana masala, Ginger-tamari  stirfry sauce, Quinoa salad rolls, and Quinoa crab cakes, and more.

Chickpea Chana Masala

Chickpea Chana Masala with spinach served on long grain brown rice


Sunflower seed burgers with grilled balsamic portabello mushrooms and a green salad

Sunflower seed burgers, grilled balsamic portabello mushrooms, sliced pickles & cuc, and a green salad with glory bowl dressing


Prawn kabobs, balsamic quinoa salad and bitter greens with apple cider vinegar dressing

Prawn kabobs, quinoa salad with balsamic vinegar dressing, and bitter greens with apple cider vinegar dressing


Breakfast for supper: 2 poached eggs, roasted potatoes, and baby grape tomatoes and baby kale leaves served over a slice of gluten-free toast

Breakfast for supper: 2 poached eggs, roasted potatoes, scoop of dijon mustard, baby grape tomatoes and baby kale leaves served over a slice of gluten-free toast


Roasted lamb with , balsamic quinoa salad with cranberries and walnuts, and a green salad

Roasted lamb shoulder with rosemary balsamic reduction,  quinoa salad with balsamic vinegar dressing (with added cranberries & walnuts), and a green salad


Beef stirfry with tamari, ginger, garlic, and black sesame seeds served over brown rice vermicelli noodles

Beef stirfry with tamari, ginger, garlic, and black sesame seeds served over brown rice vermicelli noodles


Quinoa salad rolls! with dipping sauce (recipe to come)

Quinoa salad rolls! with hot & tangy tamari dipping sauce


Quinoa crab cakes, green salad with goat feta and red wine vinaigrette

Quinoa crab cakes, green salad with goat feta and red wine vinaigrette


Lamb popsicles in coconut curry dipping sauce, turmeric roasted potatoes and warm beet cabbage side dish

Lamb popsicles in a tangy coconut curry dipping sauce, turmeric roasted potatoes and warm beet cabbage side dish


Whole roasted chicken, warm wild rice salad with roasted almonds and tamari sauce, homemade sauerkraut and dijon mustard.

Whole roasted chicken, warm wild rice salad with roasted almonds and tamari sauce, homemade sauerkraut and dijon mustard.


Spaghetti squash with roasted veggies and pesto, and roasted veggies with tomato pasta sauce

Spaghetti squash half with roasted veggies and pesto, and spaghetti squash other half with roasted veggies and tomato pasta sauce


Filed Under: Lunch & Supper, Recipes Tagged With: easy homemade supper, healthy family recipes, healthy supper, quick and easy healthy homemade supper

  • 1
  • 2
  • Next Page »

Meet Dr. Nicholas ND & Dr. Lyndsay ND

We are two naturopathic doctors with a vision to inspire healthy cooking, healthy eating, and healthy living for you and your family.  Read more about us >>

  • Email
  • Facebook

Subscribe

Heart Healthy Omega Burgers

Dairy-free Cashew Cream for Breakfast Parfaits & more!

Four essential ways to use Turmeric

Easy, Every Day Spa Treatments to Enjoy at Home

Crispy Cheesy Kale Chips

Ken-Tucky Fried Chicken

Dairy-free Seafood Chowder

3 Ingredient Mango Creamsicle (dairy-free, gluten-free)

Copyright © 2023 · Foodie Theme by Shay Bocks · Built on the Genesis Framework · Powered by WordPress