~ It’s time to turn yummy kale into yummier kale chips ~
This is one of the easiest ways to get our kids to eat a whole ‘bunch’ of kale in one sitting. But it’s not just kids who like these “chips” – this recipe is for anyone who is looking for a healthier alternative to the crispy texture and salty flavour of potato chips.
There are a few keys to making these kale chips which are important in getting the finished product that you want. Here they are:
- Curly kale seems to be the best variety to make kale chips
- Wash and thoroughly dry your kale before using
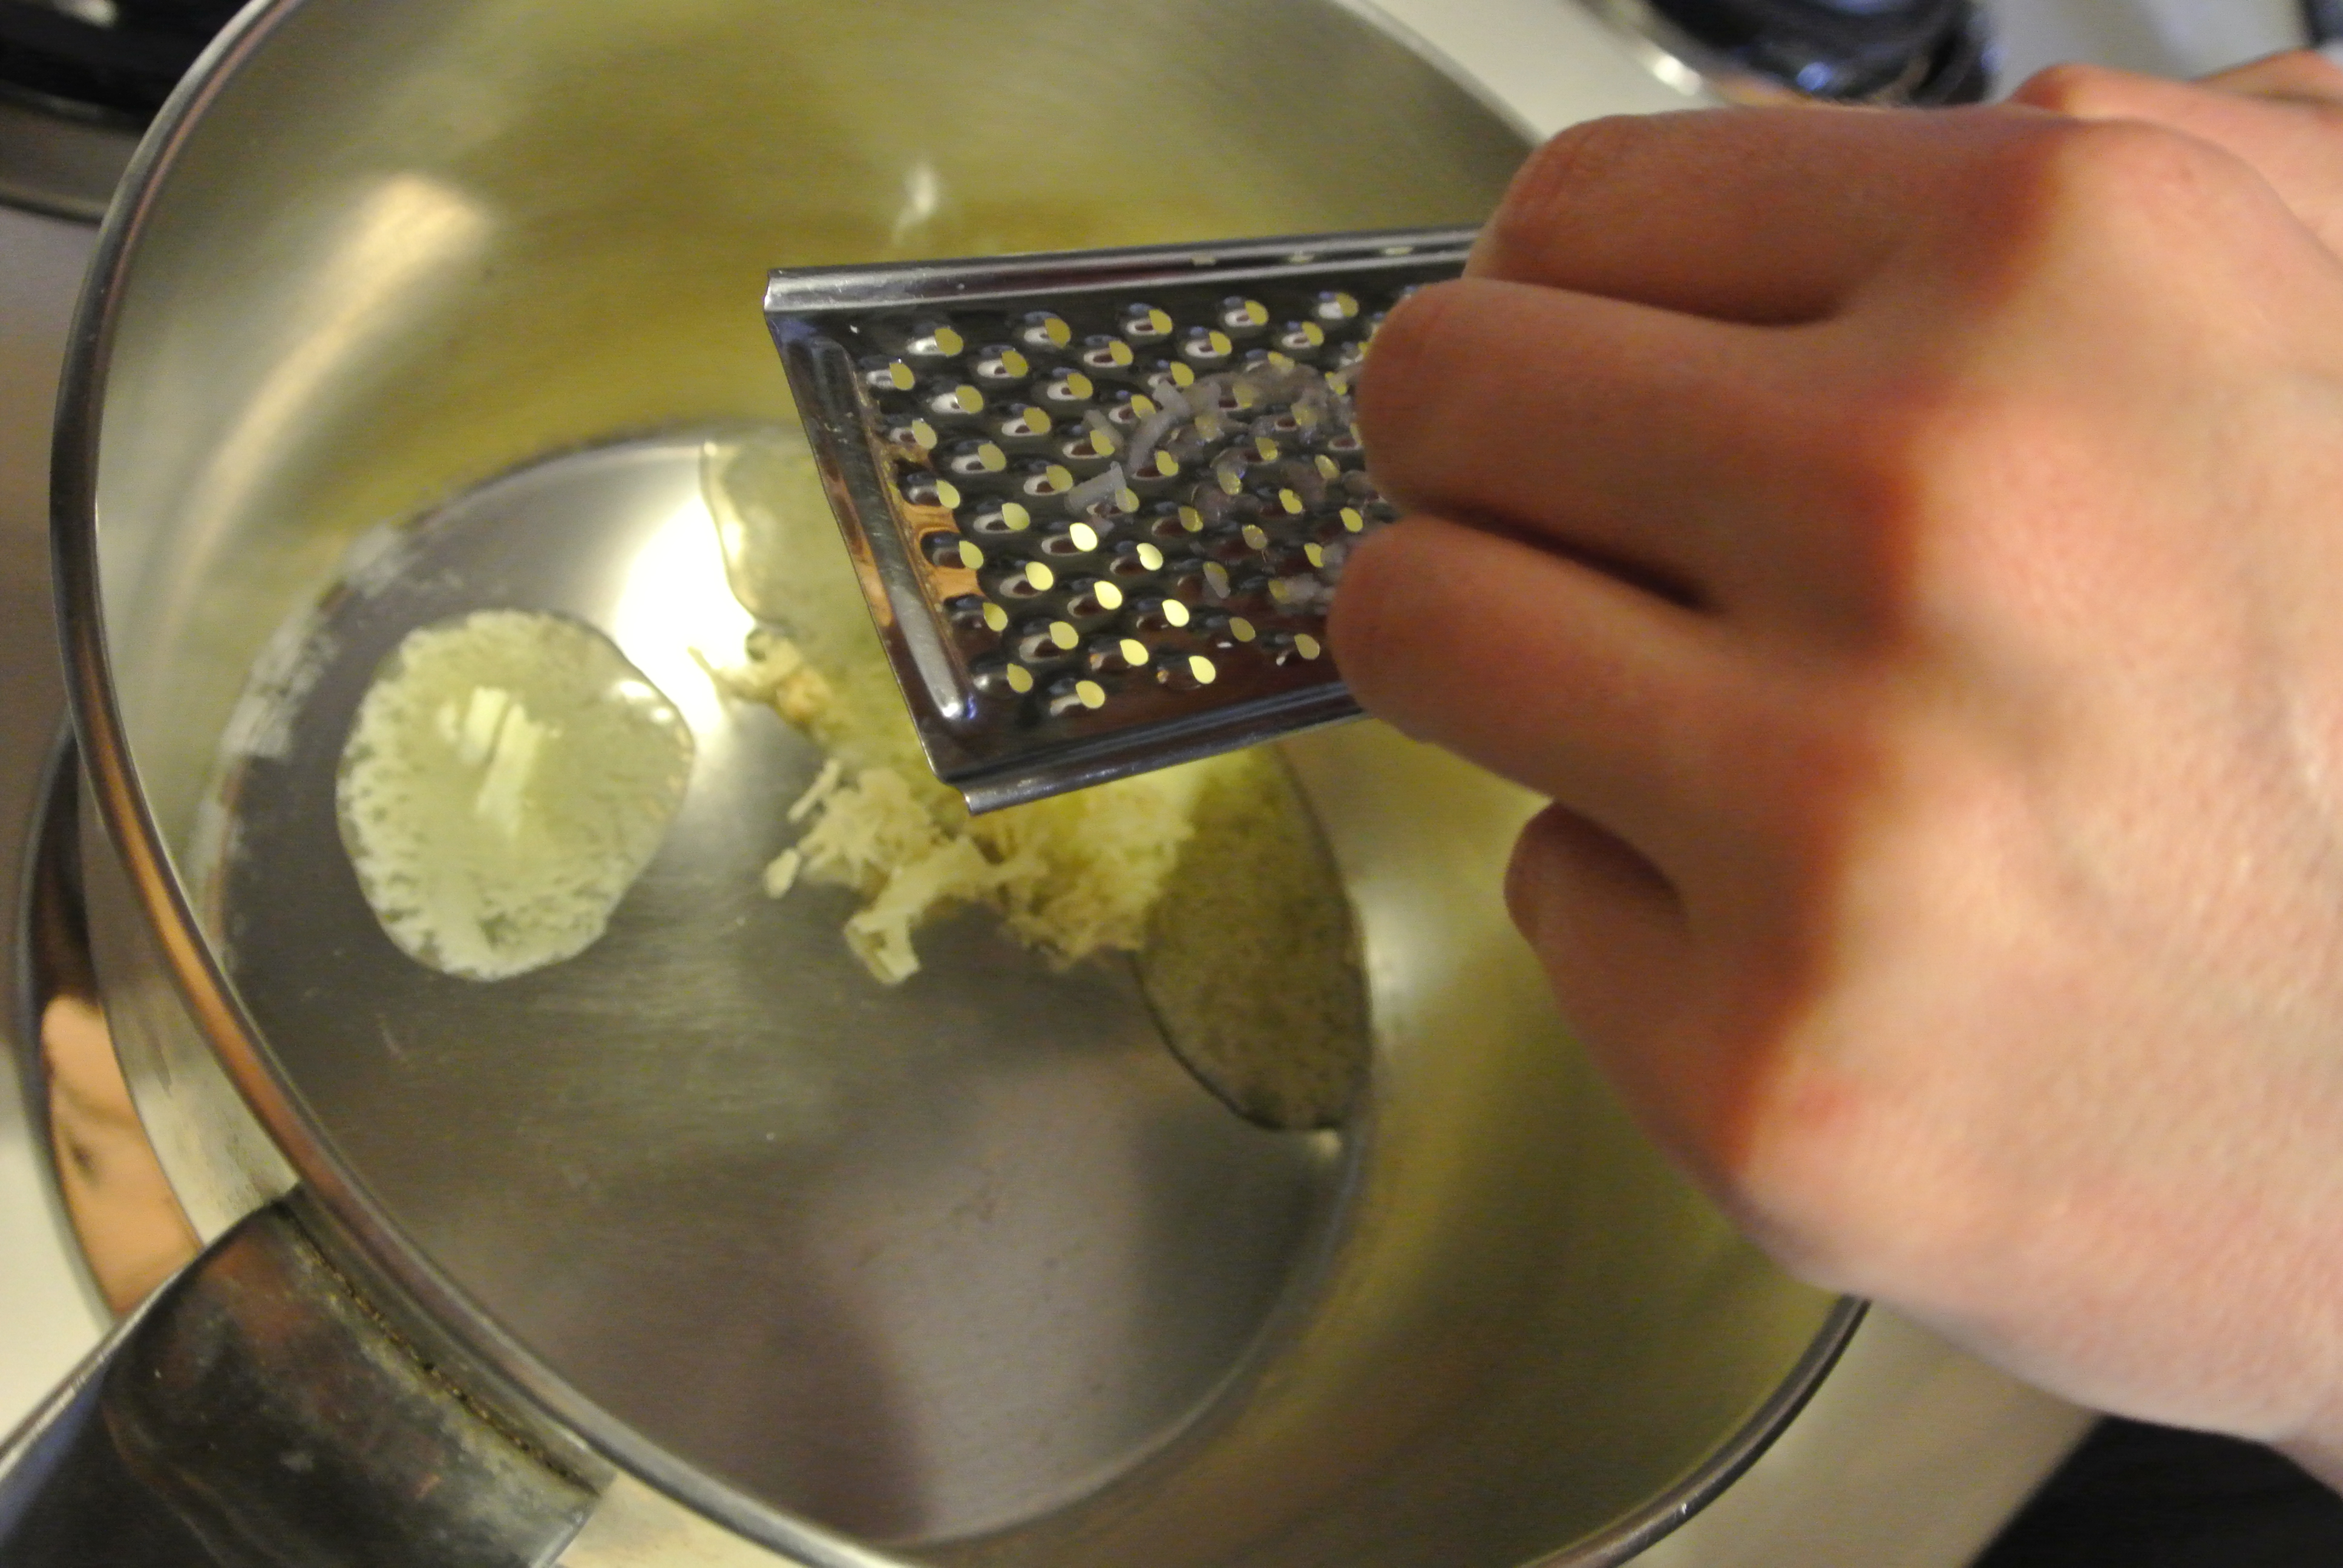
- Use your hands to massage the olive oil into the leaves
- Arrange the prepared kale leaves into a single layer on the baking sheet
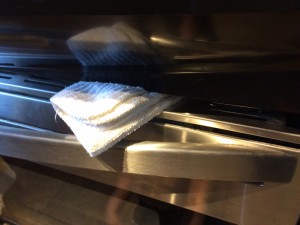
Propping open the oven door just a crack allows moisture escape
… And I have to share my secret to getting crispy kale chips every time — prop the oven door open, just a bit, with a tea towel, wash cloth, or oven mitt! This allows the moisture to escape, so what you’re left with is as close to dehydrated as you’ll get in 20 mins.
We hope you enjoy this recipe as much as our family does. Let us know how you like them, and if you have any questions about the process!
- one bunch of curly kale
- 3-4 Tbsp olive oil
- ½-1tsp sea salt
- ⅓ - ½ cup nutritional yeast flakes
- Preheat oven to 350 F.
- Wash and thoroughly dry each kale leaf.
- Remove the leaves from the stem, ripping the leaves into fairly large bite-sized pieces
- Place leaves into a large bowl
- Pour olive oil over leaves and massage oil into leaves with your hands until each pieces has some oil on it (add more oil if necessary)
- Start with ½ tsp salt and mix it into the leaves to coat evenly. Taste and add more if necessary (Be conservative with the salt as you can always add more at the end of baking, but its not possible to take salt out)
- Sprinkle nutritional yeast over the leaves, turning the leaves to get them evenly coat (start with ⅓ cup and gradually add more to get the right seasoning for you)
- Arrange prepared kale leaves onto a baking sheet and spread them out so there is only a single layer of kale. You may need to use 2 baking sheets if you started with a large bunch of kale.
- Put the kale into the oven to bake, and be sure to use a wash cloth, tea towel or oven mitt to prop open the oven door just a crack to allow moisture to escape.
- After about 10 mins, turn & mix your kale (especially if your oven has hot spots) to get an even bake throughout the batch as the ones on the edges tend to cook quicker
- Bake for 15-18 mins (or even up to 20 mins), depending on your oven.
- Doneness is shown by dark green leaves with slight/light brown edges (*Don't let your kale burn, as it isn't very pleasing to the palate...)
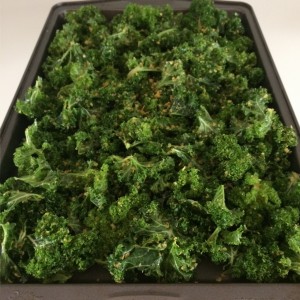
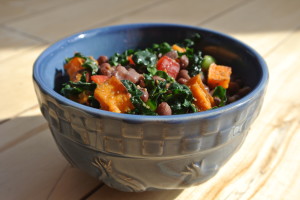
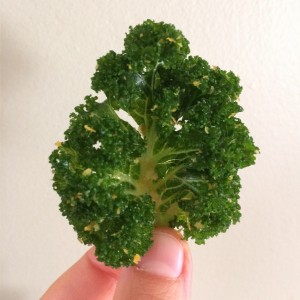
What kale leaves look like BEFORE BAKING
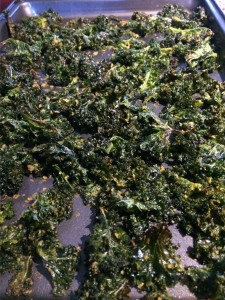
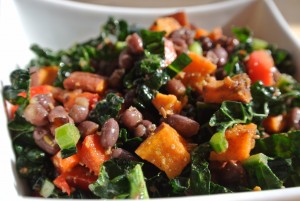
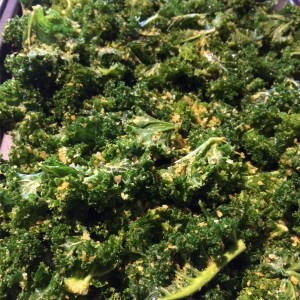
What kale chips look like AFTER BAKING