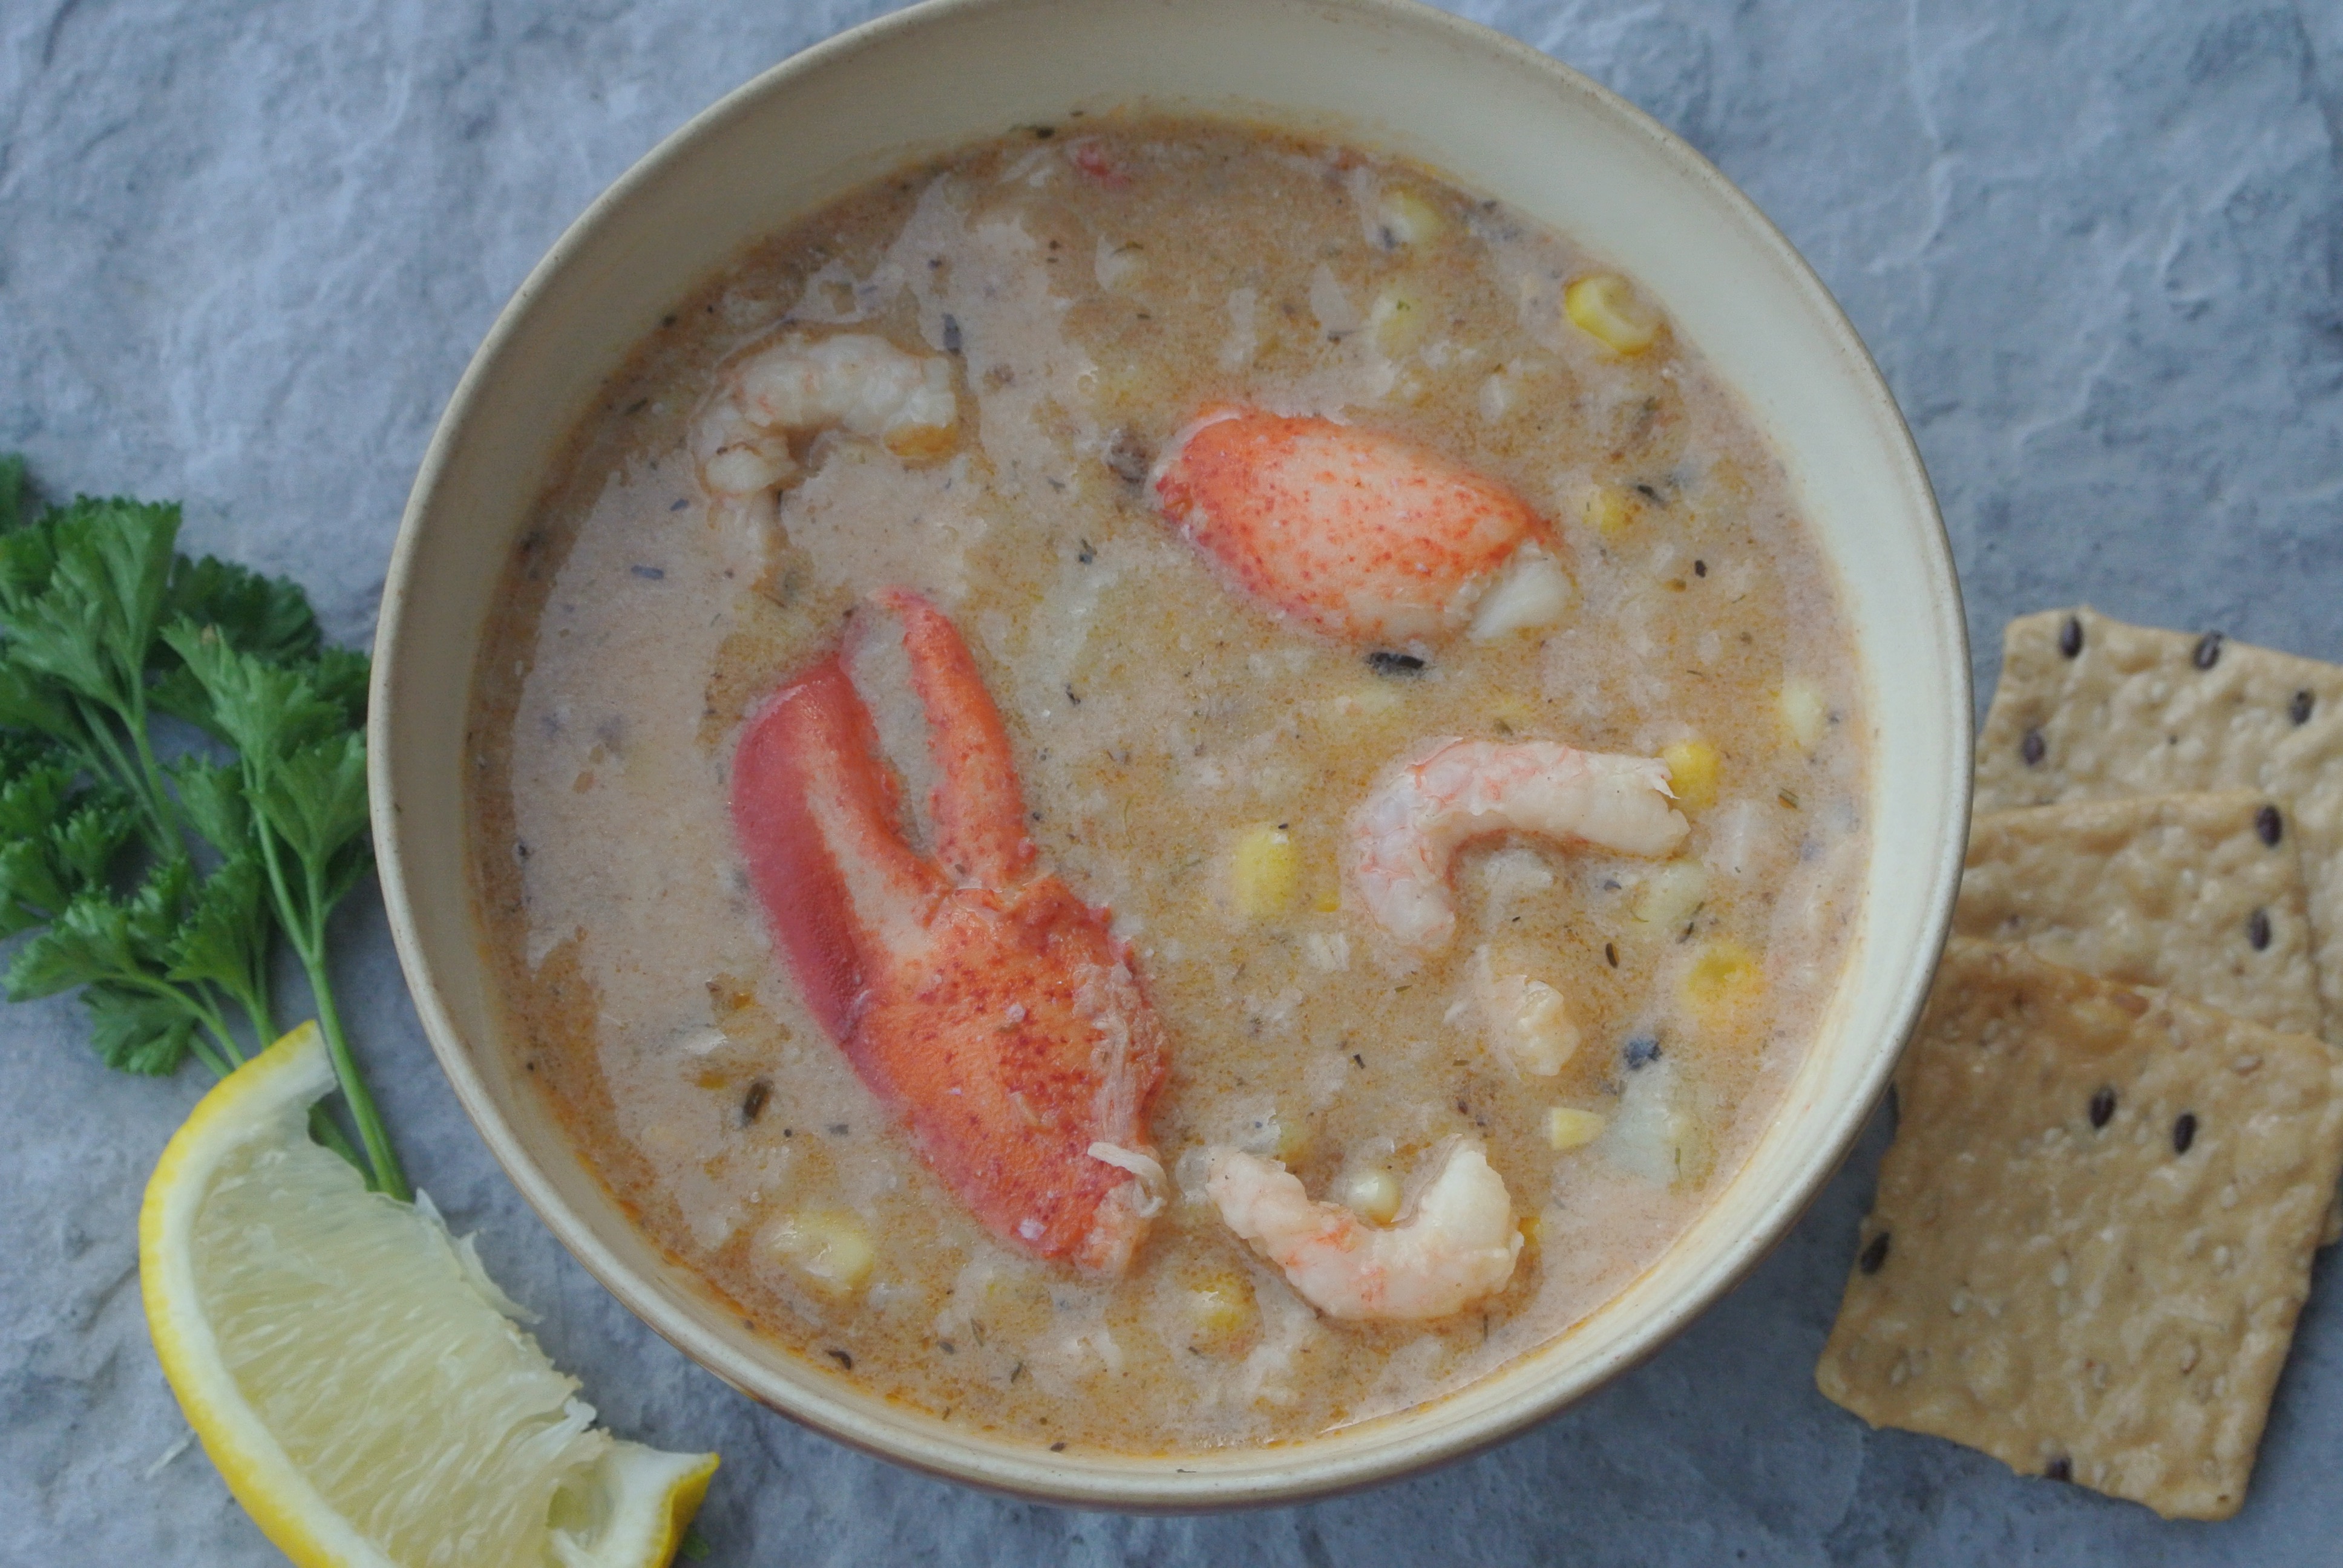
Thick, creamy & dairy-free!
If we had a secret weapon – this would be it! This recipe ‘wows’ people every single time. It’s thick, rich, and decadent. We’ve made it a few times now with a few minor variations, and it’s worked out great every time – we hope you like it!
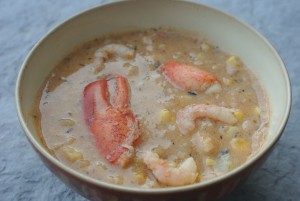
Dairy-free Seafood Chowder
Prep time
Cook time
Total time
This one-pot wonder satisfies any creamy chowder cravings you may be having this winter... and its dairy-free - bonus!
Author: Lyndsay & Nick
Recipe type: dairy-free, gluten-free
Serves: 6-8
Ingredients
- 4 Tbsp ghee, earth balance, or your favorite butter-like oil (... or butter if you can tolerate some dairy)
- 1 onion, chopped
- ½ tsp celery seed
- 1-2 bay leaf
- 2 tsp dill, dried (4tsp if using fresh)
- 1 tsp sea salt or 1½-2 tsp Herbamare
- ¼ tsp pepper, fresh ground (or more to taste)
- 4 medium potatoes, peeled & cut into 1in cubes
- 1 cup water, no salt chicken or seafood broth
- 2 cans coconut milk, but just mostly the cream (reserve the water for a smoothie)
- 2-3 cups fresh or frozen seafood combination (skinless haddock fillet pieces, wild salmon fillet pieces, shrimp, lobster claws with liquid, scallops, crab)
- 1½ cup frozen corn
- lemon wedges or parsley, as garnish (optional)
Instructions
- In a large pot, melt ghee or oil over medium heat.
- Add in onions, herbs, salt & pepper. Sautee for 5 mins, until onions are browning.
- Add potatoes & sautee for 5 mins more. (feel free to add a bit of the water to prevent potatoes from sticking to the pot)
- Increase heat to high, add 1 cup water/broth & bring to a boil.
- Turn heat down slightly & boil potatoes, stirring often, until they reached desired tenderness (about 10 mins)
- Turn heat to low, add frozen corn & coconut cream and stir well. Add some coconut water or more water/broth if you prefer a slightly thinner chowder.
- Add in seafood & fish, and cook for another 5 mins, or until the fish is flaky, stirring often.
- Add salt & pepper to taste, and remove bay leaf.
- Serve with lemon wedges, fresh chopped parsley, and fresh ground pepper, as garnish if you'd like.


 Ingredients")
")