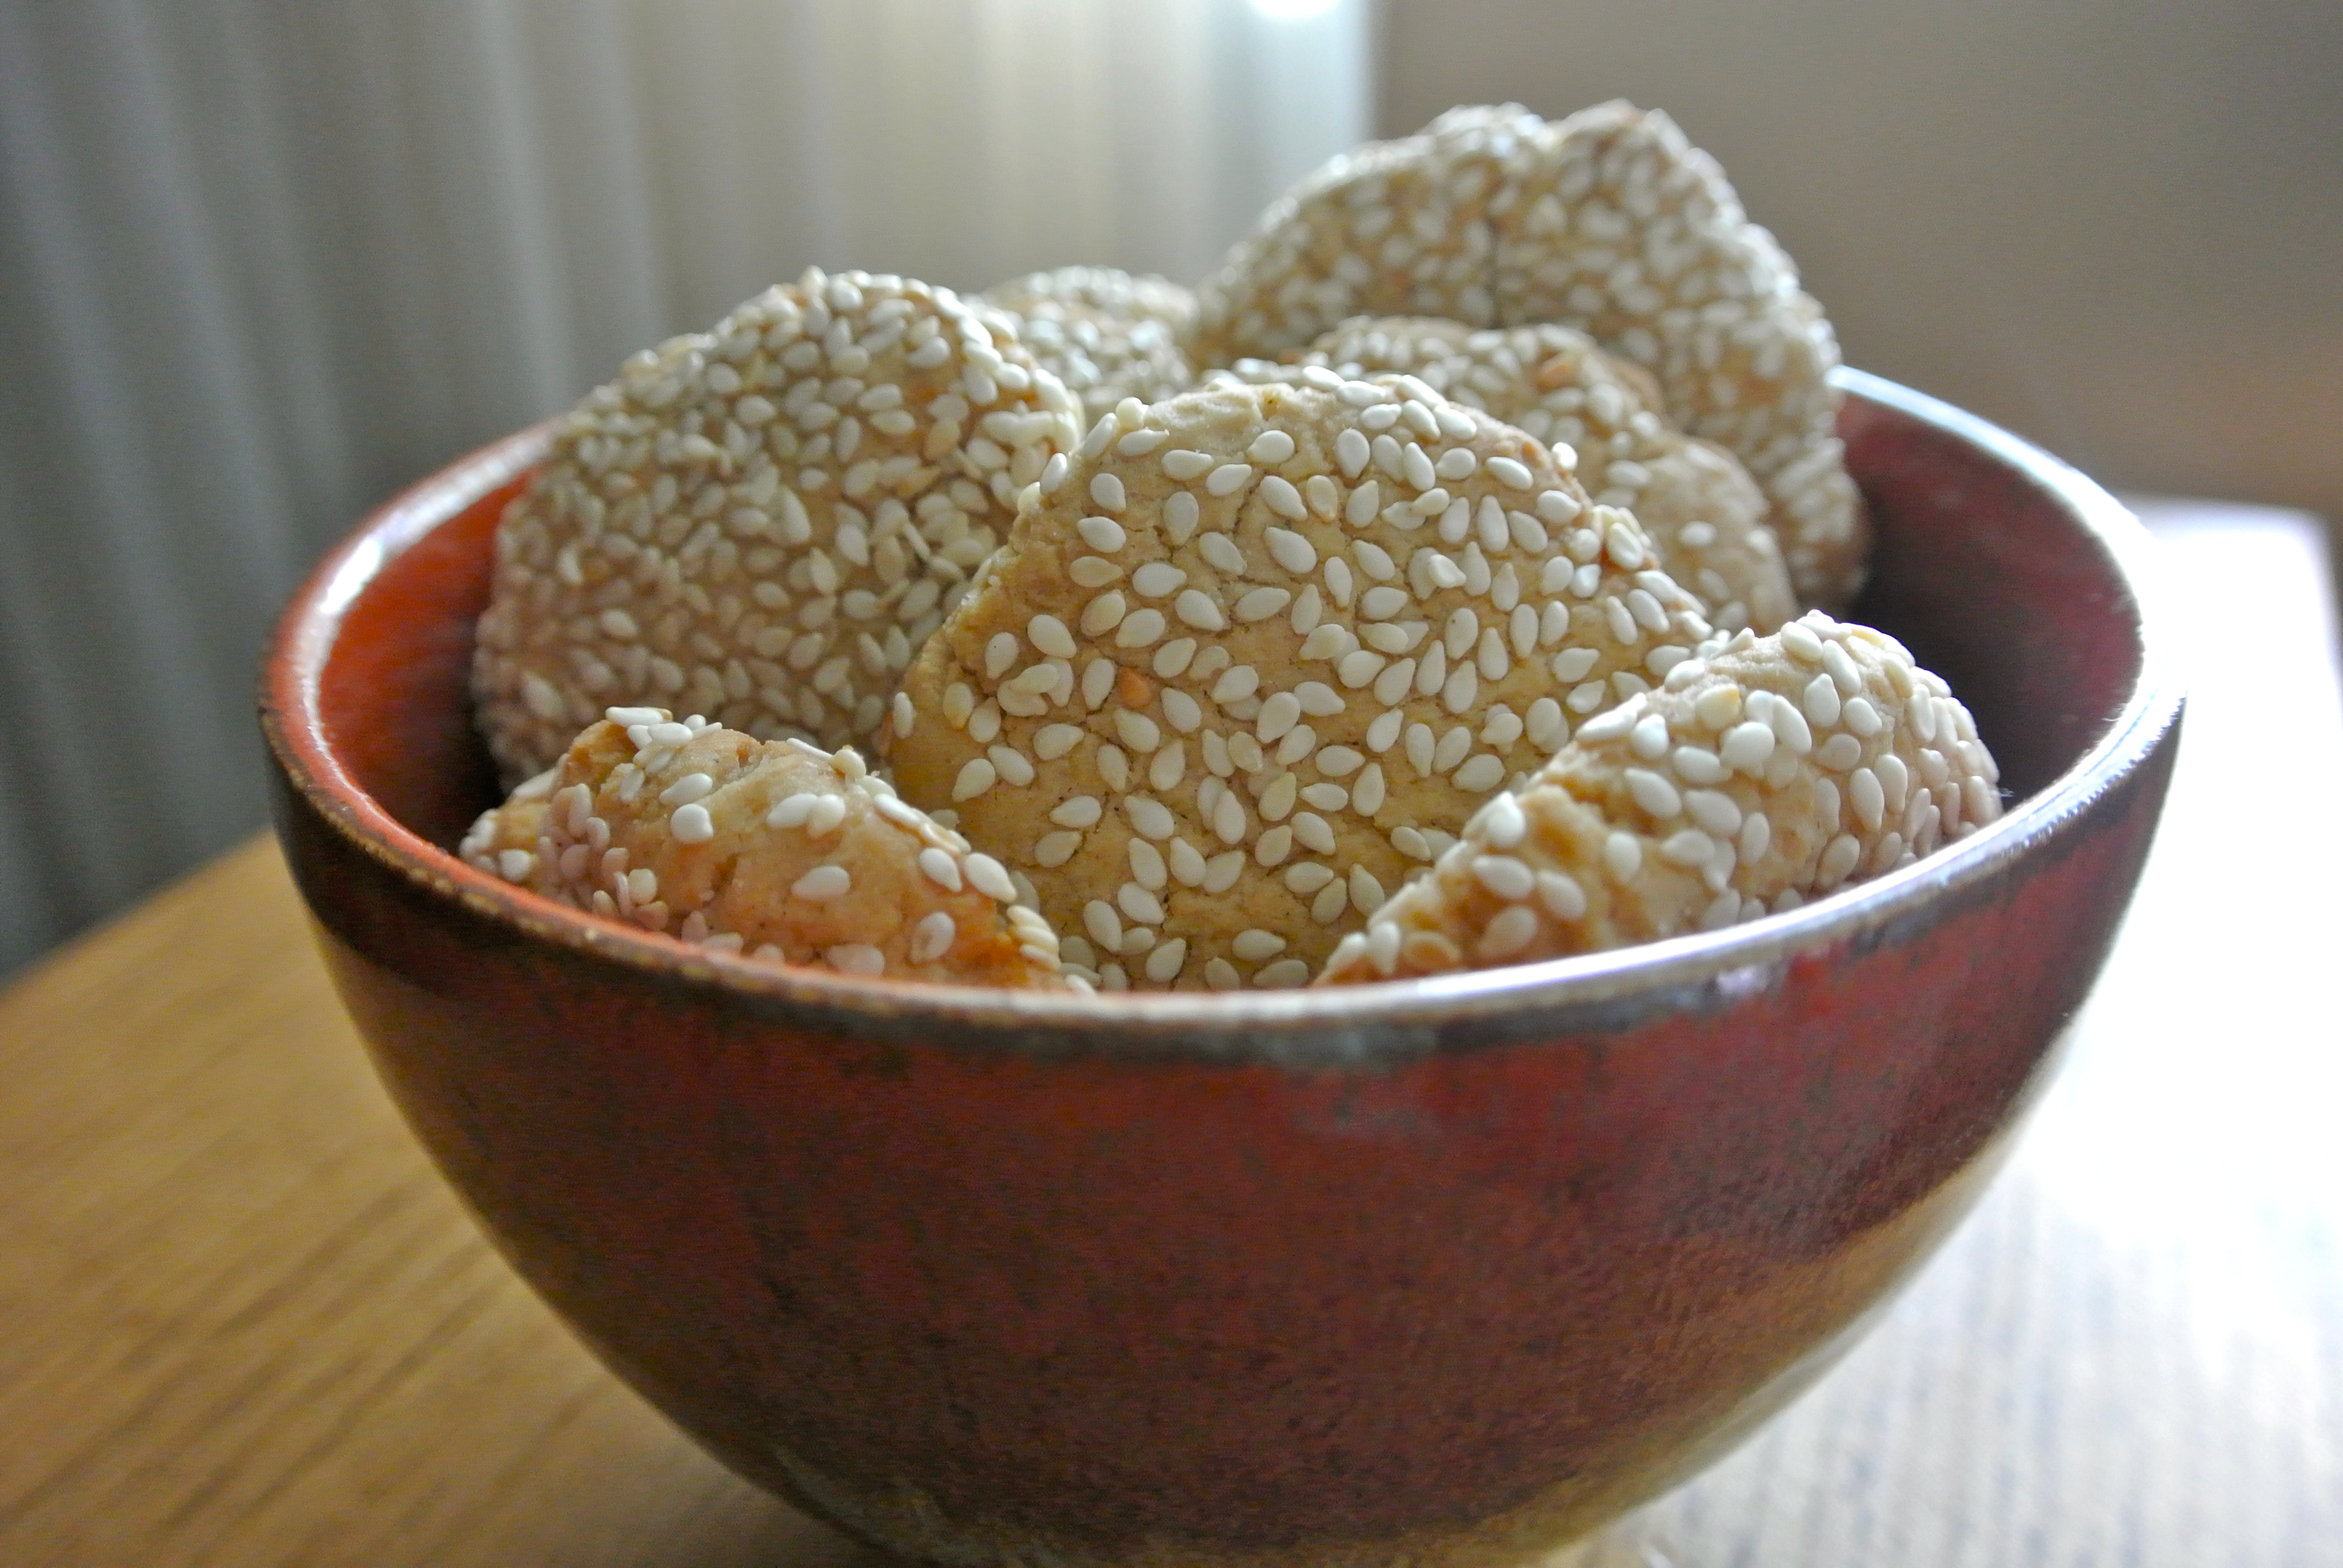
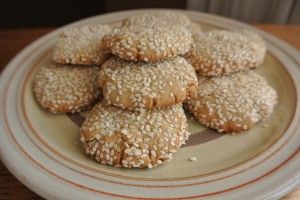
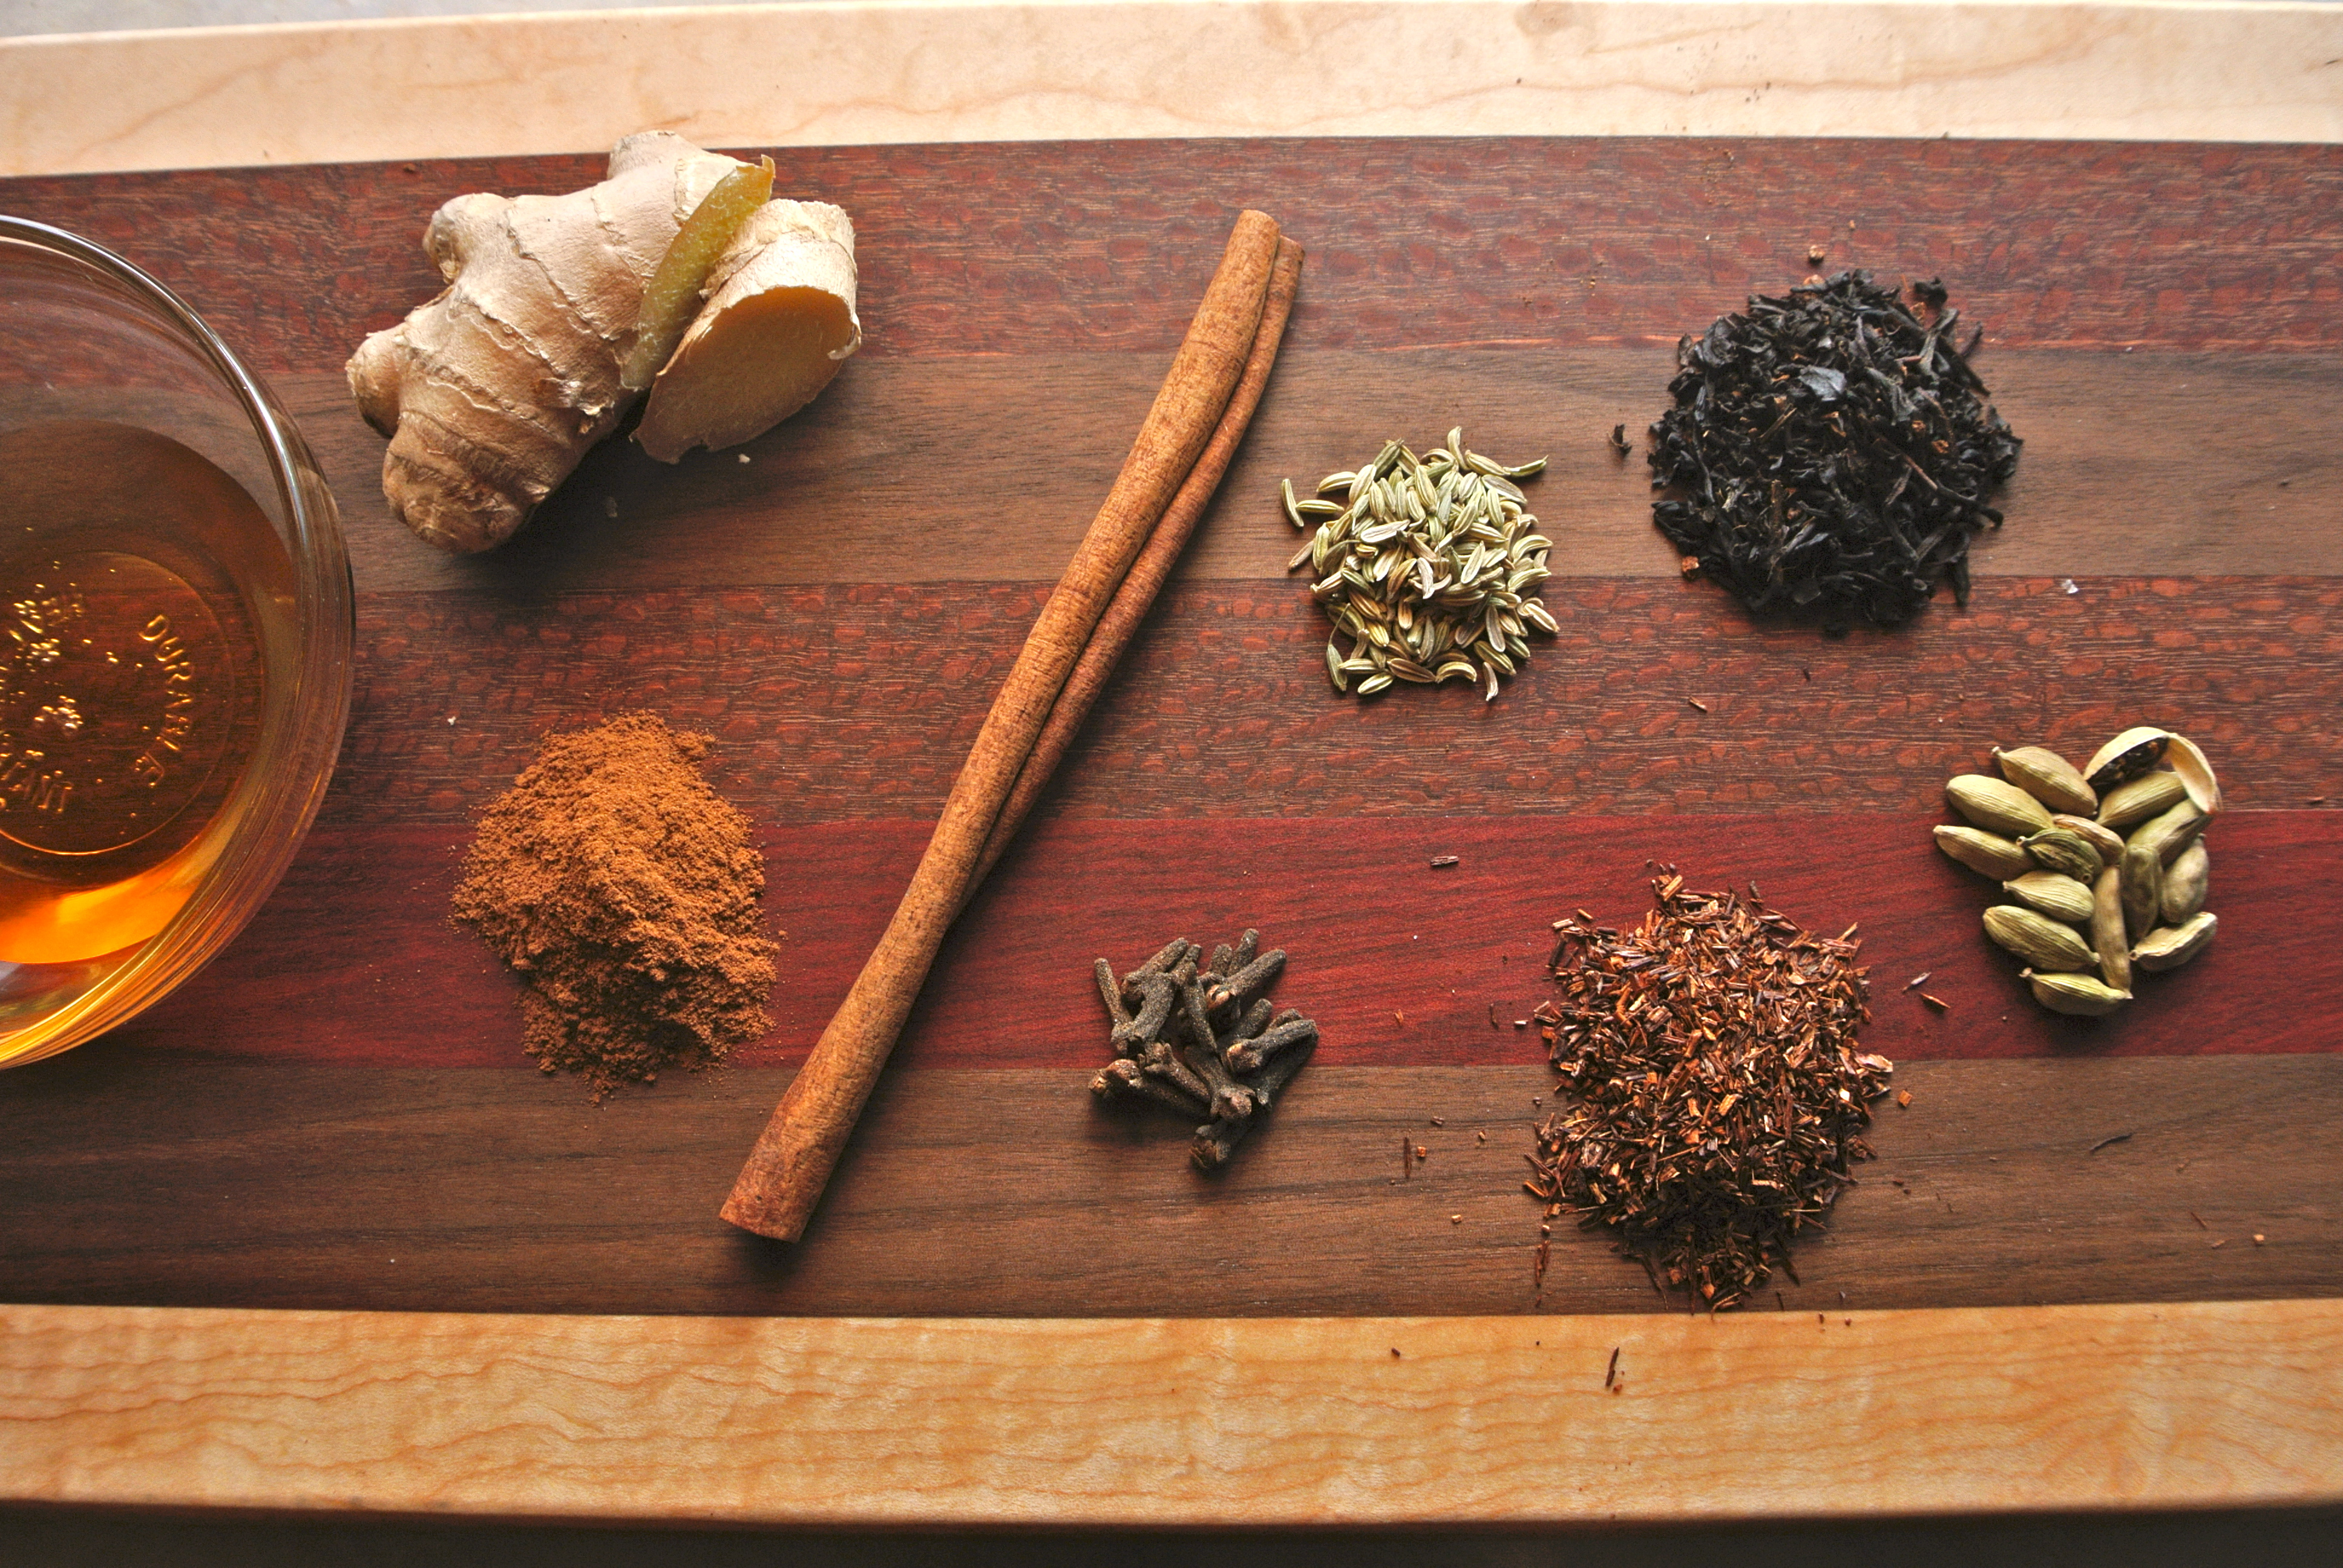
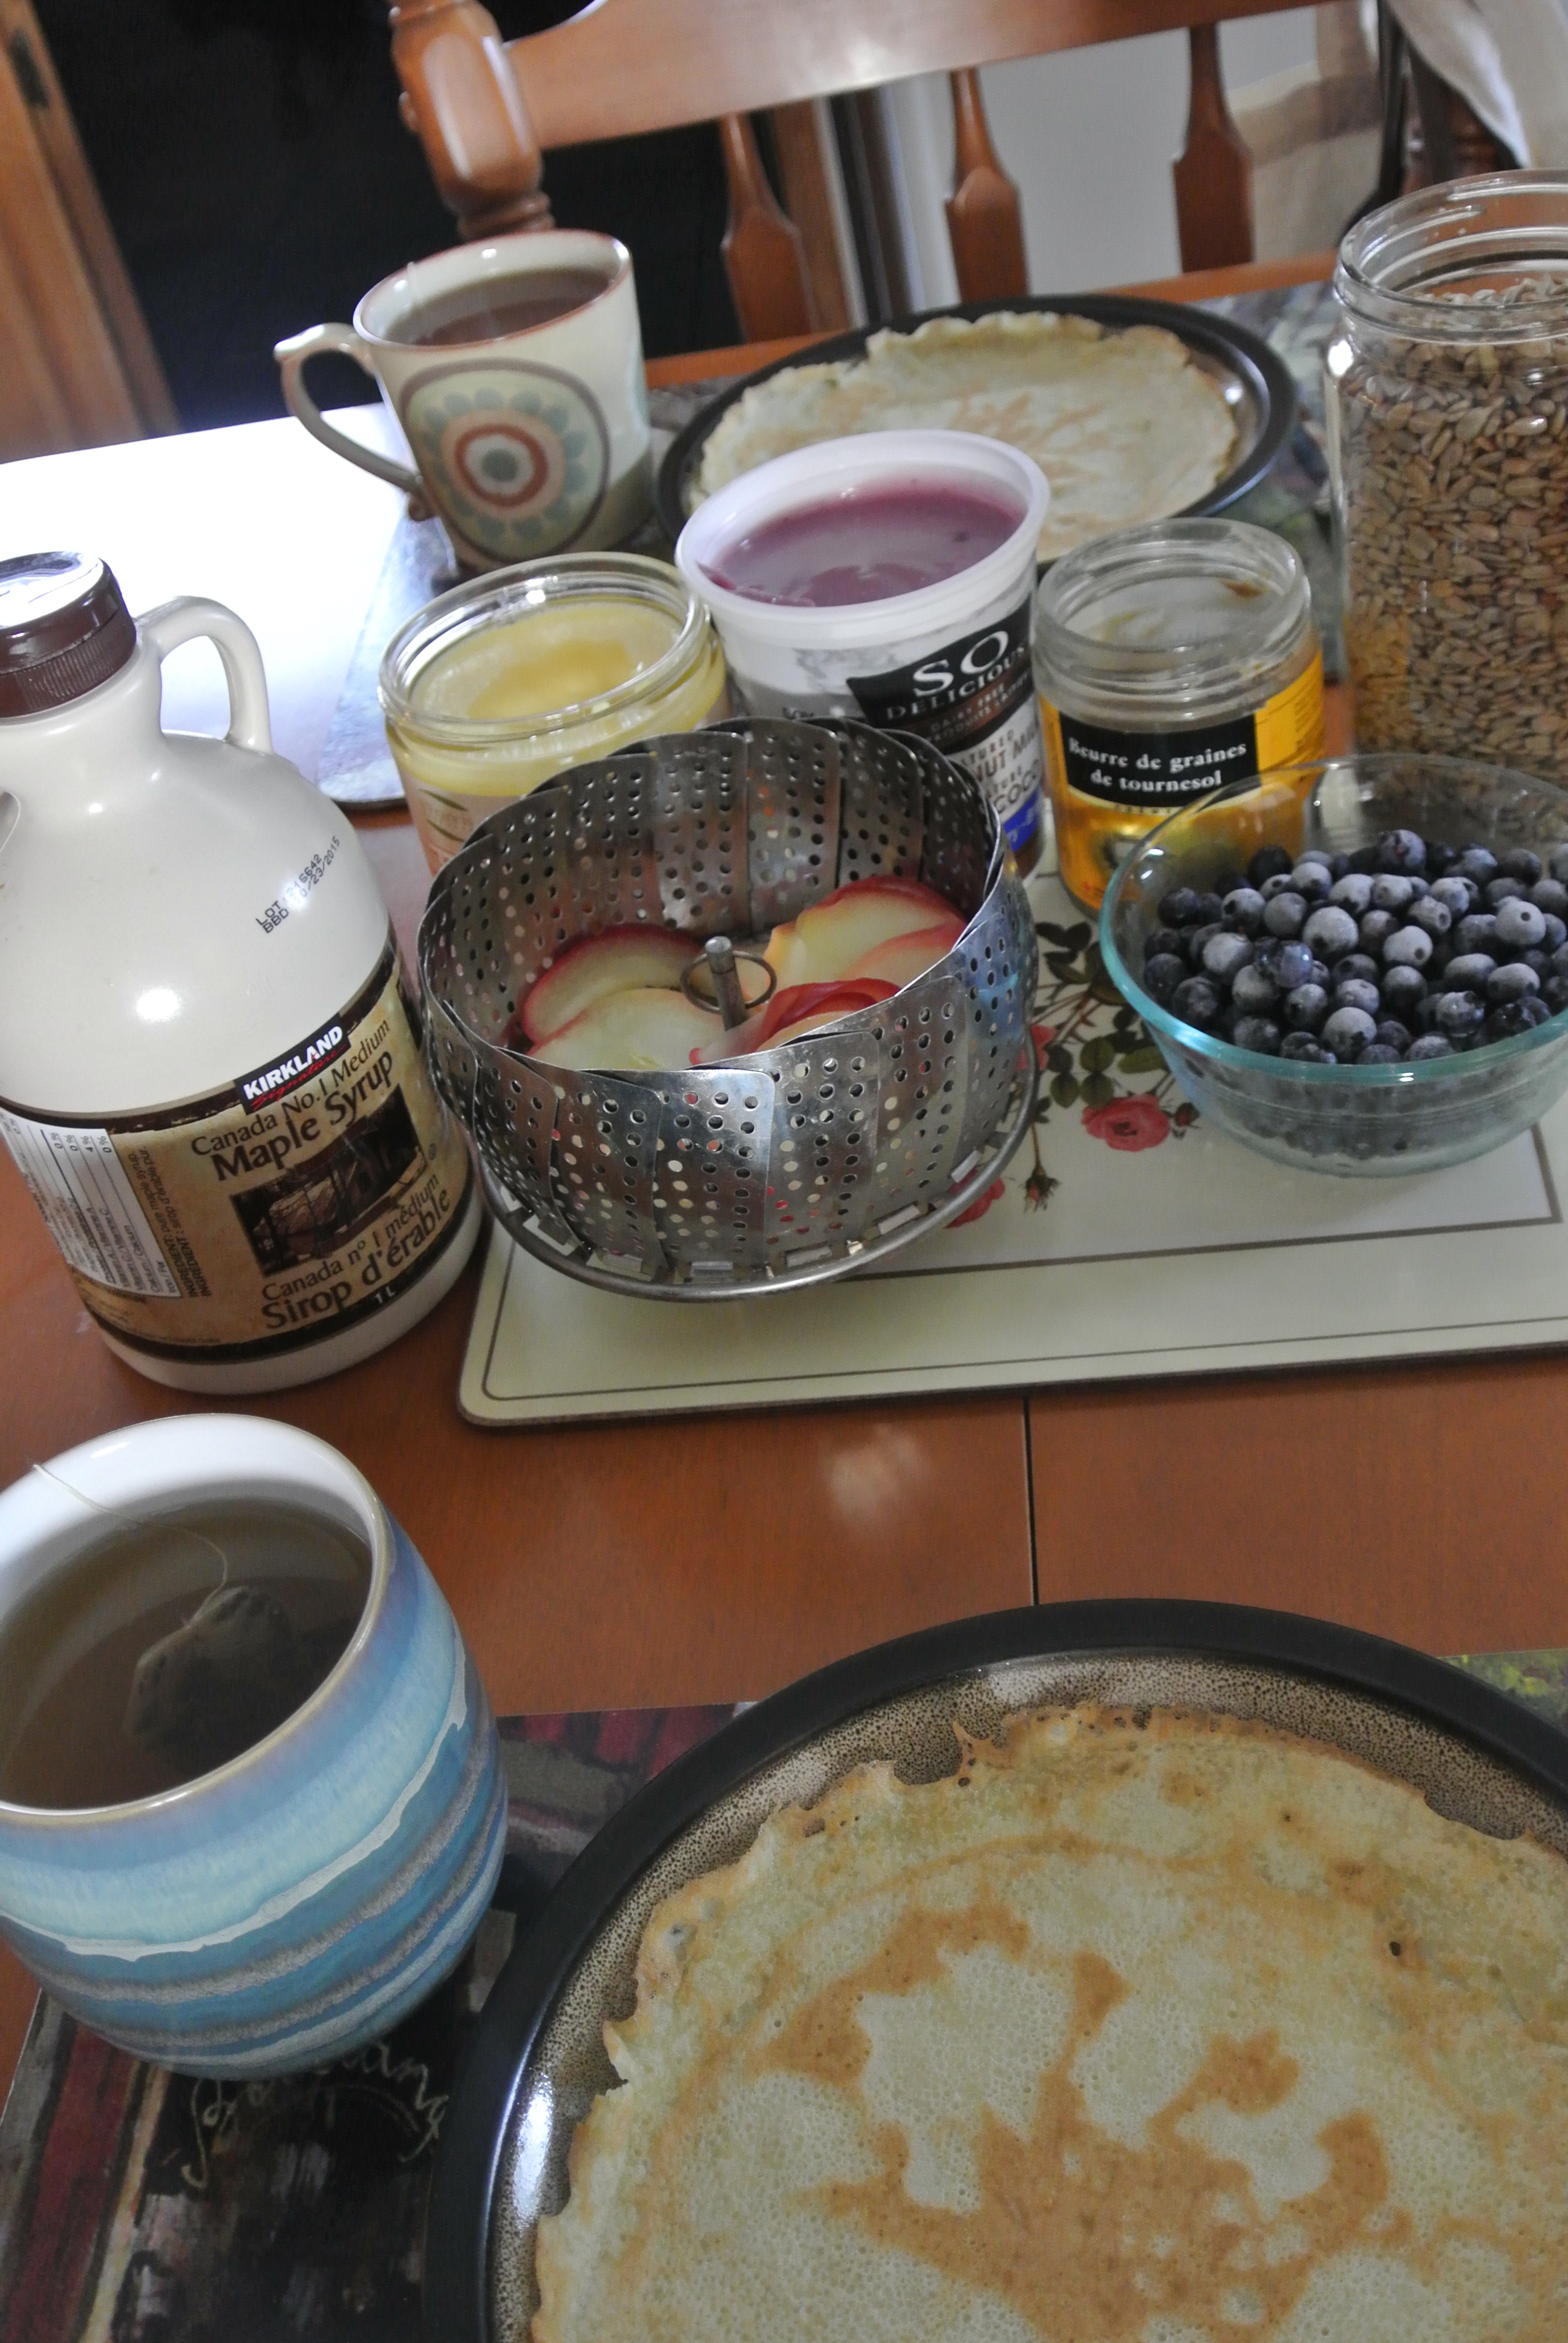
 Ensuring that a woman is well-nourished after she’s had the baby is just as important as it was during pregnancy, and sometimes even more so! The few days after a woman gives birth is when milk supply is being established and is often so busy for the New Mom as she’s getting to know the baby and his/her rhythms. Having help during this time is essential, especially when it comes to having household chores done for her like cleaning and cooking. If you’re a friend, relative or partner wondering how you can best support the New Mom, cooking her a meal, serving her a snack, making her tea, or filling up her water glass are often very appreciated. You can browse our recipe section for some ideas for nutritious meals, such are our Rice & Beans, Red Lentil Dahl, Warm breakfast cereal, Warming rooibos chai tea, Maple-kissed sesame seed cookies, and the delicious Blueberry Green Smoothie… and stay tuned for Oatmeal Lactation Cookie Bar recipe 🙂
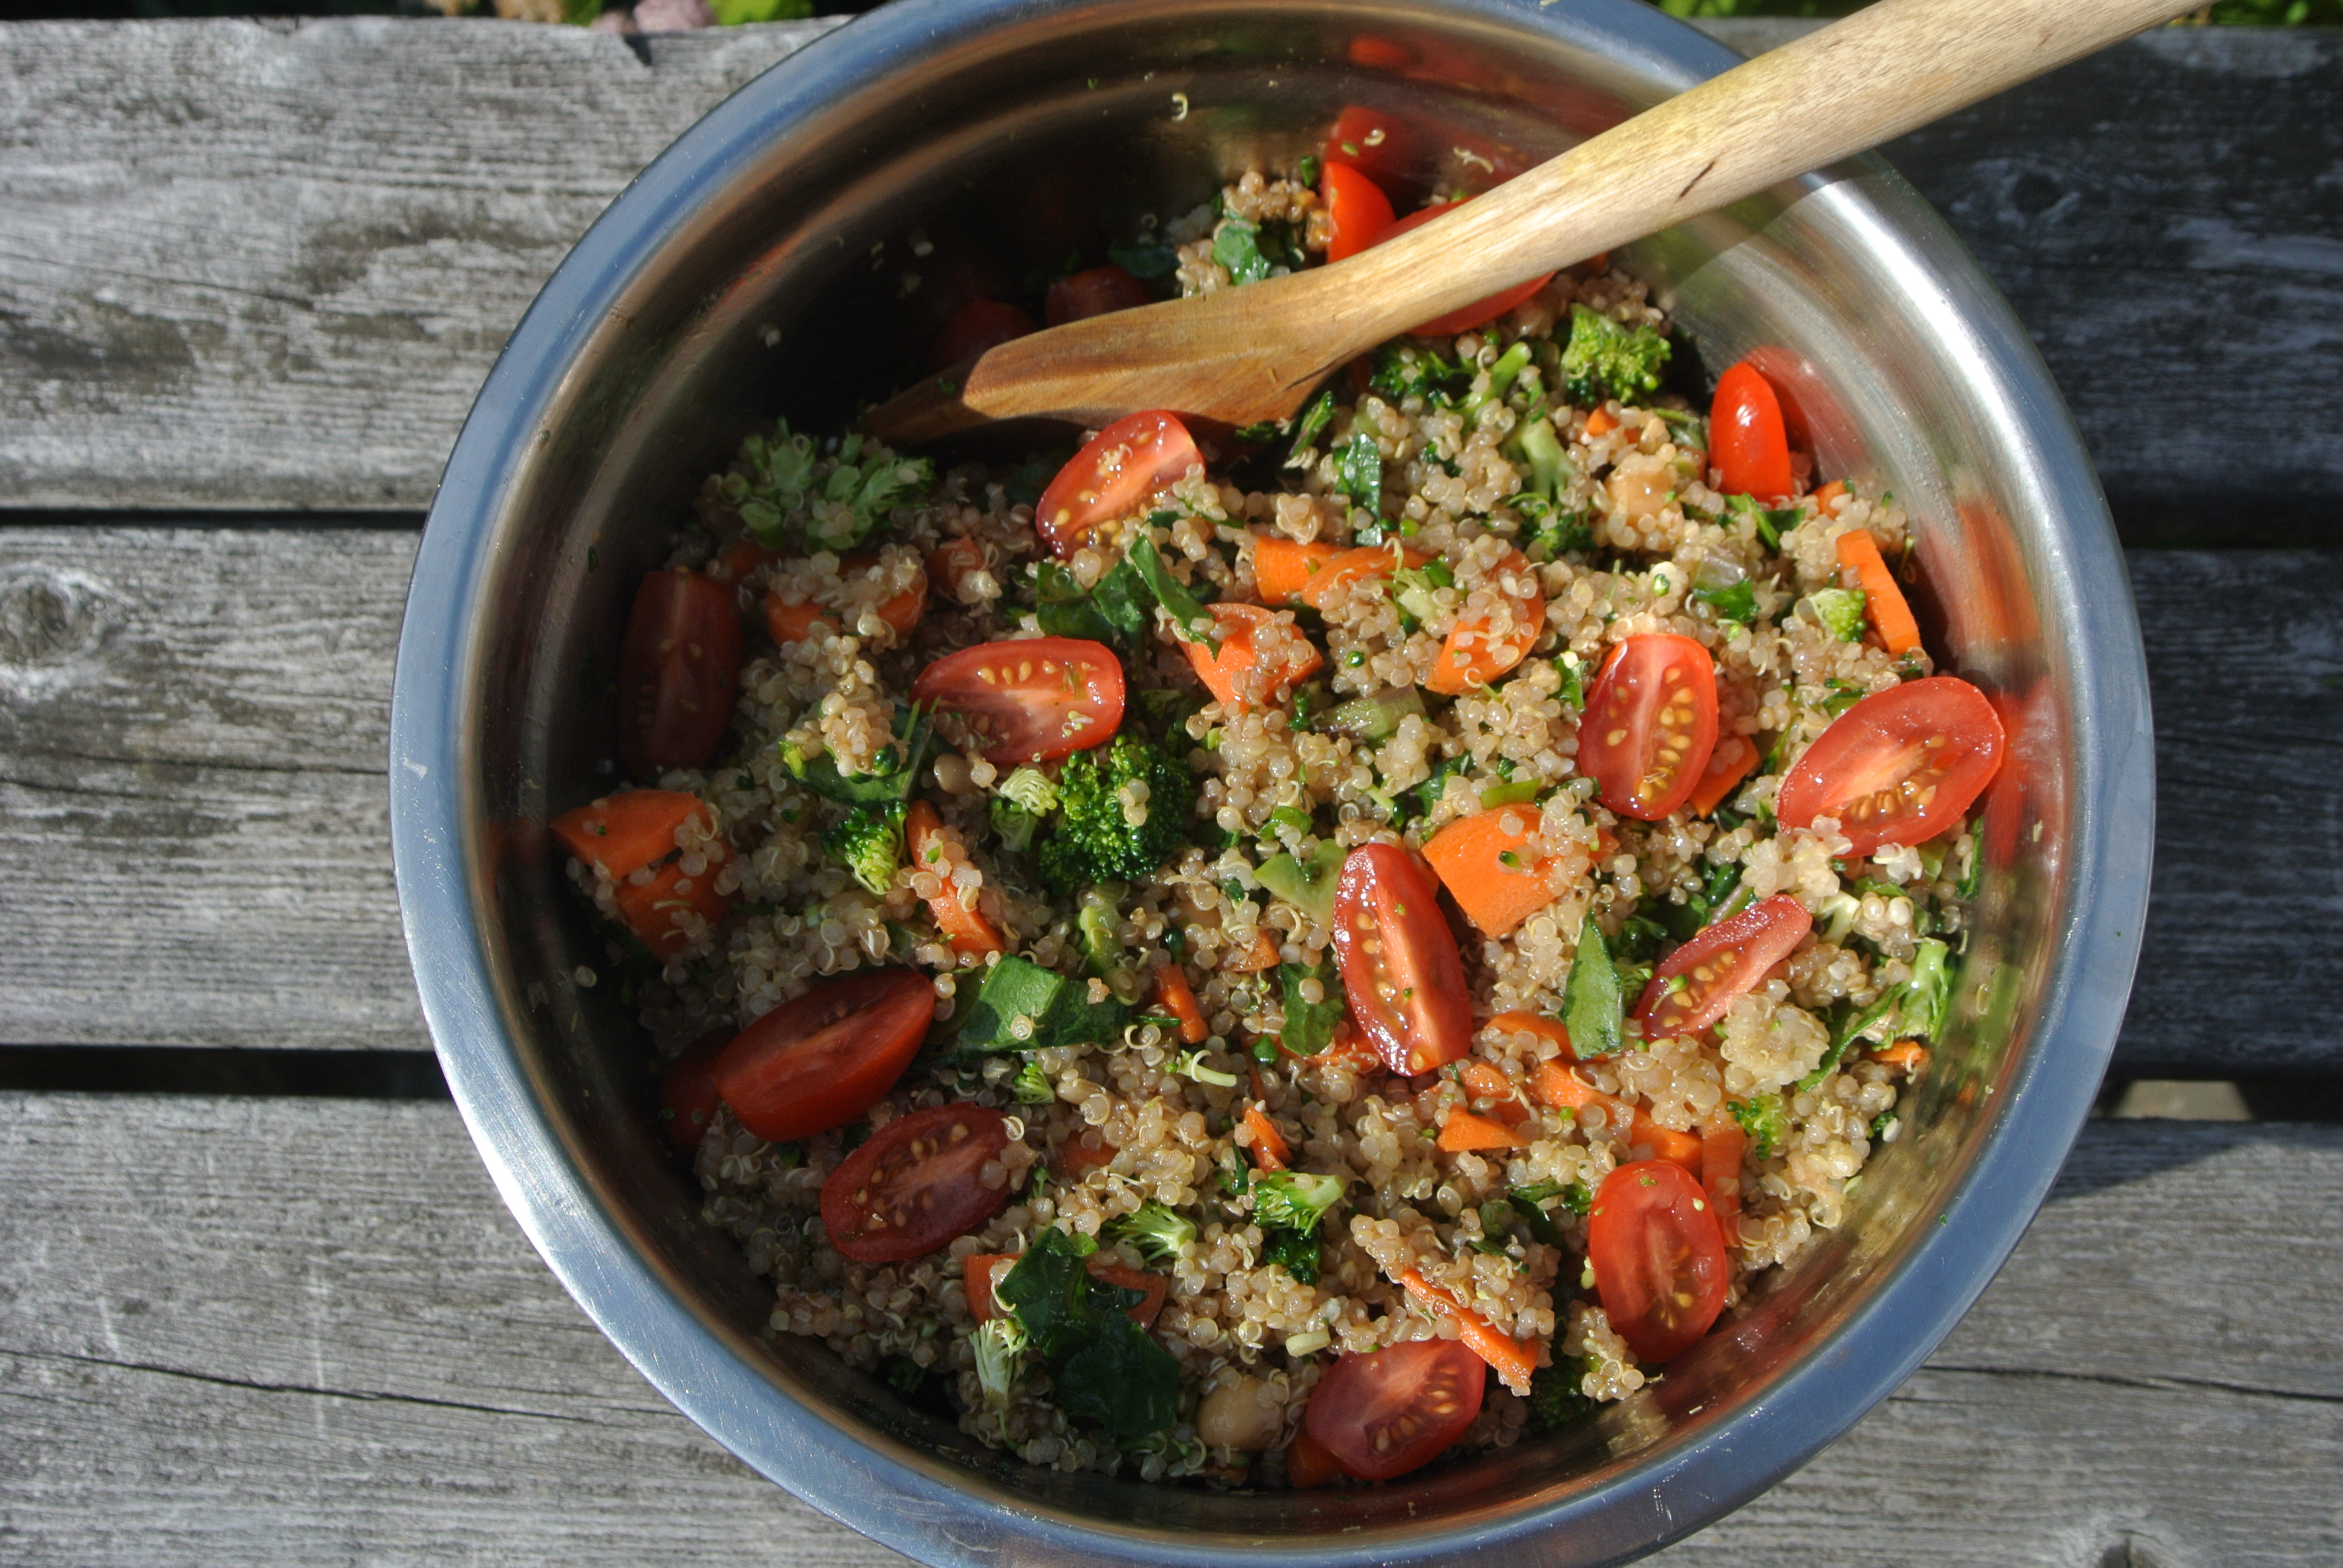
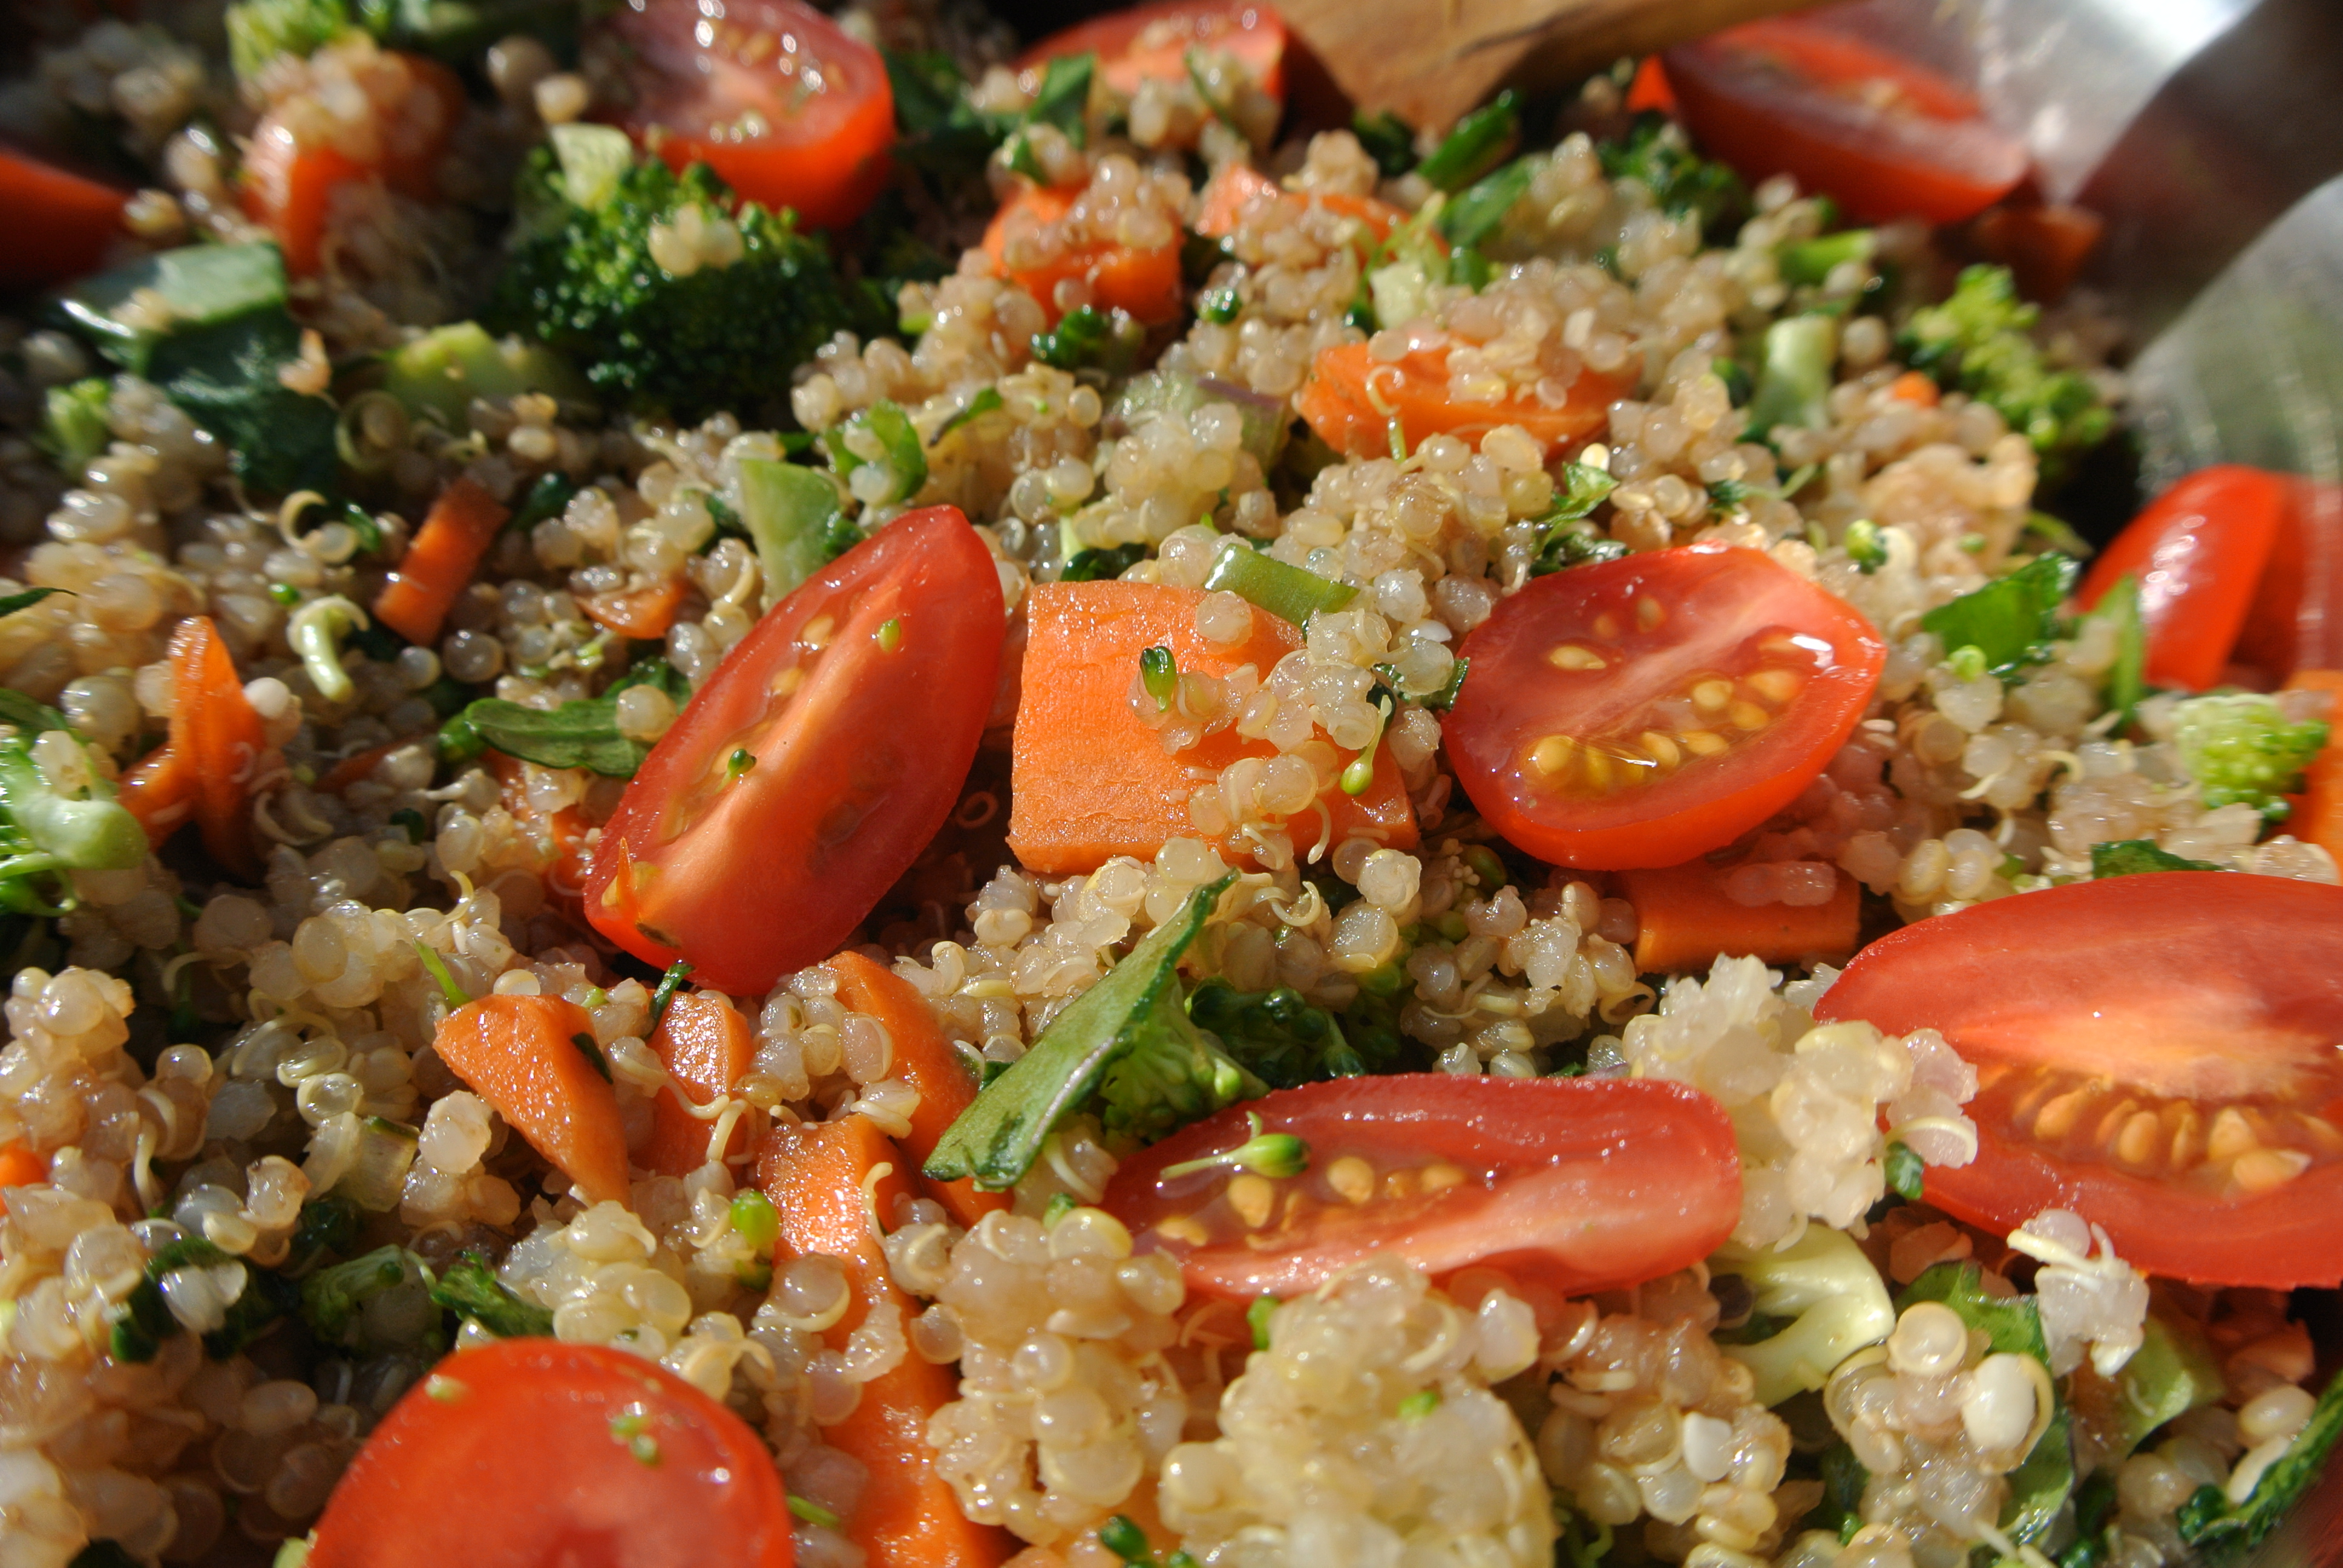
As a guideline, here is a list of foods that are nourishing for the New Mom:
*choosing organic nuts, seeds, grains (especially rice), veggies & fruits (especially the ‘Dirty Dozen‘) as much as possible would be ideal!
- oats, especially steel cut oats
- whole grain brown rice, quinoa, millet, and amaranth
- organic, free-range chicken
- free range or organic eggs
- wild sockeye or pacific salmon
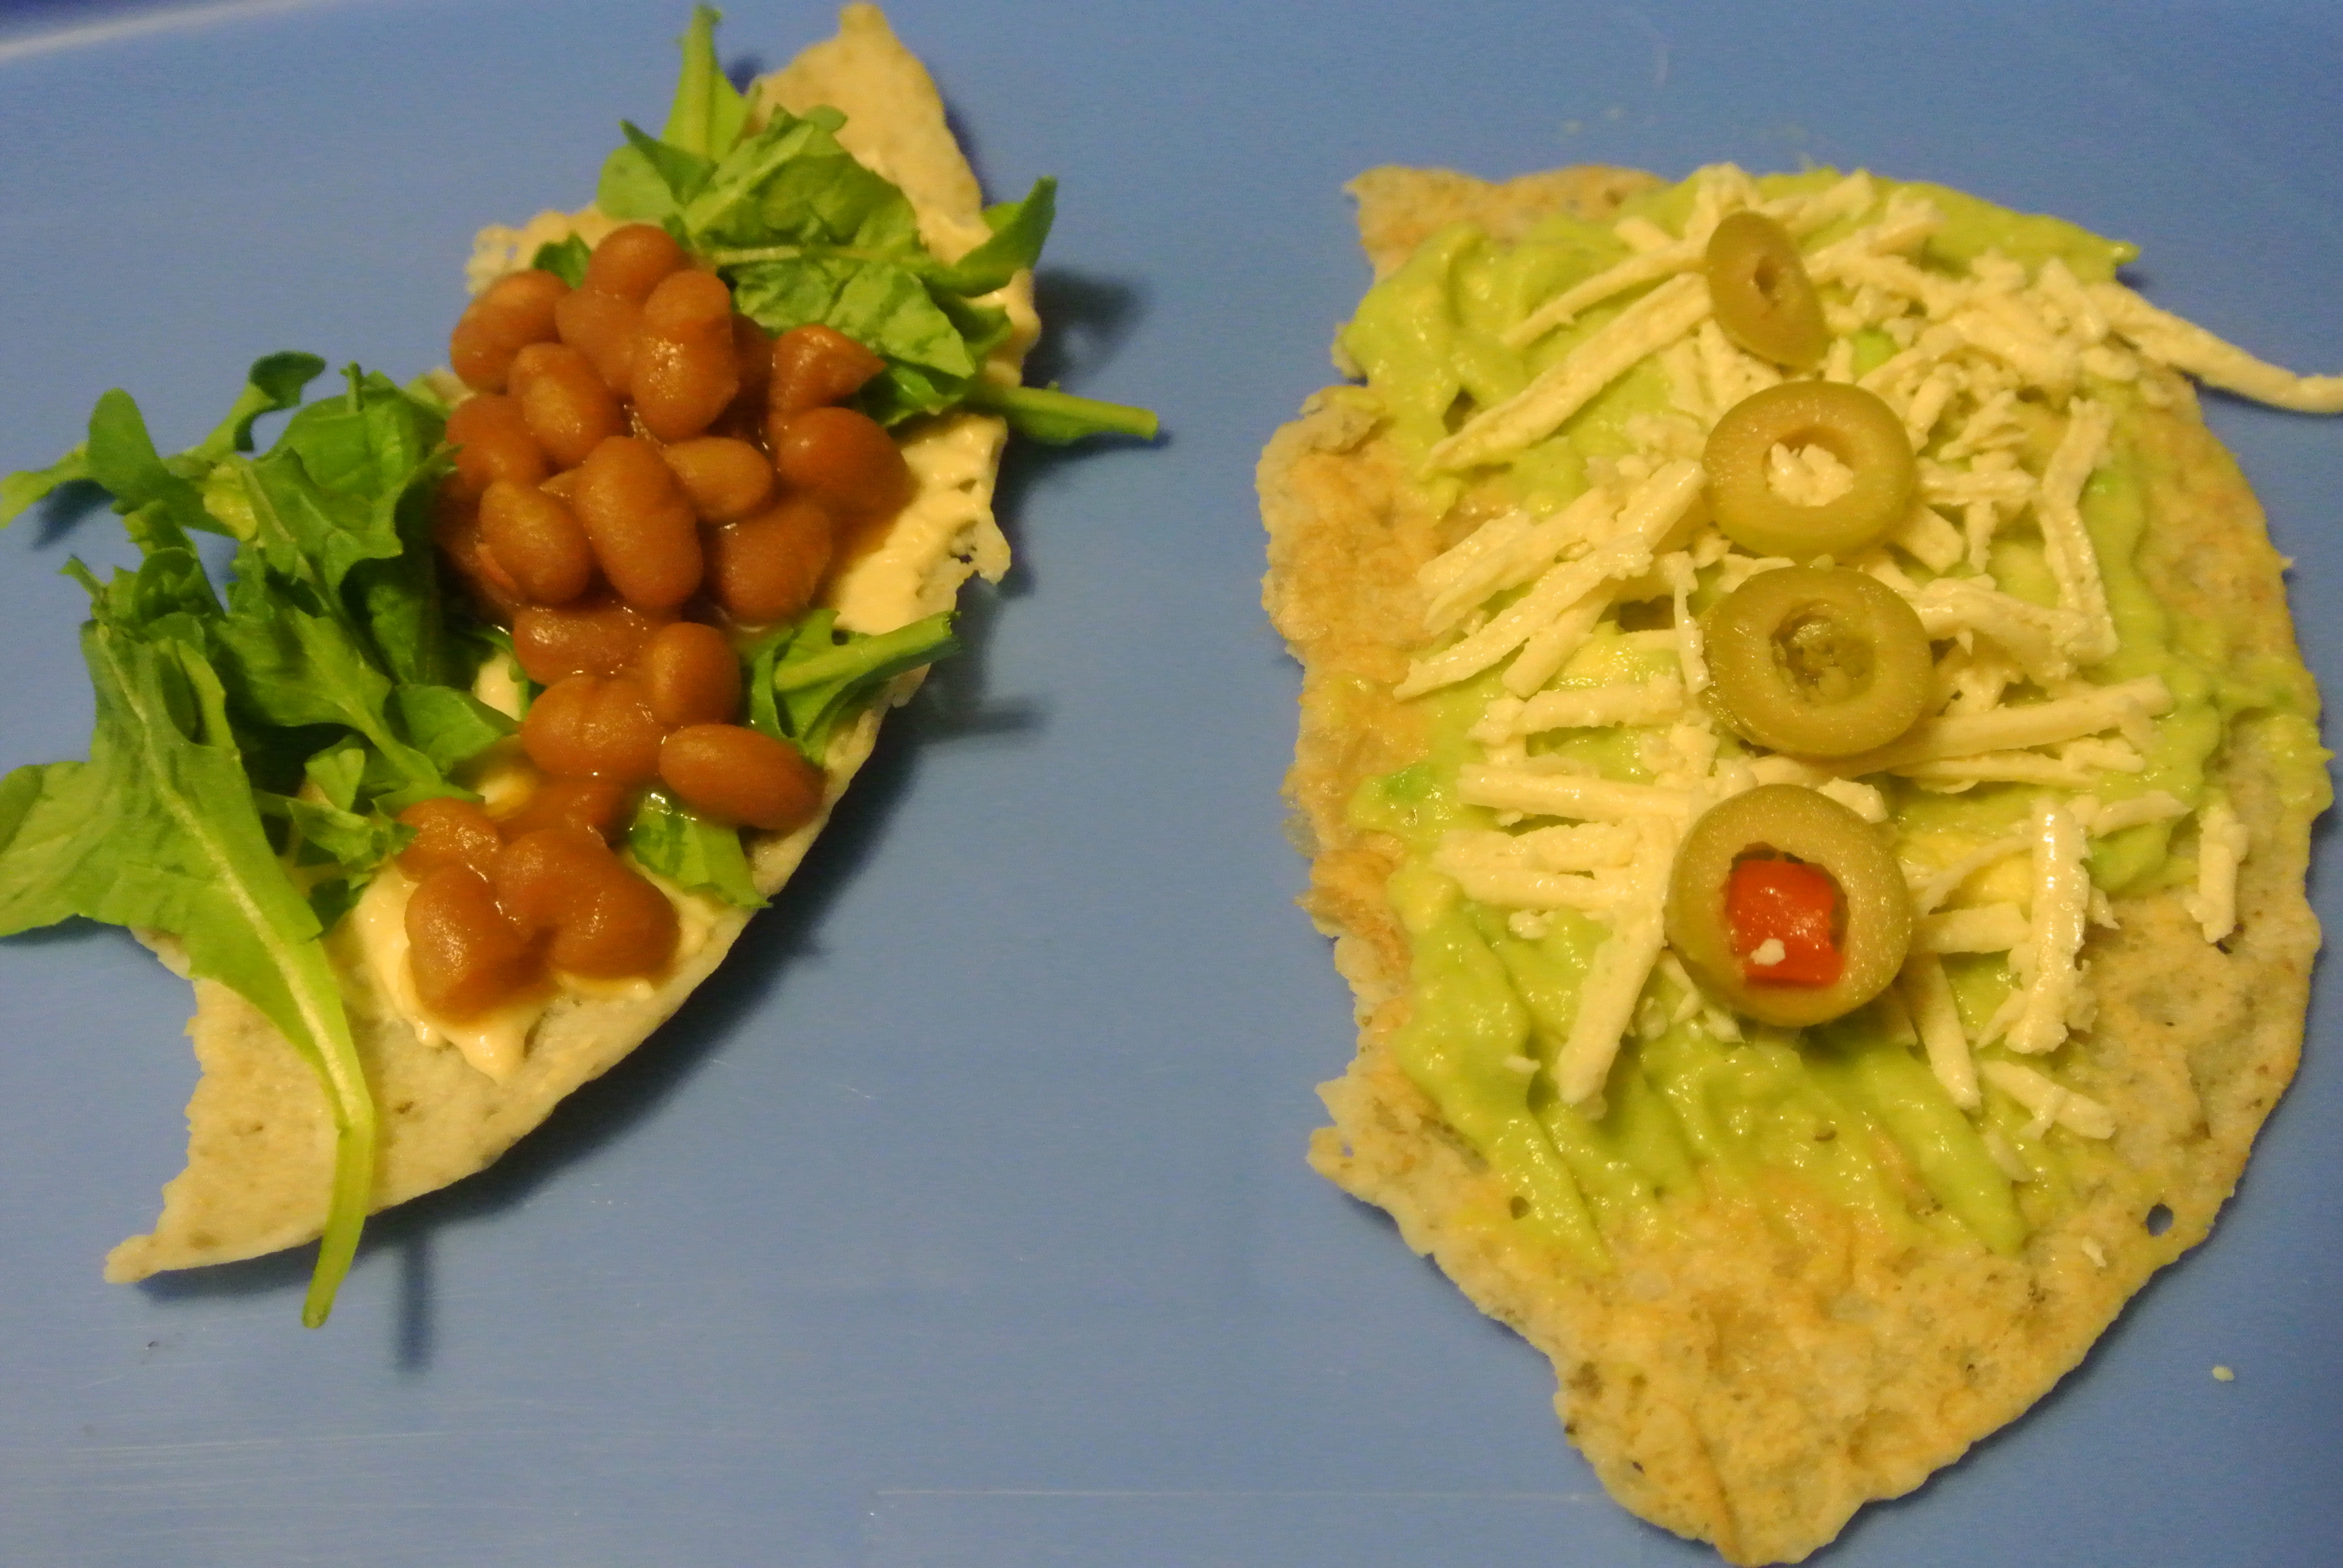
- lentils, beans (think hearty soups, casseroles, veggie chili, one-pot-wonders, hummus)
- sesame seeds (high in calcium!) and tahini (sesame seed paste)
- raw nuts and seeds (like walnuts, almonds, hemp seeds, and flax seeds)
- nut and seed butters
- healthy oils (olive oil, avocado oil)
- root veggies such as yams, squash, sweet potato, and carrots
- fresh fruit such as apple or pear (add a nut butter or handful of nuts for added nutrition)
- organic berries, especially blueberries
- lots of dark green leafy veggies
- lots of fresh purified water
- warming herbs and spices like cinnamon, ginger, cloves, and cardamom
- nutrient teas (my favourite was a mixture of nettle, raspberry leaf, and fennel seeds to enrich milk supply and contract the uterus)
- herbal teas like rooibos, ginger, chamomile, and echinacea
And because of baby’s sensitive tummy during this tender time, foods to limit or avoid during the postpartum period are:
- caffeine
- alcohol
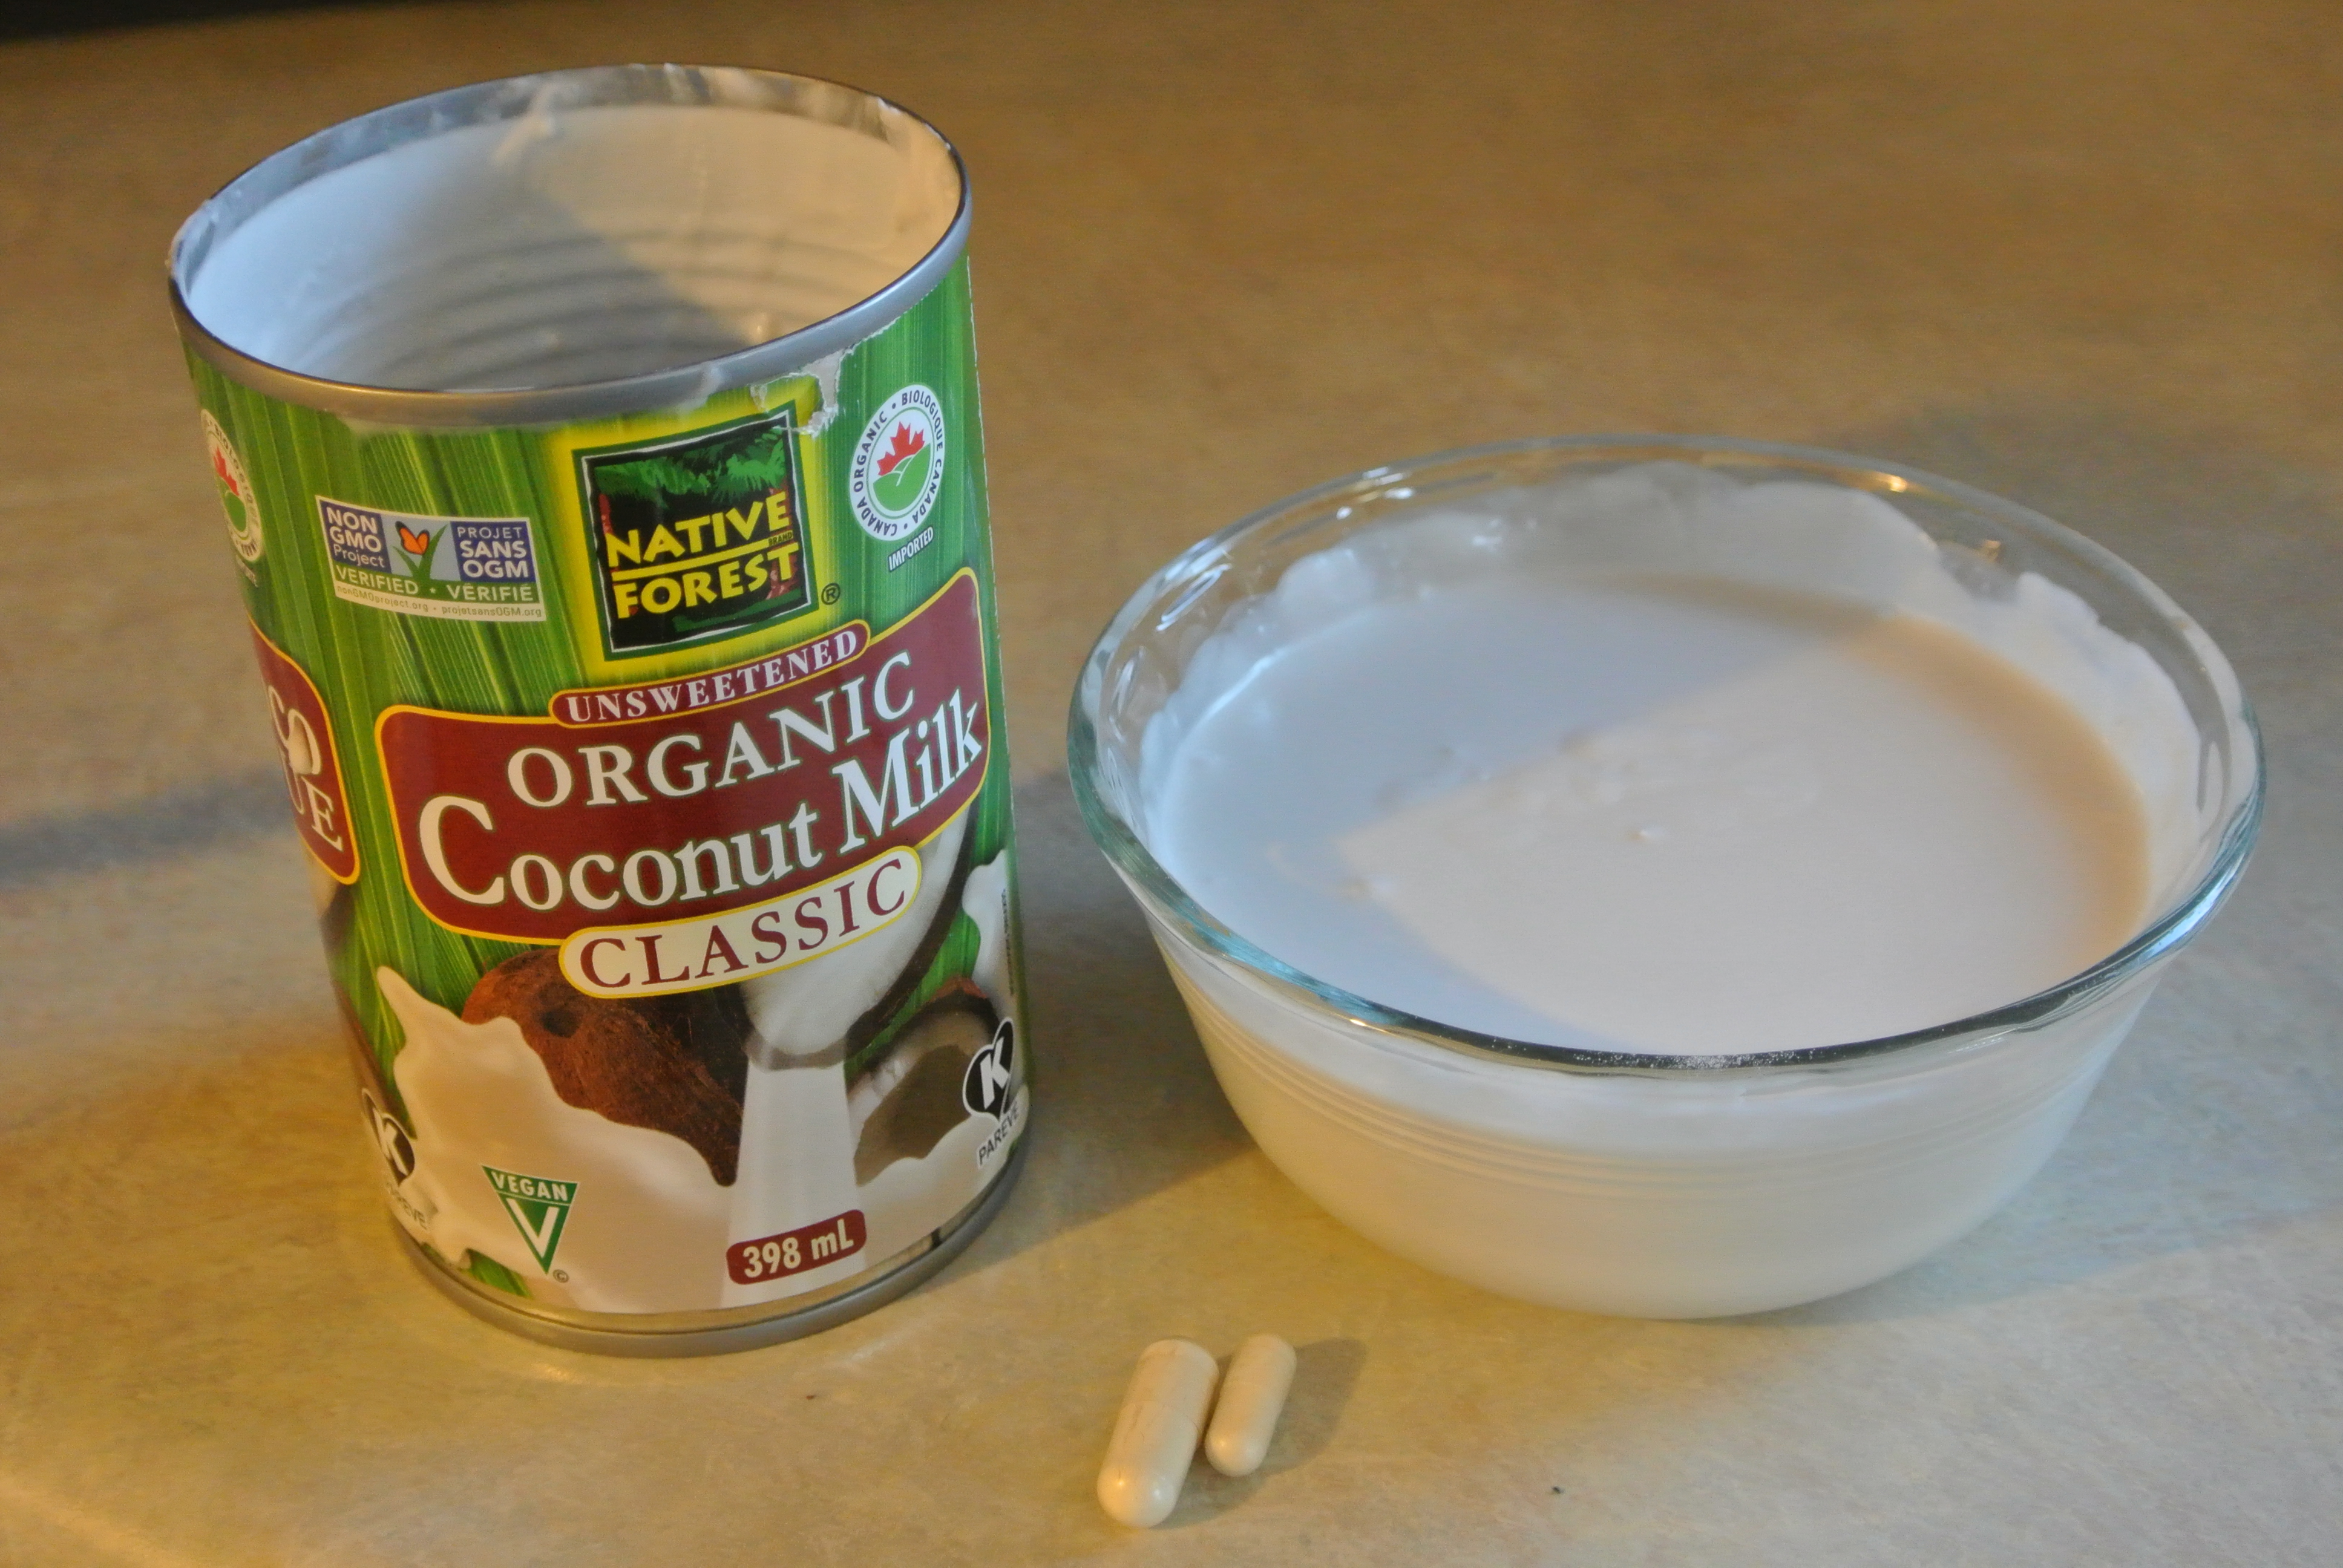
- dairy products
- wheat and gluten
- citrus fruits, especially fruit juice
- lots of cruciferous veggies (brussel sprouts, cabbage, broccoli)
- raw garlic and onions
- spicy foods
- nightshade vegetables – eggplant, tomatoes, potatoes & peppers
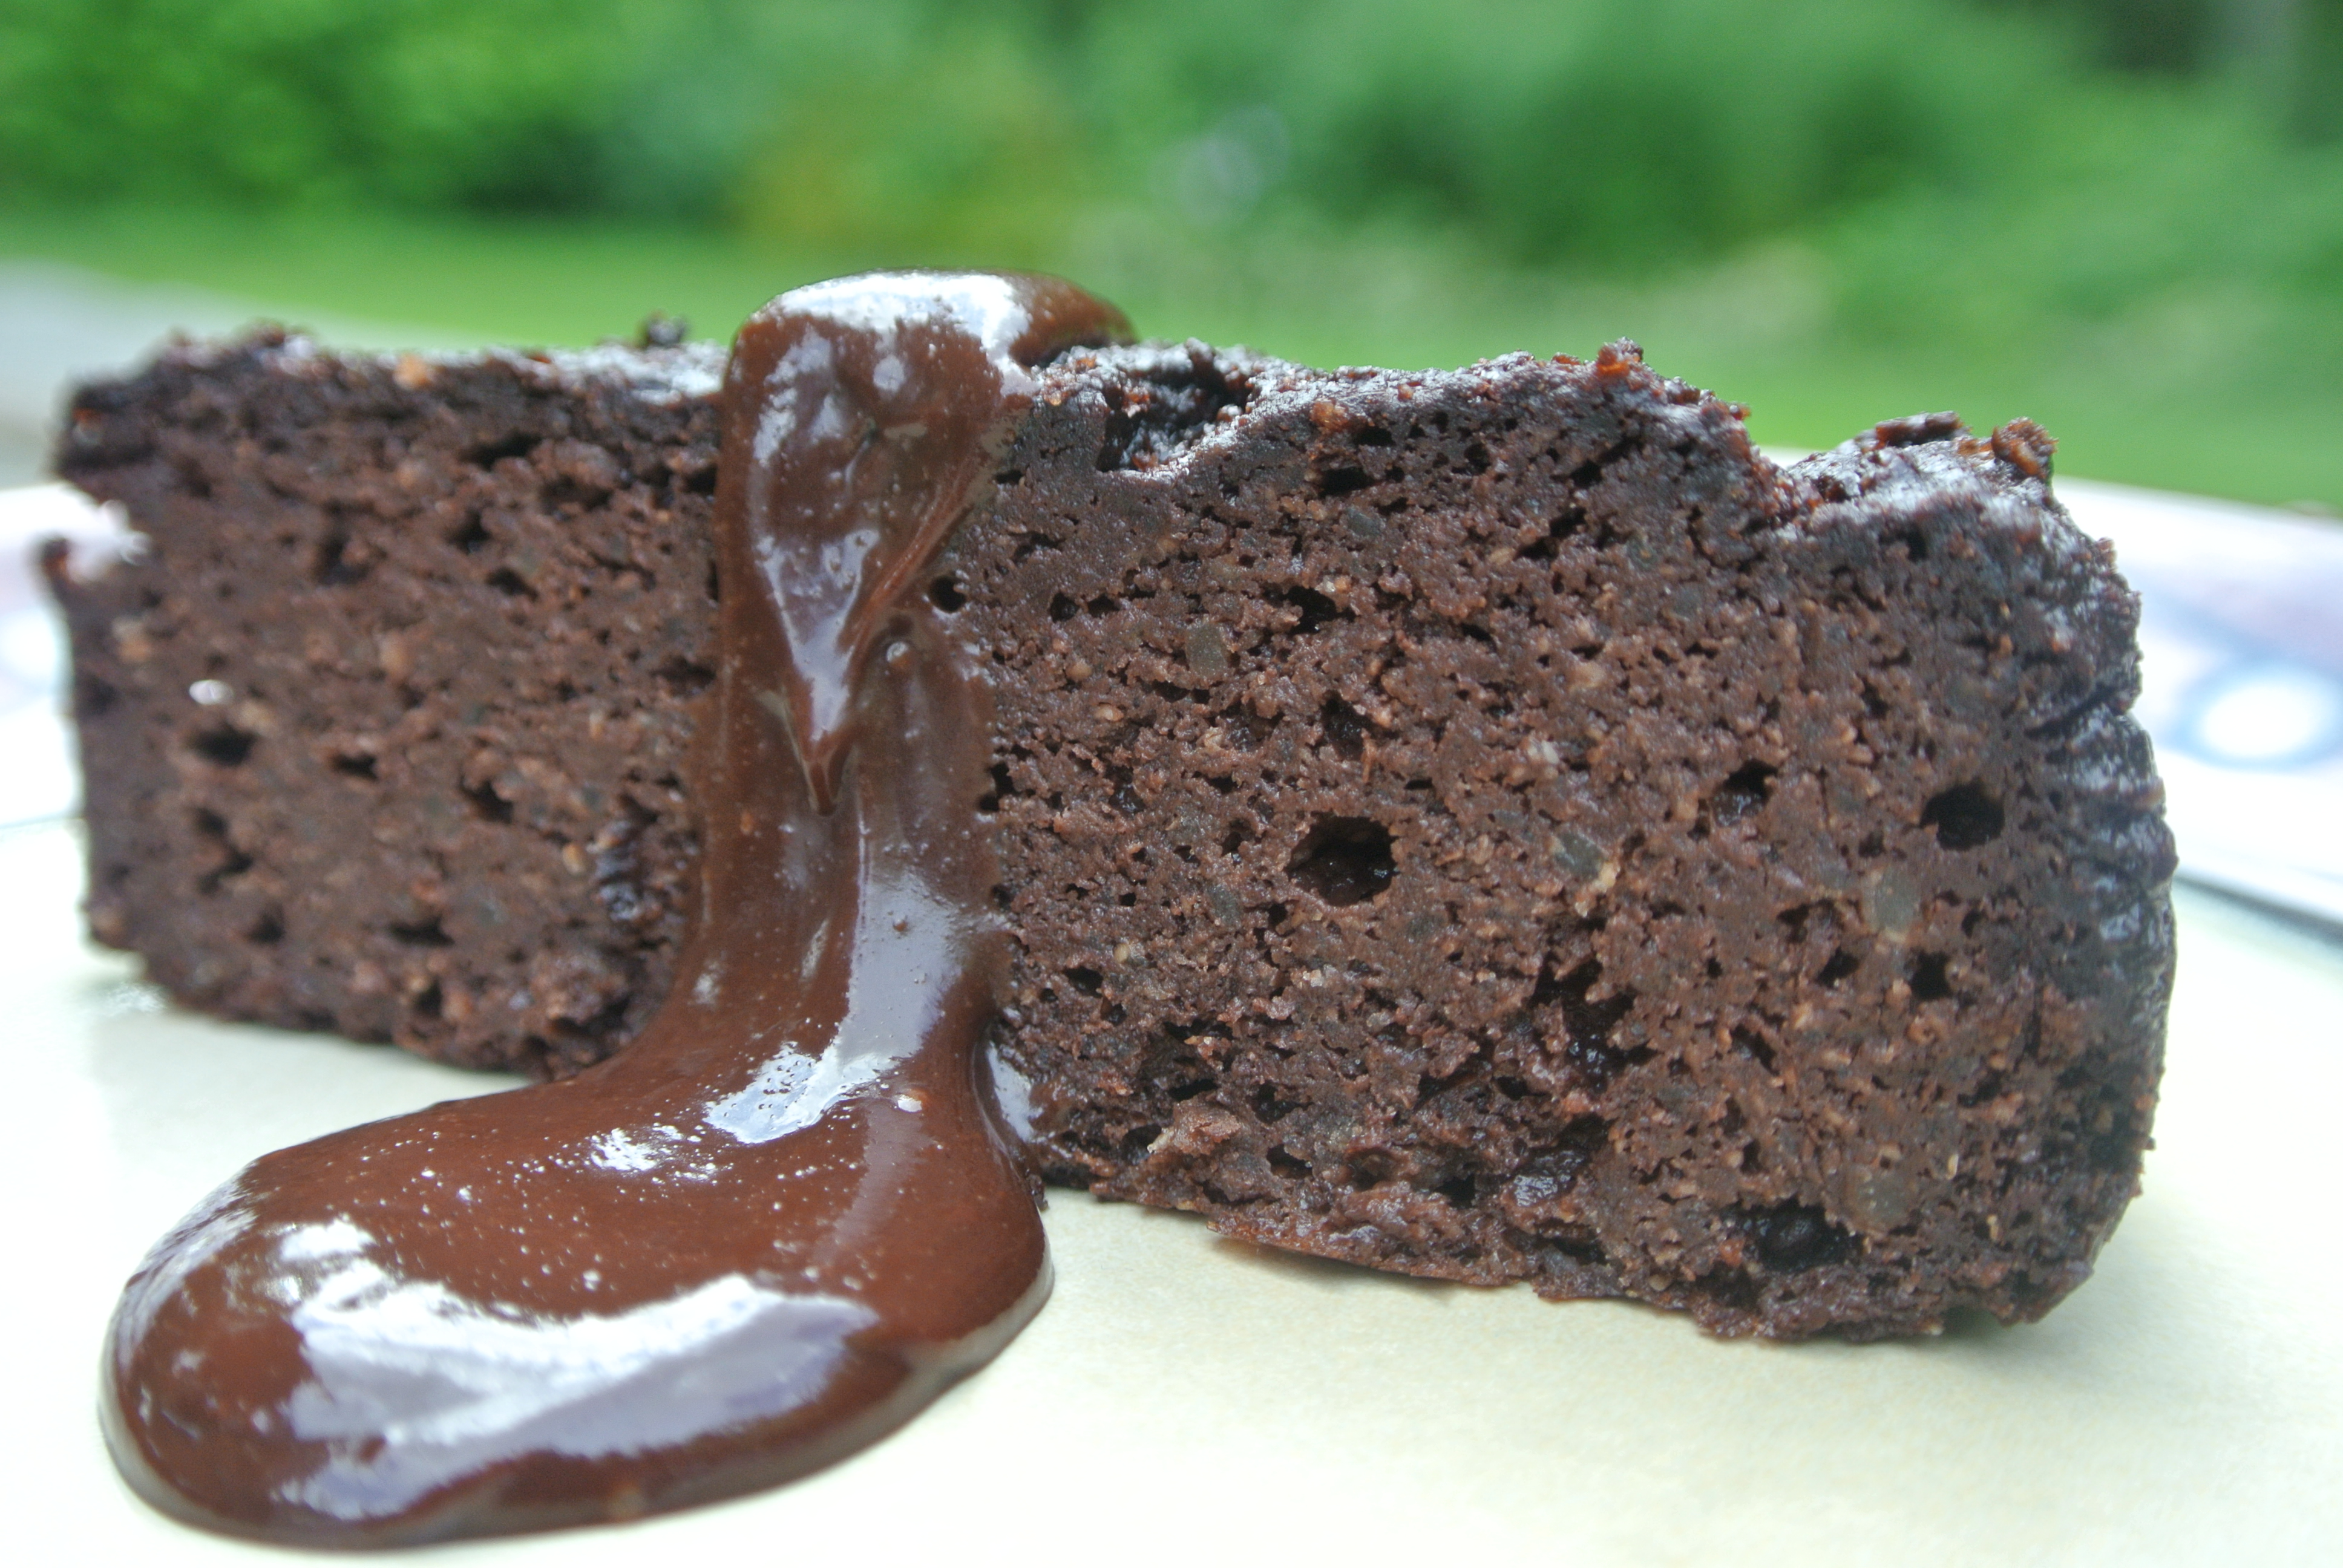
- chocolate …too much chocolate, that is 🙂
- iron supplements (check your multi-vitamins for iron as well)
- herbal teas like peppermint, sage, and parsley (which may decrease milk supply)
- any foods that are known sensitivities for you
This is a very special time in a New Mom’s life, and helping her out in the ways that you know how is a little effort that goes a long way.

Sleep, eat, rest. Repeat…