Naturopathic By Nature

Healthy Eating & Healthy Living

Navigation
  • Recipes
  • Articles
    • Naturopathic
    • Pregnancy & Postnatal
    • Healthy Foods
    • Grocery Lists
  • About Us
  • Contact Us

Dairy-free Cashew Cream for Breakfast Parfaits & more!

May 26, 2018 by Dr. Nicholas Anhorn, ND Leave a Comment

MVIMG_20180524_085815

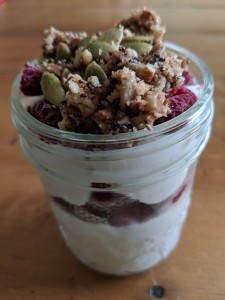
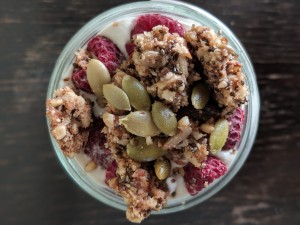
Dairy-free cashew cream in a breakfast parfait with raspberries & nutty granola

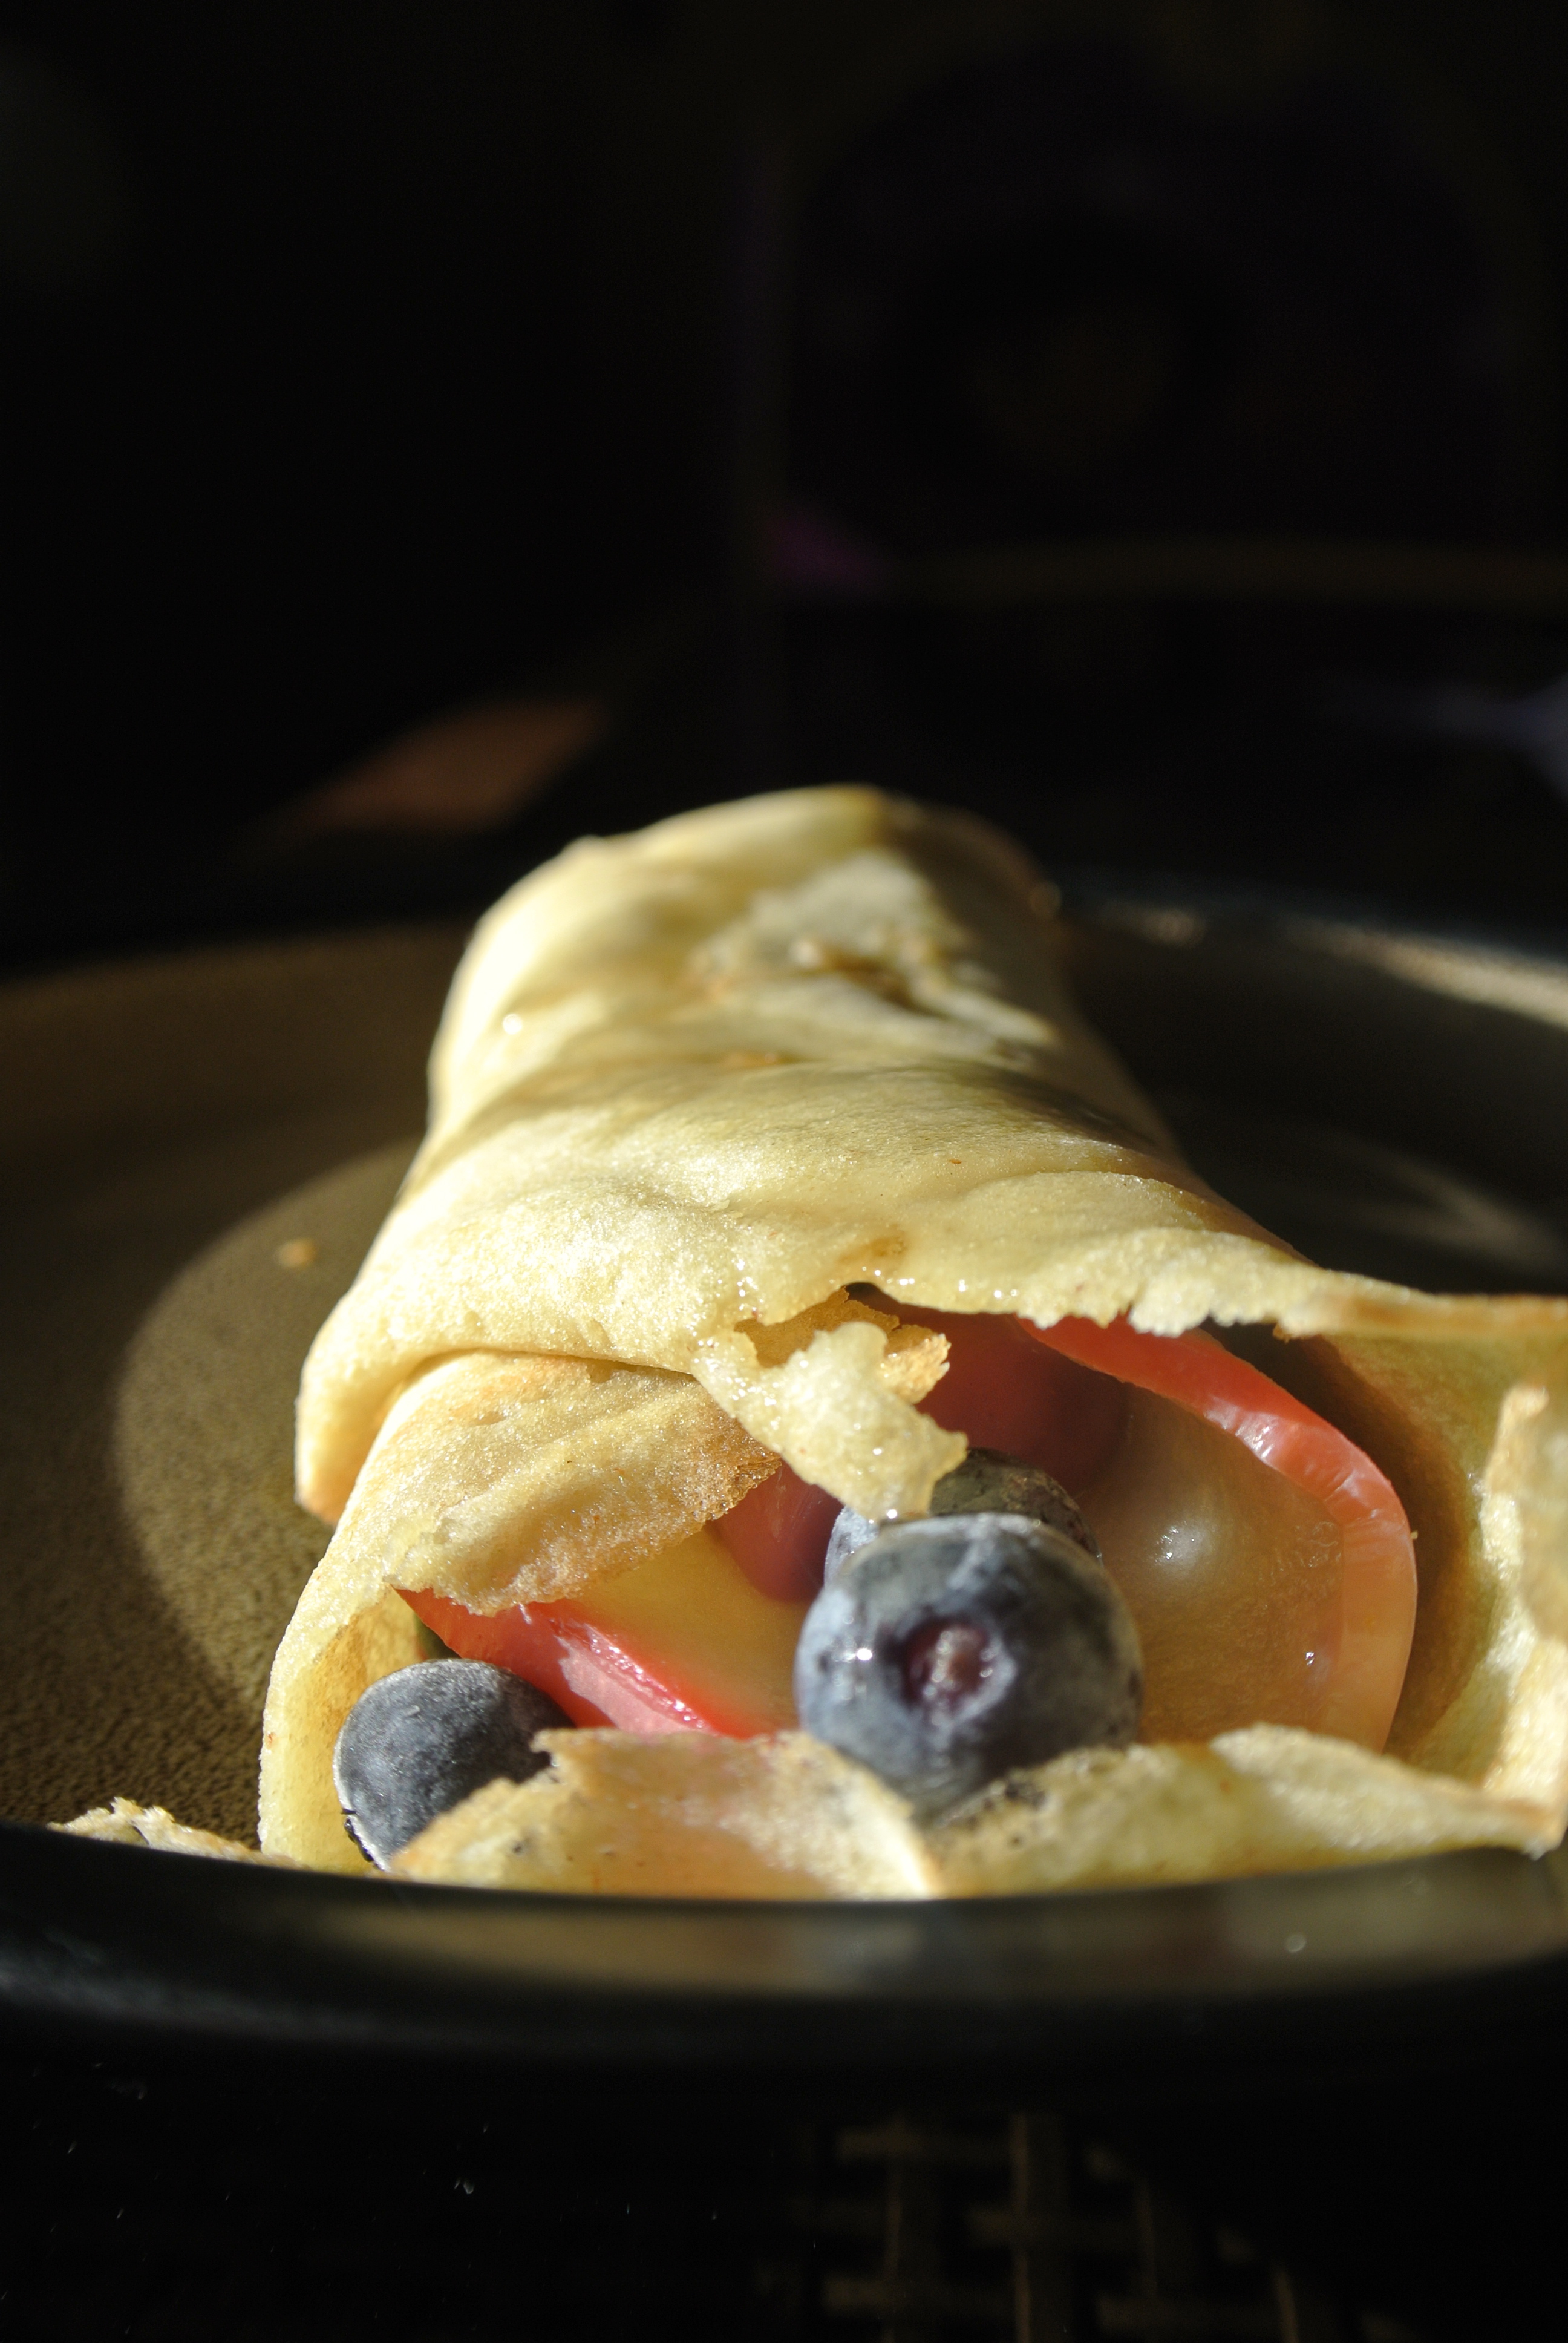
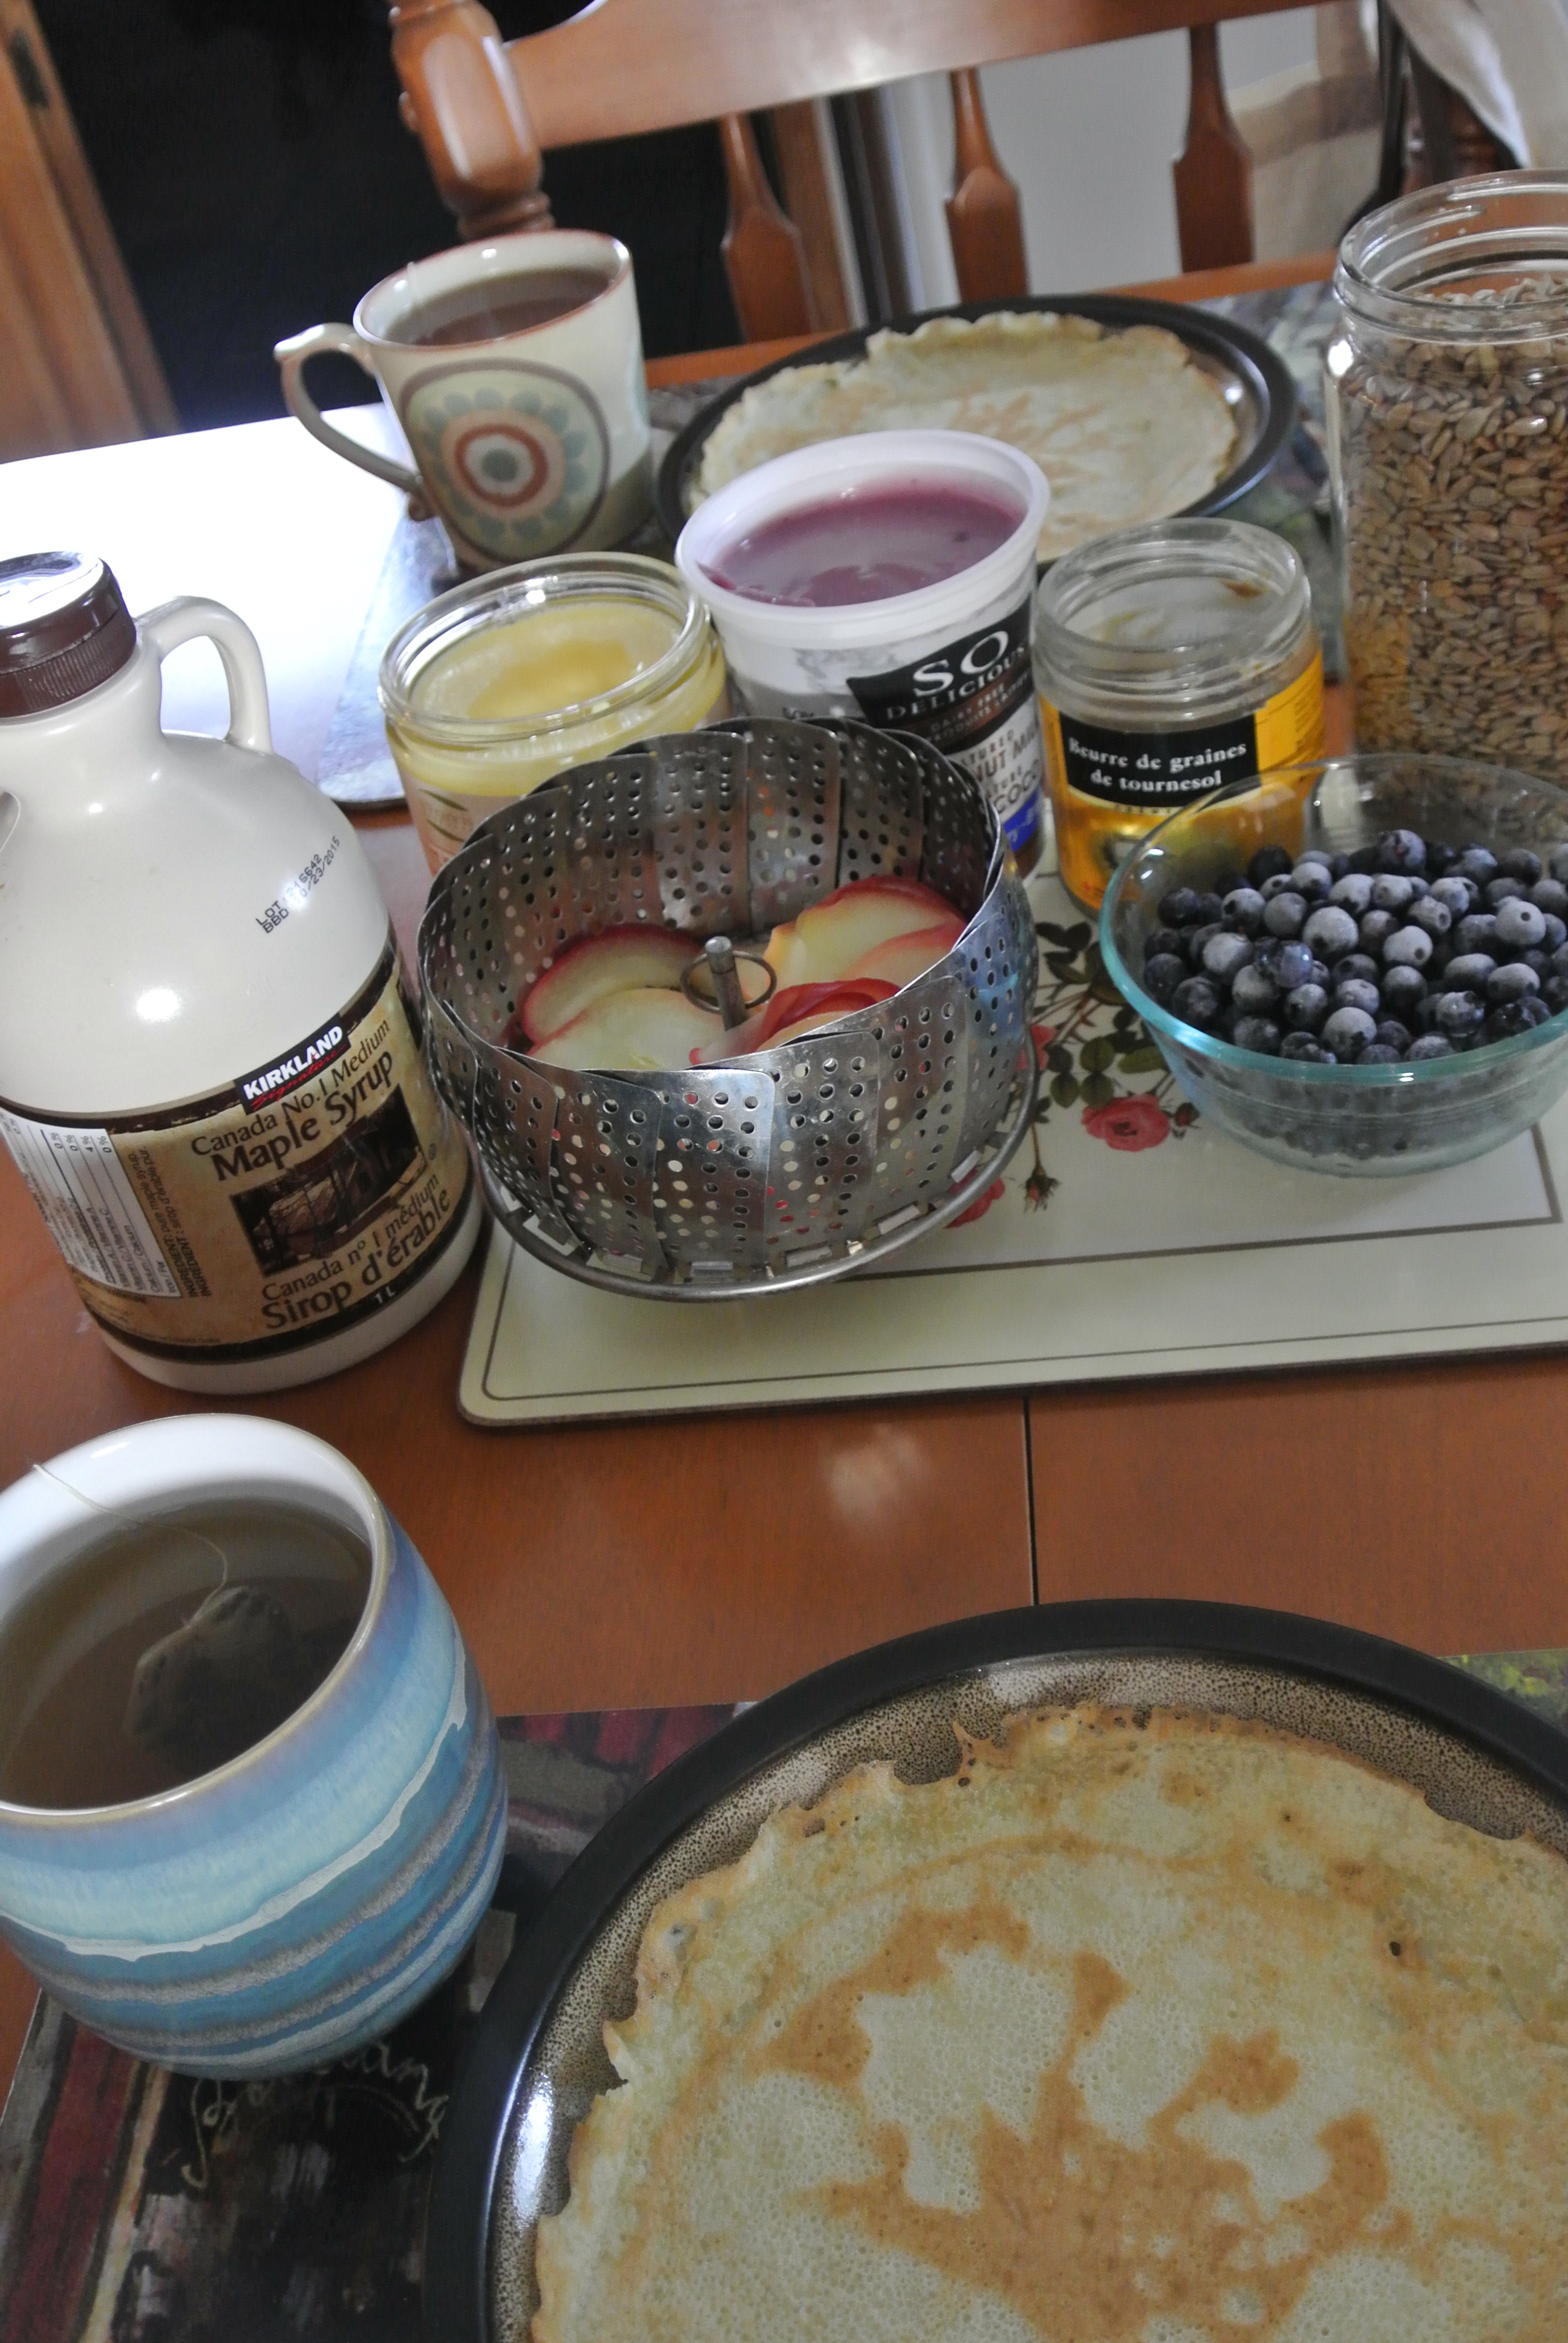
This is a nice option to have around for a weekend brunch, as it enhances a lot of dishes – topped on fruit salad, granola, pancakes, waffles, or made into a breakfast parfait or a fruit dip. It’s very easy to make, and only has 4 ingredients. I imagine that you could add flavours like cinnamon, ginger, lemon or orange zest to elevate the flavour of your sweet dish even more. I’m going to try it as a dairy-free substitute in recipes that call for yogurt! I’ll keep you posted on how that goes on our Facebook & Instagram pages.

Cashew Cream Parfait
 
Print
Cook time
5 mins
Total time
5 mins
 
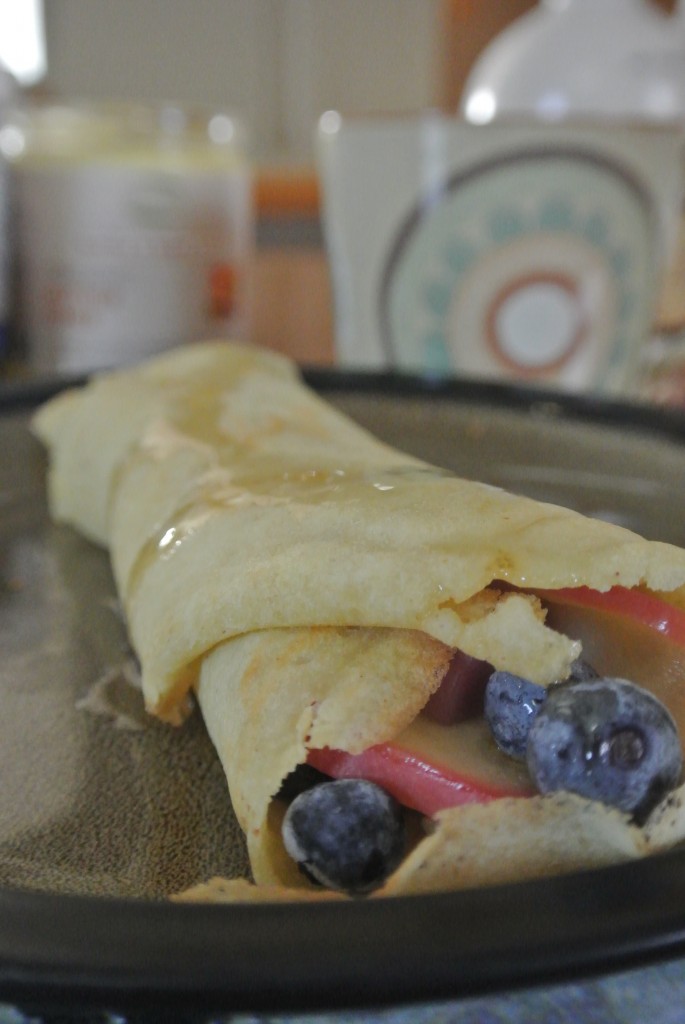
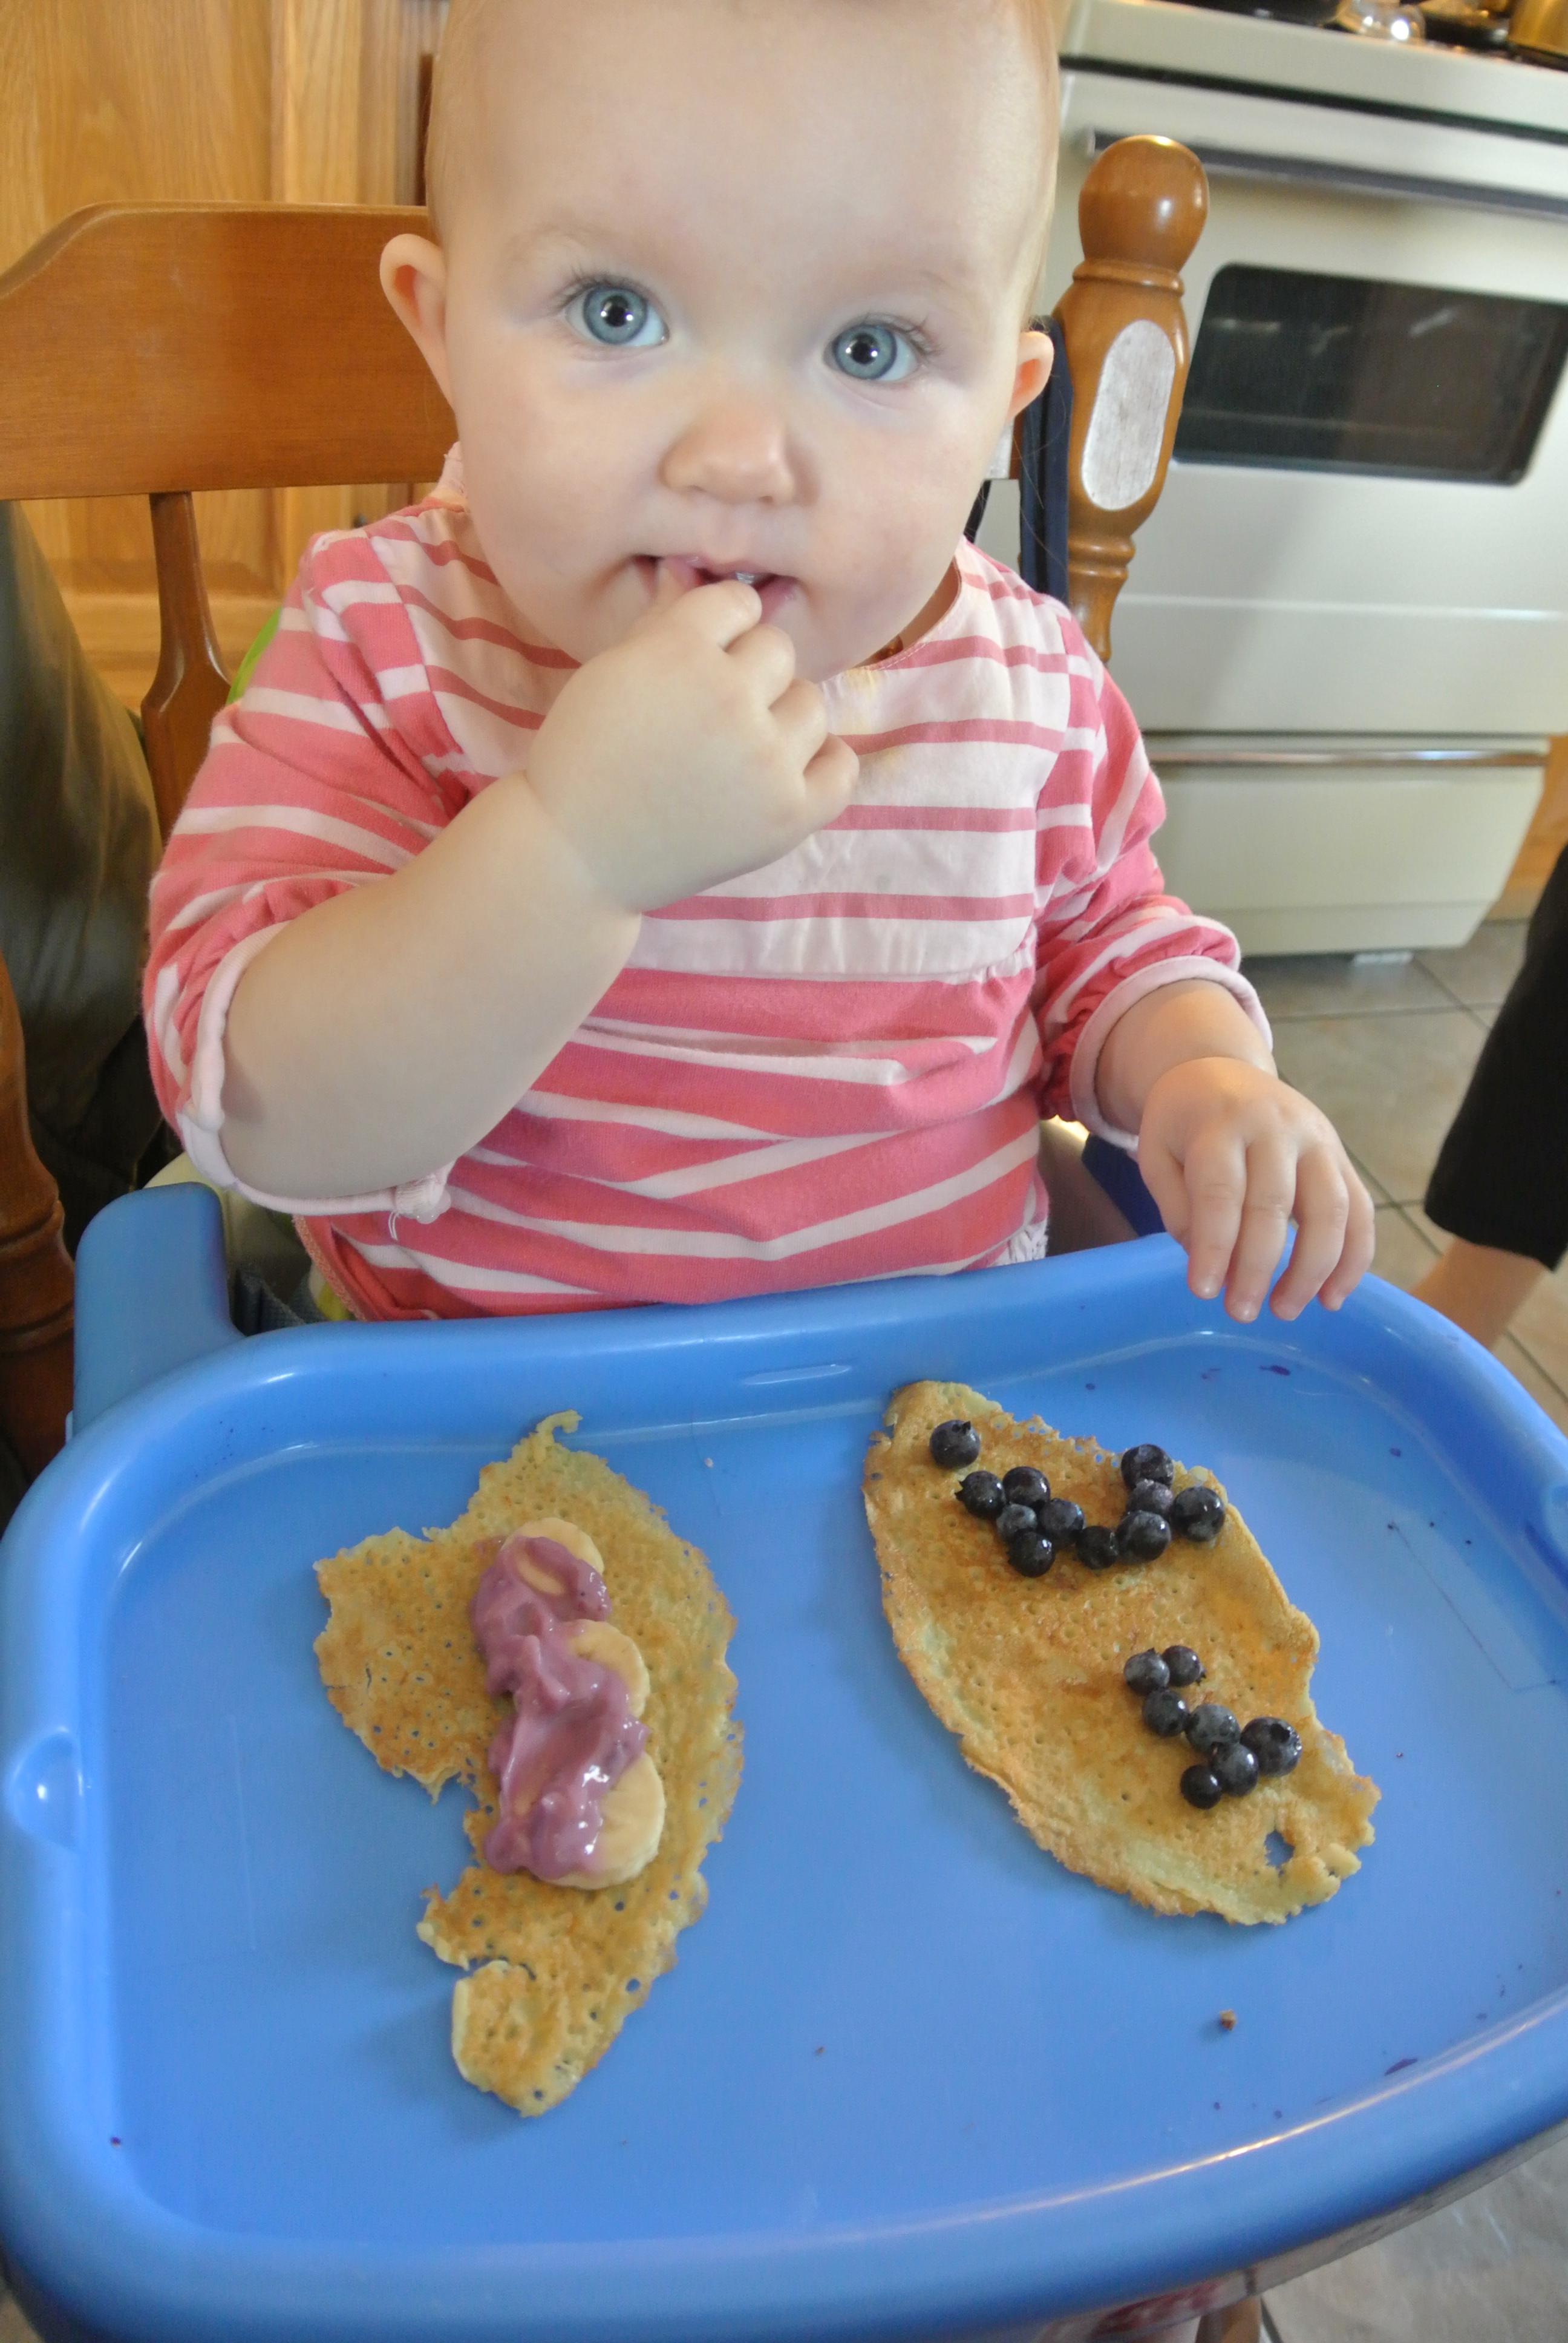
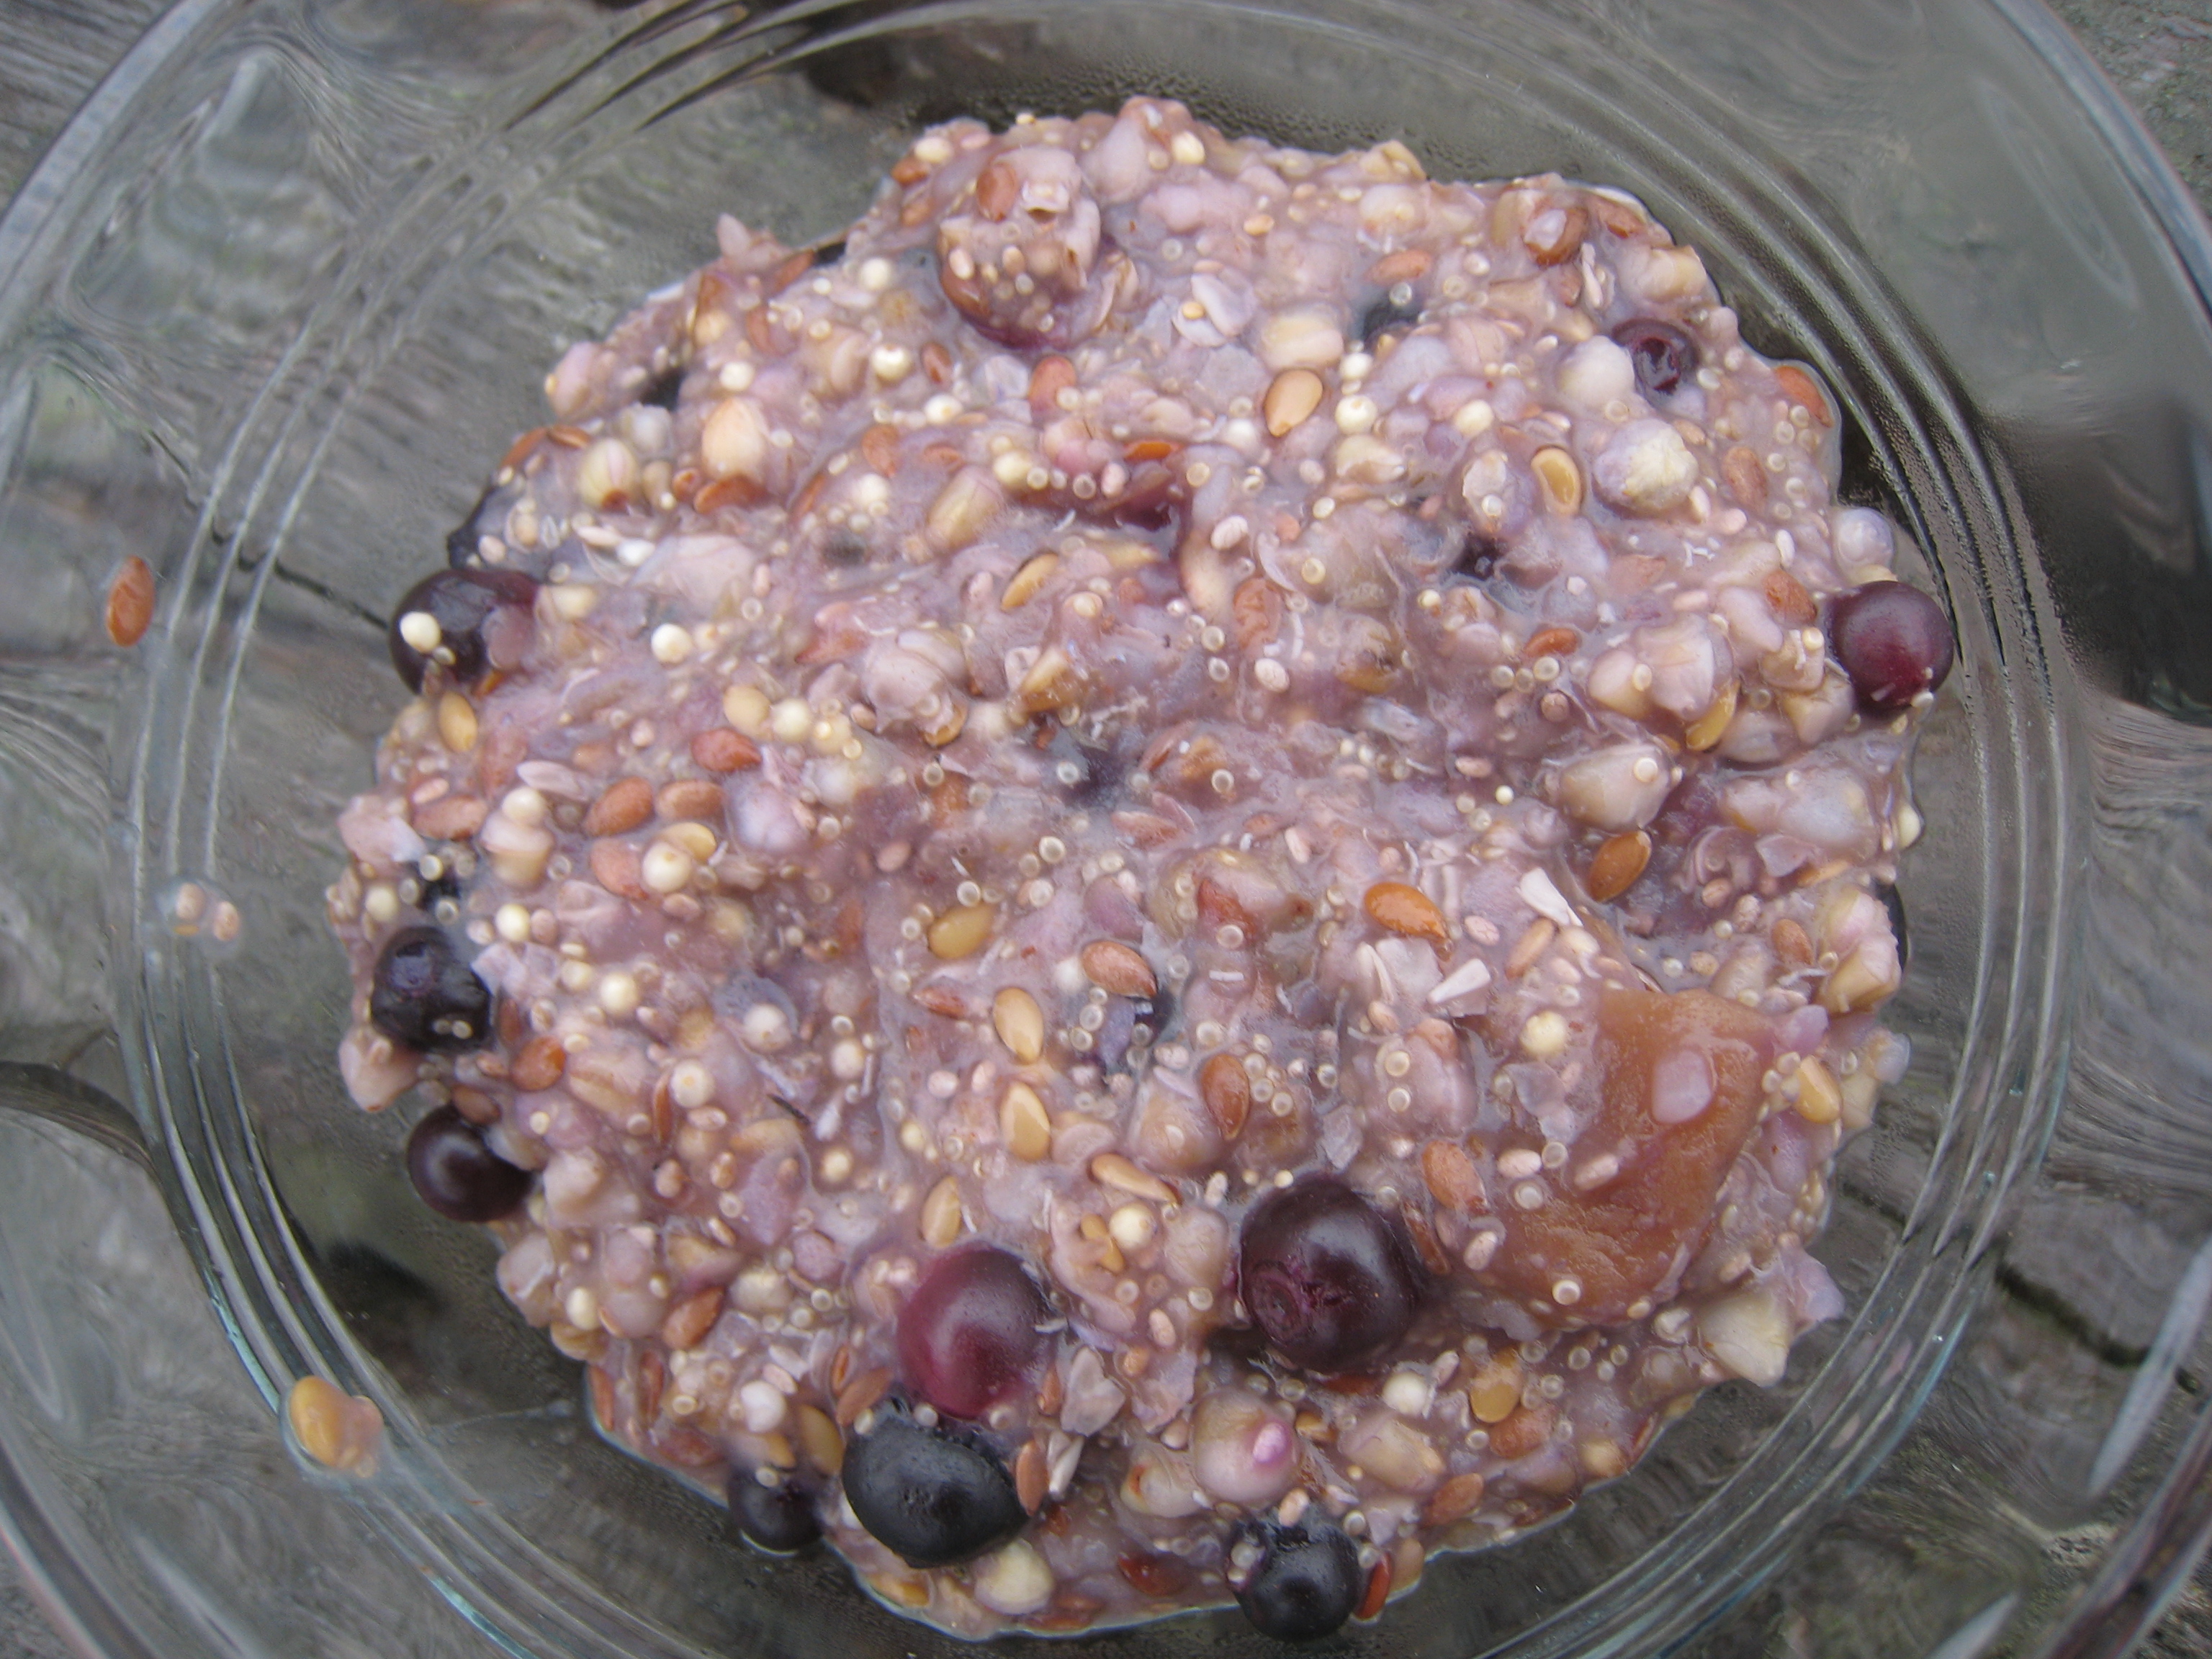
Layer cashew cream with your choice of chopped dried fruits, fresh or frozen fruit, nuts, seeds, or granola. We’ve also spread it on top of pancakes!
Cuisine: dairy free, gluten-free, vegan
Serves: 1 cup
Ingredients
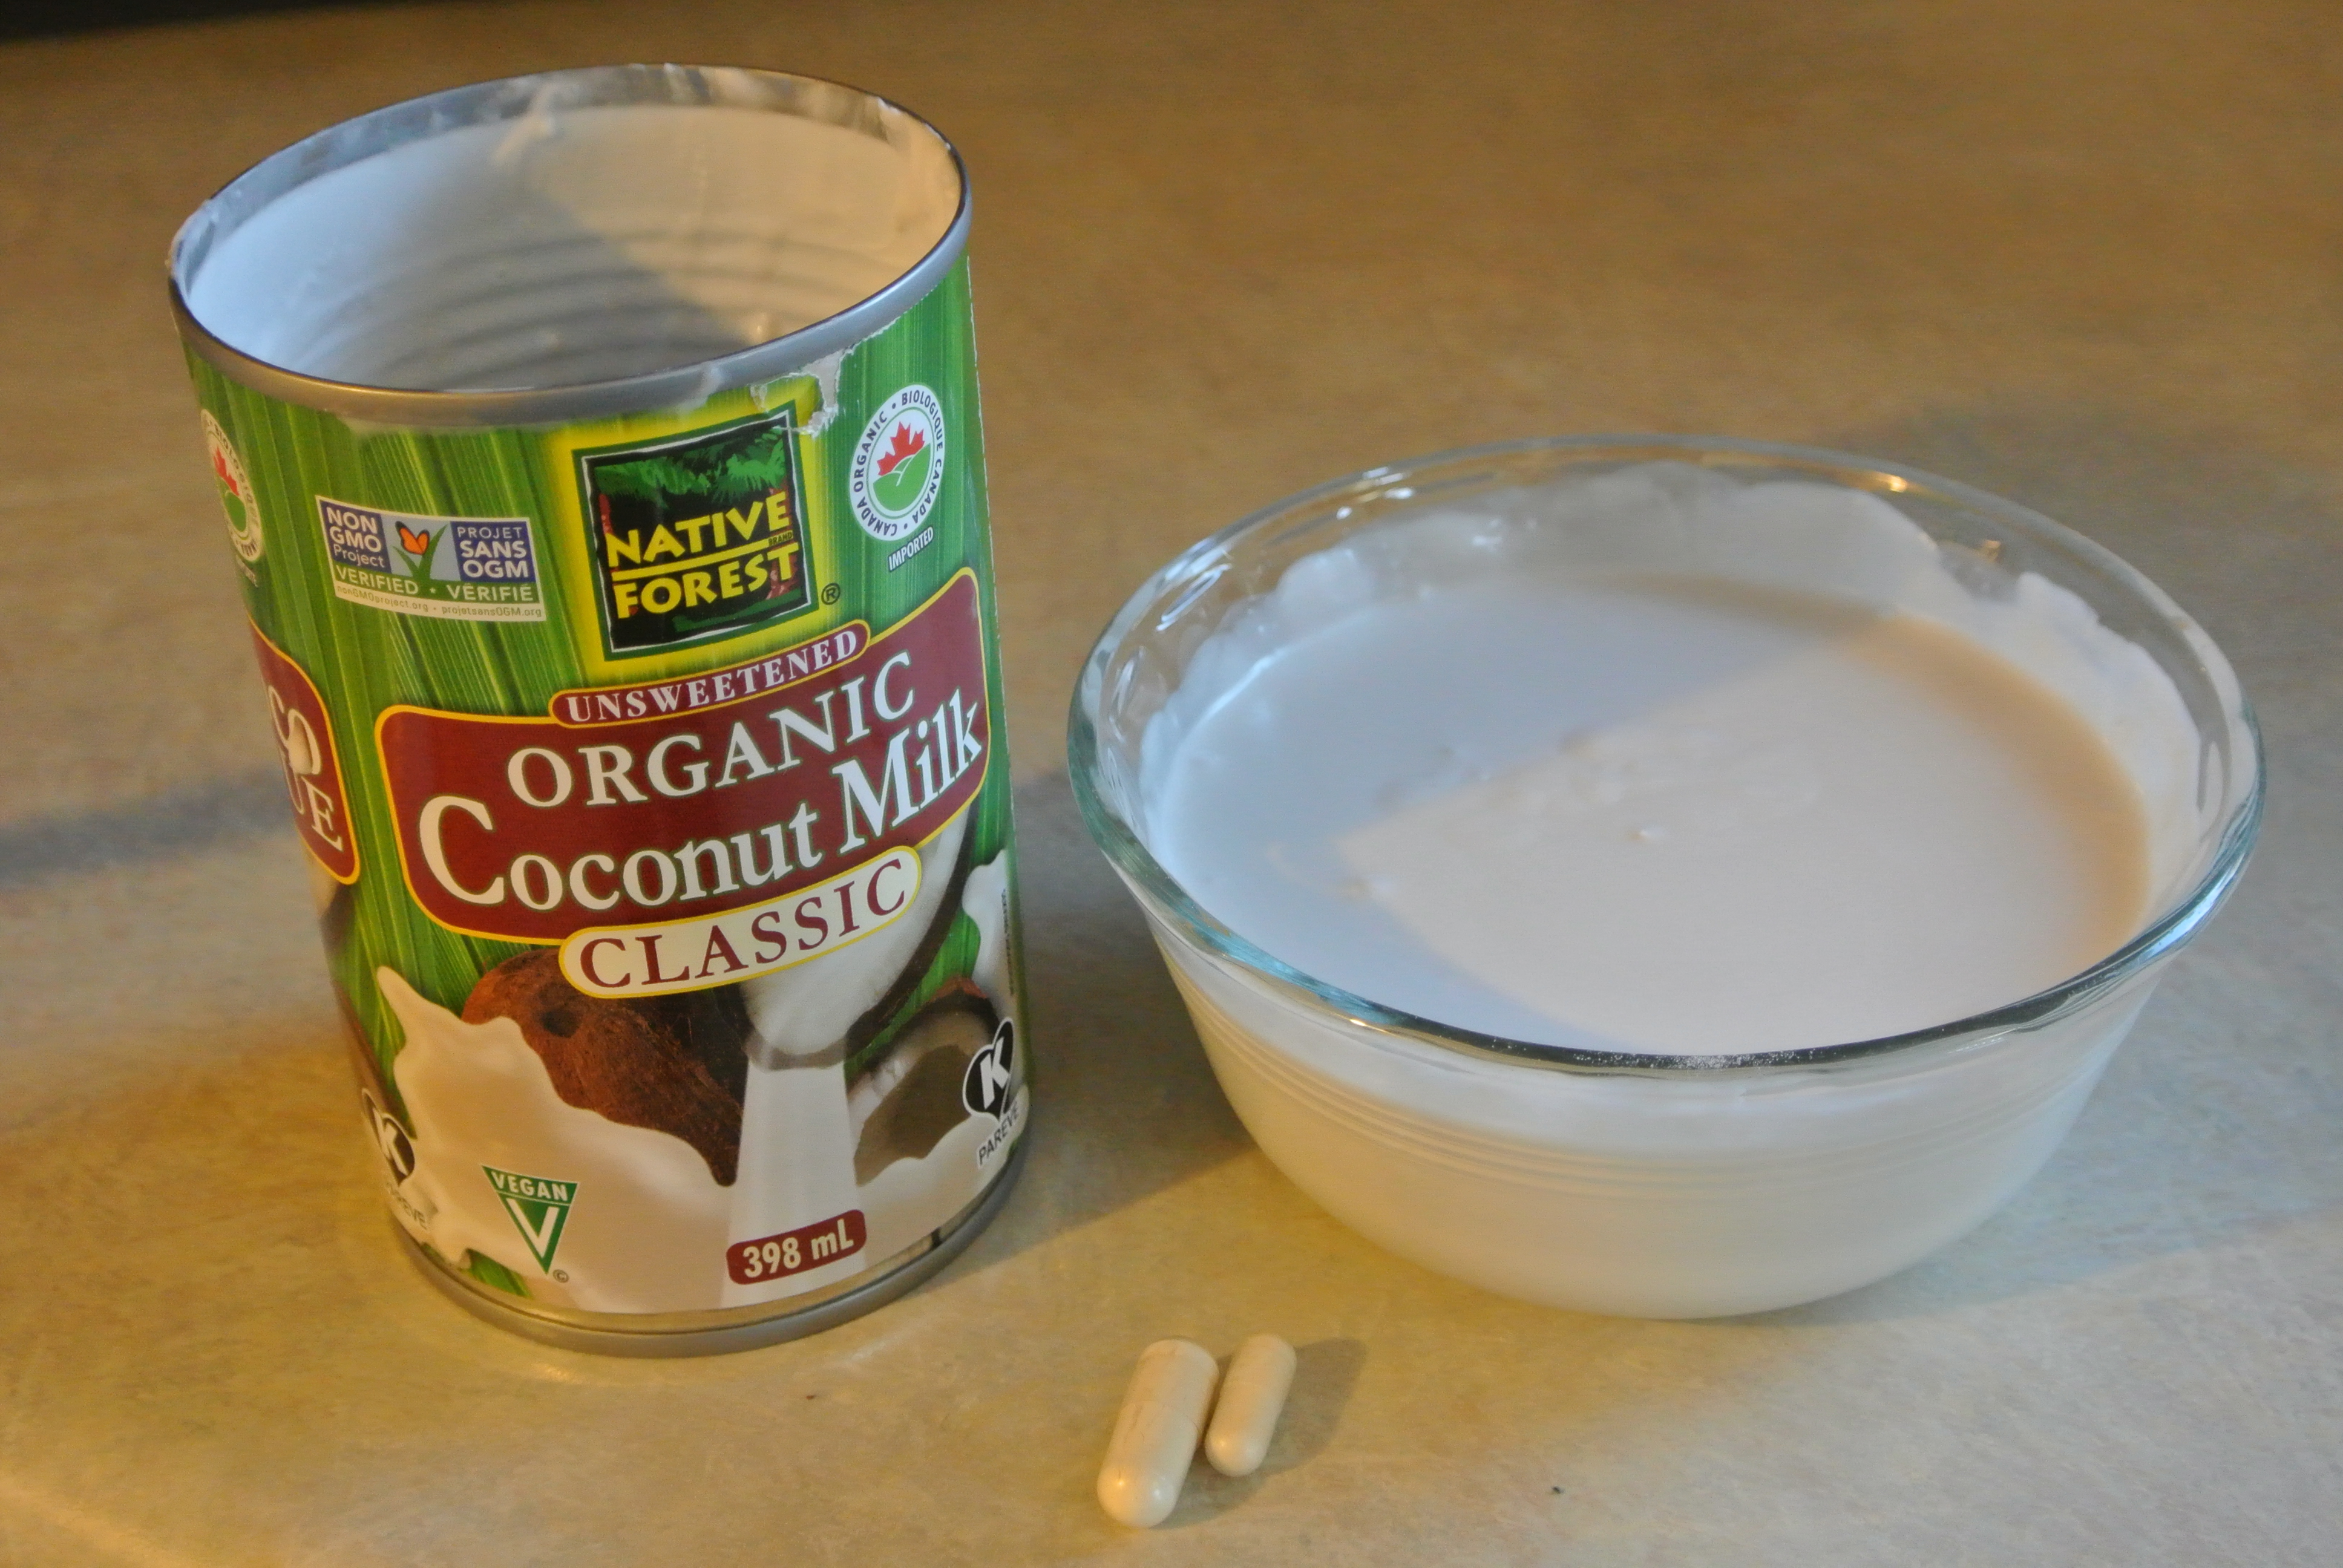
  • 1 cup raw cashews, soaked overnight (or at least 3 hours), rinsed & drained
  • ½ cup unsweetened almond milk (plus 1-2 Tbsp more, if needed)
  • 2 Tbsp maple syrup
  • ½ tsp vanilla extract
Instructions
  1. Add all ingredients to the blender and gradually increase speed to blend on high, adding more almond milk, as needed.
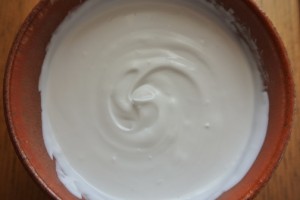
  2. Blend on high for a good 30-60 seconds, until it is smooth & creamy.
  3. Store in fridge for up to 3 days.
3.4.3177


Filed Under: Breakfast, Desserts, Recipes Tagged With: brunch ideas, dairy free breakfast, dairy free cream, dairy free parfait, dairy-free dessert, dairy-free yogurt, vegan breakfast ideas, yogurt substitute

Cultured coconut yogurt (dairy-free, gluten-free, vegan)

January 17, 2014 by Dr. Lyndsay Wareham, ND 5 Comments

This recipe is takes no effort to prepare –  it just takes a little waiting time. There are no preservatives, gums, or binders in this recipe – its just pure coconut milk, probiotics, and fermenting time. We add a little bit of vanilla and maple syrup to make it sweet, but if you decide not to add any sweetener the end product is a pretty awesome dairy-free sour cream!

We added only about 1 Tbsp coconut water which gave us an extra thick yogurt (think: thick cream cheese haha) . But it was sooo tasty and melted into coconut goodness when added to warn oatmeal.

We added only about 1 Tbsp coconut water which gave us an extra thick yogurt (think: thick cream cheese haha) . But it was sooo tasty and melted into coconut goodness when added to warn oatmeal.

For this recipe, be sure to use the full fat coconut milk, since we will be working mostly with the fat layer. We like to use Native Forest Organic Coconut milk or Thai Kitchen coconut milk – both are brands that don’t add any sulfites. As well, in this recipe, we use 2 different probiotics, just to get a wide range of ‘good bugs’ – Pure encapsulations Probiotic 50B and NFH Probio SAP are two high quality professional brands that we like. They both came in capsules, so we just cracked them open and used the powder inside. Check with your local health food store or naturopathic doctor to see what professional lines of probiotics they carry  since any high quality probiotic will do. 

Cultured coconut yogurt (dairy-free, gluten-free, vegan)
 
Print
Prep time
48 hours
Total time
48 hours
 
This tangy coconut yogurt can double as a sour cream! You can enjoy it savoury (on pizza or mixed with pesto), or sweet (mixed with maple syrup and fresh fruit).
Recipe type: dairy-free
Serves: 4-6
Ingredients
  • 1 can of Full fat organic coconut milk
  • 1 tsp (2 capsules) high quality probiotic powder

  • optional ingredients:
  • powdered vanilla bean or pure vanilla extract
  • maple syrup, agave, honey or other sweetner
Instructions
  1. Leave a can of coconut milk in the fridge for 8 hours or overnight. The coconut milk will separate into a thick layer (fat) on top and a thin watery (water) on the bottom. We want the thick layer, so avoid shaking the can before and after cooling. However...you can omit this step if its cool enough in your cupboard that the fat layer will stay separated from the water. (sometimes if you give the can a gentle shake and you feel no movement, you can pretty much be sure that the two layers are separate).
  2. Open can, scoop out the thick layer of coconut milk, and place it in a medium sized bowl. Its convenient to use a bowl that has a lid so you can just transfer the yogurt straight to the fridge when you're done.
  3. Add 2-4 Tbsp of the coconut water to the coconut fat and mix together well. The less water you add, the thicker the yogurt will be. You can use the rest of the coconut water for a smoothie.
  4. Add probiotic powder to the coconut milk fat and stir it well until it is smooth.
  5. Cover bowl with a clean dishtowel and place it on the counter, in the stove or toaster oven (turned off) for 24-48 hours to ferment.
  6. At the end of your fermenting time, remove the dishtowel and stir in a small amount (about 1 tsp at a time) of any sweeteners or flavours that you want in your yogurt until you reach the desired taste. Or leave it as is and use it as sour cream.
  7. Store in fridge and enjoy with cereal, oatmeal, mixed berries and fruit, in smoothies, or on its own.
3.2.2265


Filed Under: Breakfast, Recipes Tagged With: coconut yogurt, dairy-free yogurt, homemade coconut yogurt, homemade dairy free yogurt, non-dairy yogurt

Brown Rice Crepes (gluten-free, dairy-free)

January 2, 2014 by Dr. Lyndsay Wareham, ND 1 Comment

GLUTEN-FREE CREPES (gluten-free, dairy-free)

We filled these beautiful crepes with blueberries, steamed apple slices, roasted sunflower seeds, blueberry coconut yogurt, and topped it with maple syrup.

Enjoy these healthy and delicious gluten-free crepes for breakfast, brunch, lunch, snack and./or dessert.

You can enjoy these crepes as sweet or savoury, and you can also enjoy them as a healthy breakfast, lunch, snack, or a tasty dessert. As always, feel free to use your creativity, but here are some suggestions that we have for sweet and savoury crepes.

Sweet crepes:

DSC_4544

Our choice of filling for today: blueberries, steamed apple slices, roasted sunflower seeds, blueberry coconut yogurt, and maple syrup.

  • berries
  • sliced fruit: kiwi, apples, banana
  • coconut yogurt
  • nut or seed butter (almond butter, peanut butter, tahini)
  • crushed nuts (almonds, walnuts, pecans)
  • seeds (toasted sunflower seeds, hemp hearts)
  • maple syrup

Savoury crepes:

  • eggs, cooked to your liking
  • turkey pepperoni slices
  • chicken or turkey pieces
  • sliced veggies: tomatoes, olives, cucumber
  • roasted veggies: onion, mushrooms, zucchini, peppers, leeks, broccoli florets, etc
  • chopped mixed greens  (baby kale, arugula, spinach, lettuce, etc)
  • spreads: hummus, salsa, guacamole, dijon mustard
  • quinoa salad (try our balsamic quinoa salad), scoop of rice & beans
  • Daiya mozzarella cheese

Another really cool thing about these crepes is that if you omit the maple syrup and use unsweetened mylk, you have yourself a healthy, tasty homemade brown rice wrap!

Brown Rice Crepes (gluten-free, dairy-free)
 
Print
This easy recipe will make you feel like a crepe master! You can dress the crepes up or down and either way it always comes out tasting delicious.
Author: Lyndsay
Recipe type: gluten-free
Serves: 7-8
Ingredients
  • 1 cup brown rice flour
  • 2 tsp baking powder
  • ¼ tsp sea salt
  • 2 eggs
  • 2 Tbsp maple syrup
  • 1½ cup to 2 cup original or vanilla almond milk or other 'mylk' alternative (I find 2 cups is perfect, but less will give you a thicker more 'pancakey' crepe)
  • ghee, butter, or coconut oil for frying
Instructions
  1. In a small bowl mix together dry ingredients and set aside.
  2. In a large bowl whisk together the egg and maple syrup. Add dry ingredients and stir until all flour is integrated.
  3. Gradually whisk in all of the mylk into the batter until there are no clumps.
  4. Set batter aside for 10-15 mins (during this time, I like to prep the fillings that I'll be using)
  5. Heat a 10'' frying pan or skillet on medium heat. Add a small pad of oil to evenly coat the pan.
  6. Add ⅓ cup batter into the pan and swirl the pan around to distribute the batter evenly over the pan.
  7. Cook for 1-2 minutes until the edges of the batter turns a golden brown colour. Use a wide, flat spatula to gently flip the crepe and allow to cook for another minute.
  8. When done cooking, place crepe on a large plate and cover with a clean dishtowel until you're ready to serve.
  9. Repeat adding oil to the pan before adding the batter until all of the batter is gone and you have 7-8 delicious crepes ready to be served. Enjoy!
3.2.2265

Troubleshooting

  • Lots of tiny bubbles in the batter when you add it to the pan? add more batter
  • Crepes turning crispy? turn the heat down
  • Did your crepe turn out more thick, like a pancake? add more mylk to the batter
  • Crepe sticking to the pan? add more oil and/or let cook for a few seconds longer
Juliet approved!

Juliet approved!

Filed Under: Breakfast, Recipes Tagged With: best gluten-free crepe, easy gluten-free crepes, featured, gluten and dairy free crepes, gluten-free crepes

Quick & Easy Healthy Homemade Meals: Warm Breakfast Cereal

June 6, 2013 by Dr. Nicholas Anhorn, ND Leave a Comment

This recipe can be made up surprisingly quickly since you just have to get the grains started and add the rest of the spices and ingredients while it’s cooking. The more you make it, the easier it gets! Especially since you’ll find the combination of spices, fruit, nuts & seeds that tastes good to you (and as always… feel free to mix it up, add anything that looks tasty to you, and experiment as you see fit).

We initially wanted to call this recipe ‘Vega Vanilla Chai warm breakfast cereal’ but didn’t want people to pay no attention to the recipe if they didn’t have this Vega protein powder in their cupboard. But if you do have it, the Vanilla Chai flavour adds a delicious flavour!

WARM BREAKFAST CEREAL

This warming cereal is  perfect for any day of the week

This warming cereal is perfect for any day of the week

Prep time: 10 mins

Cook time: 20-30mins

Servings: 4-6

Ingredients

Grains:

  • 1 cup steel cut oats
  • ¾ cup raw buckwheat groats (or short grain brown rice)
  • ½ cup amaranth (can also substitute with millet or quinoa)
  • 4 cups water
  • pinch salt

Spices (mix & match as you please! choose between all or some of the following):

  • 1-2 tsp ground cinnamon (or grate fresh cinnamon, break up stick and let cook in mixture)
  • ¼ tsp ground nutmeg
  • ¼ tsp cardamom pods
  • 4-5 whole cloves
  • 1 star anise
  • 4-5 slices fresh ginger

Other ingredients:

  • ½ – 1 cup original or vanilla ‘mylk’ (almond, rice, coconut)
  • 4-6 dried prunes
  • 1 cup fresh or frozen blueberries
  • ¼ cup pumpkin or sunflower seeds
  • 2 Tbsp whole flax seed
  • 1-2 scoop vanilla chai Vega protein powder

Directions:

  • Place grains in a large pot with water and bring to a boil.
  • Add a pinch of salt (and dried fruit, if using), and turn the heat down to simmer covered for 20-30 mins.
  • While simmering, get your selected spices together and add them to the pot, stirring the mixture occasionally. Add more water or milk alternative if the cereal looks like it will run dry.
  • When the cereal has reached the desired consistency, add fruit, seeds, and Vega protein powder if using. Mix everything together well, and then turn off heat.
  • Serve immediately, and enjoy this nourishing and delicious start to your day!

Filed Under: Breakfast, Recipes Tagged With: breakfast cereal, warm breakfast cereal

Easy & Delicious Never Fails Granola

November 30, 2012 by Dr. Lyndsay Wareham, ND Leave a Comment

EASY & DELICIOUS NEVER FAILS GRANOLA

Granola is a classic meal & snack that everyone likes… but what’s even better is how easy it is to make… We even gave it as Christmas gifts last year, which was a hit!

Granola is one of the easiest things to make … and eat! I always make a double batch of this so that it lasts at least 1 week.

Although the ingredient list is long, you can jazz up or down your granola as you wish. Just making it out of oats, coconut, a handful of seeds & nuts, and whatever dried fruit you have on hand still makes an awesome granola. Otherwise, you can really get creative with this recipe and make it different every time, or find a combination that you like and keep it consistent. Either way, you’re sure to enjoy eating it.

Ingredients

  • 3 cups large oat flakes
  • ½ cup brown rice bran or wheat germ (optional)
  • ½ cup unsweetened shredded coconut (optional)
  • ½ cup raw sunflower seeds
  • ¼ cup sesame or flax seeds
  • 1 cup chopped nut mix – almond, pecans, cashews, walnuts, etc.
  • a few sprinkles of cinnamon
  • 1 cup dried fruit – chopped dates &/or apricots, raisins, cranberries, goji berries
  • 1 tsp pure vanilla extract
  • 1/2 cup melted coconut oil or non-GMO canola oil
  • 1 cup honey or maple syrup (which pairs especially good with coconut oil!)

Directions

– Preheat oven to 325.

– Mix oats, nuts, rice bran/wheat germ, seeds, & cinnamon in a large bowl.

– Heat oil & honey (or maple syrup) in a small pot over medium heat. Add vanilla extract while heating. When it’s bubbling, remove from heat and pour liquid mixture over dry mixture.

– Stir well, to coat all of the oat mixture.

– Spread oat mixture evenly in a shallow pan or cookie sheet. (You may have to do this in batches so oats are not layered too thick). Bake for about 20 minutes, stirring every 5-7 minutes until golden brown. Allow to cool completely before adding dried fruit.

– Store in an airtight container. And enjoy it while it lasts! 

Filed Under: Breakfast, Recipes Tagged With: easy granola, easy granola recipe, granola, granola recipe

Meet Dr. Nicholas ND & Dr. Lyndsay ND

We are two naturopathic doctors with a vision to inspire healthy cooking, healthy eating, and healthy living for you and your family.  Read more about us >>

  • Email
  • Facebook

Subscribe

Heart Healthy Omega Burgers

Dairy-free Cashew Cream for Breakfast Parfaits & more!

Four essential ways to use Turmeric

Easy, Every Day Spa Treatments to Enjoy at Home

Crispy Cheesy Kale Chips

Ken-Tucky Fried Chicken

Dairy-free Seafood Chowder

3 Ingredient Mango Creamsicle (dairy-free, gluten-free)

Copyright © 2025 · Foodie Theme by Shay Bocks · Built on the Genesis Framework · Powered by WordPress